 Pin it
 These classic peppermint sweets offer a crisp texture combined with a refreshing burst of cool mint. Made from powdered sugar, butter, and cream lightly flavored with peppermint extract, they require no cooking and dry at room temperature. The dough can be colored and shaped into bite-sized pieces, perfect for gifting or enjoying after meals. Easy to make and gluten-free, these treats bring a delightful balance of sweetness and minty freshness.
My grandmother kept a glass jar of peppermint sweets on her mantel every December, and I never knew they were homemade until I found her handwritten card tucked inside one year. The recipe was simpler than I expected, just a few ingredients and a little patience. I made my first batch on a rainy afternoon with nowhere to be, and the smell of mint filled the kitchen like winter itself had moved in.
I once brought a tin of these to a holiday party and watched a woman in her seventies close her eyes after the first bite. She said it tasted exactly like the candies her mother used to make, and I realized then that some flavors carry entire lifetimes inside them. I started making them every year after that, not because they are difficult or fancy, but because they matter to people in quiet, unexpected ways.
Ingredients
- Powdered sugar: The backbone of the dough, it dissolves smoothly and gives the candies their melt in your mouth texture without any graininess.
- Unsalted butter: Adds richness and helps bind everything together, and using unsalted means you control the flavor completely.
- Heavy cream: Just enough moisture to bring the dough together without making it sticky, and it lends a subtle creaminess that balances the sharpness of the mint.
- Peppermint extract: A little goes a long way, so start with half a teaspoon and taste before adding more or you will end up with toothpaste instead of candy.
- Food coloring: Completely optional, but a few drops of red or green can turn a simple sweet into something that looks like it came from a vintage candy shop.
Instructions
- Mix the wet ingredients:
- Beat the butter, cream, and peppermint extract together until smooth and creamy, like you are making the base of a frosting. The mixture should look pale and soft, with no lumps of butter visible.
- Add the powdered sugar:
- Stir it in gradually, a half cup at a time, until the dough pulls away from the sides of the bowl and feels like soft playdough. If it sticks to your hands, dust in a little more sugar until it cooperates.
- Color the dough:
- Divide it into portions if you want different colors, then knead a few drops of food coloring into each piece until the color is even and bright. Your hands will get a little messy, but it washes off easily with warm water.
- Shape the candies:
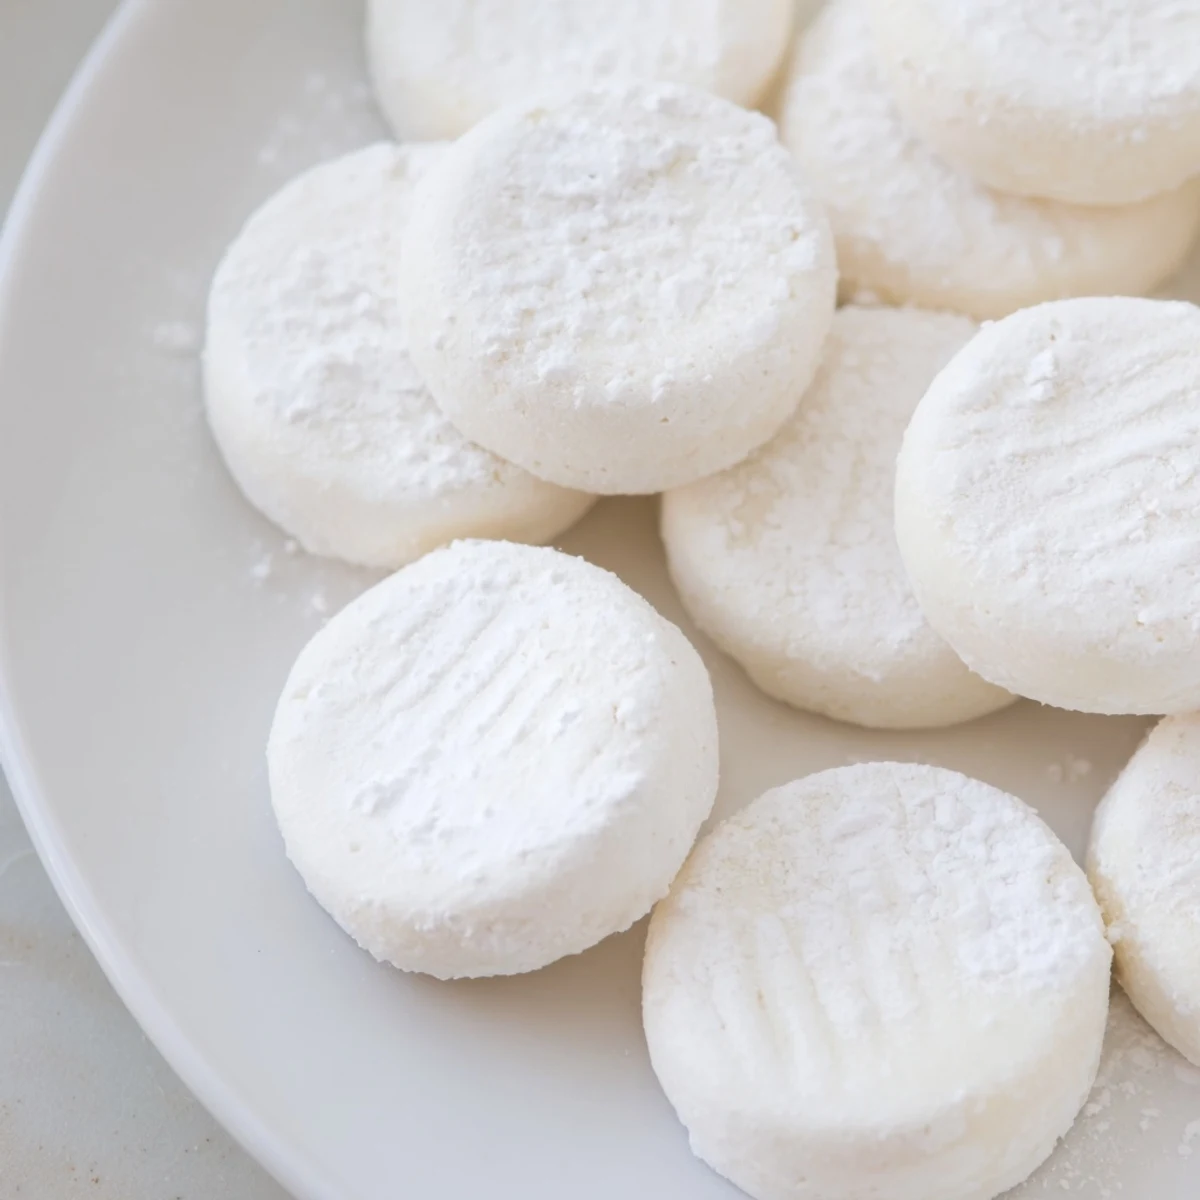
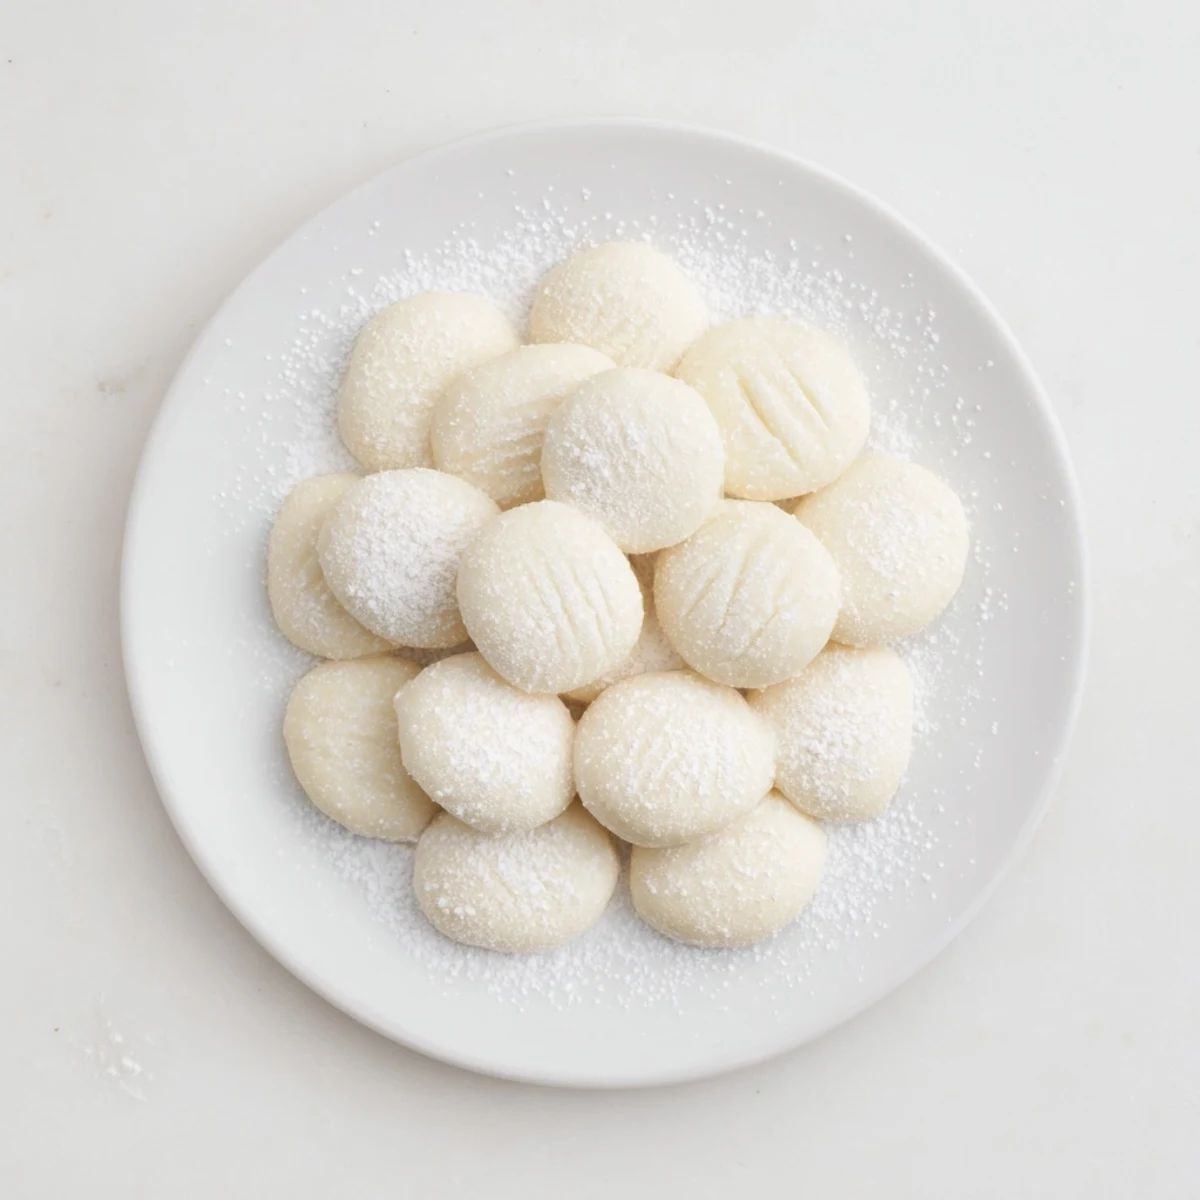
- Roll small bits of dough into balls about the size of a marble, then press them gently with a fork to flatten and create little ridges. They do not need to be perfect, the handmade look is part of their charm.
- Let them dry:
- Arrange the candies on parchment paper and leave them out at room temperature for an hour or two until they firm up and develop a slight crust. They should feel dry to the touch and hold their shape when you pick them up.
 Pin it
 I made these with my niece one winter afternoon, and she insisted on making hers into stars and hearts instead of circles. They looked wonky and wonderful, and she was so proud when we packed them into little bags tied with ribbon. She told everyone at school that she was a candy maker now, and I did not have the heart to tell her it was the easiest recipe I know.
Storage and Shelf Life
Keep them in an airtight container at room temperature, and they will stay fresh and crisp for up to two weeks. I like to layer them between sheets of parchment paper so they do not stick together, especially if the weather is humid. If you want to freeze them, they hold up surprisingly well for a month or two, though I have never had a batch last that long.
Flavor Variations
Swap the peppermint extract for spearmint if you want something a little softer and less sharp, or try lemon extract with a drop of yellow coloring for a bright, sunny twist. I once made a batch with orange extract and a hint of vanilla, and they tasted like creamsicles in candy form. The base recipe is so adaptable that you can follow your mood or whatever extract you find in the back of the cupboard.
Presentation Ideas
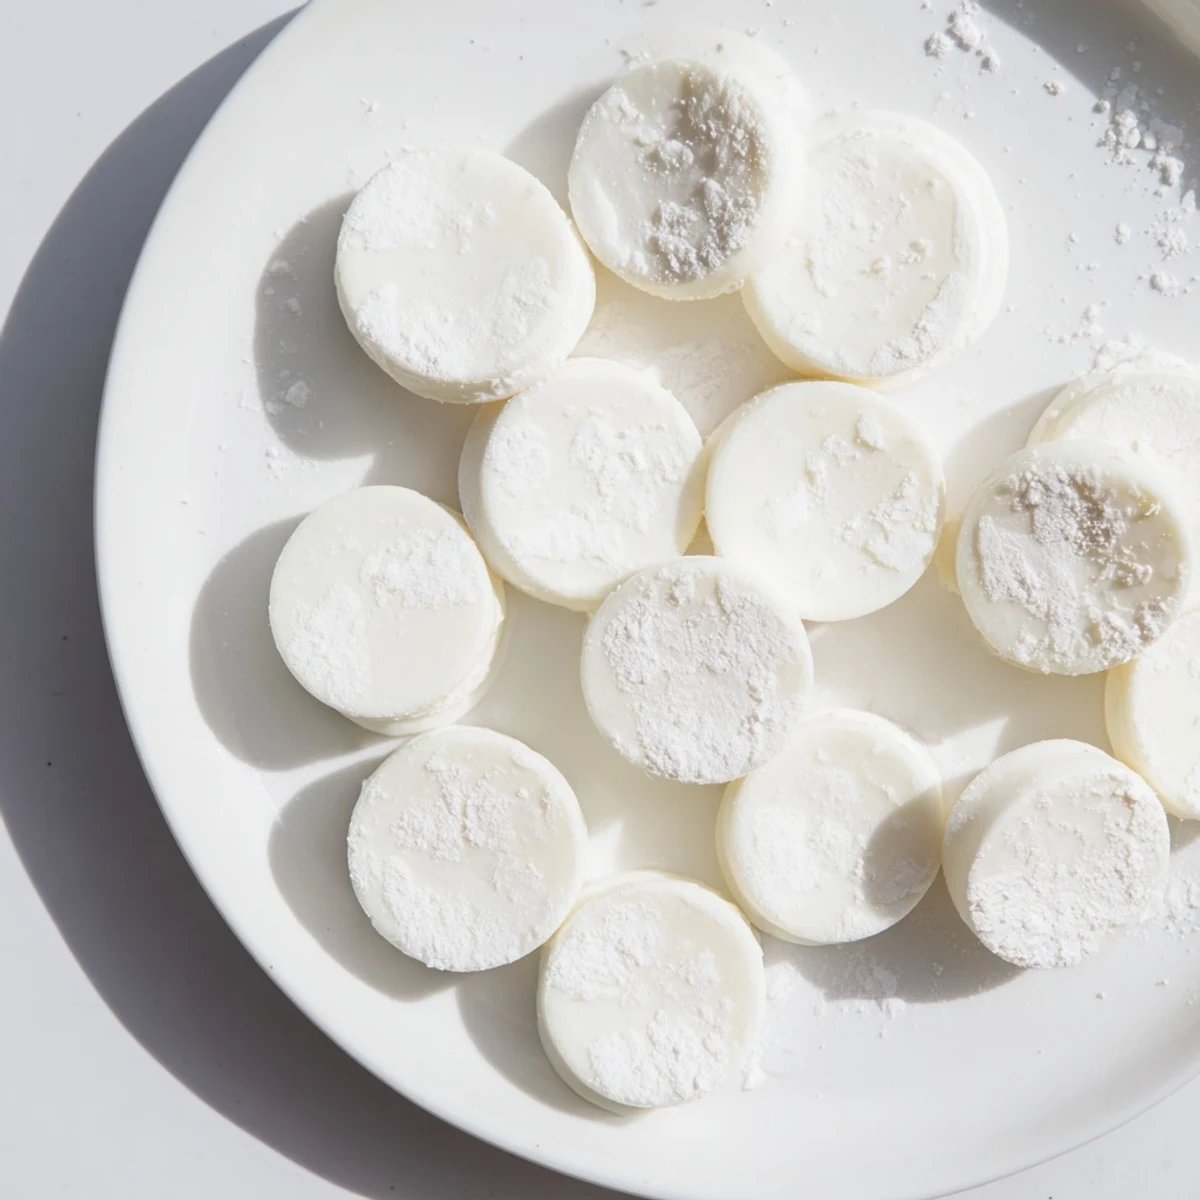
These candies look especially lovely rolled in coarse sugar before they dry, which gives them a sparkly, frosted appearance that catches the light. I have tucked them into mason jars with handwritten labels, tied them up in cellophane bags with ribbon, and even scattered them across dessert plates as a little surprise after dinner. They are small enough to feel like a gesture rather than a grand production, which is exactly what makes them so easy to share.
- Dust them with edible glitter for a festive touch that makes them look like something from a fairytale.
- Layer different colors in a clear jar so the stripes show through, it is simple but striking.
- Wrap a few in wax paper and tuck them into coat pockets or lunchboxes as a small, unexpected kindness.
 Pin it
 There is something deeply satisfying about making candy from scratch, even when it is this simple. It feels like a small act of magic, turning a handful of pantry staples into something that makes people pause and smile.
Recipe FAQs
- → How do I achieve a crisp texture in peppermint sweets?
-
Allow the shaped sweets to dry at room temperature for 1–2 hours until firm. This drying process is key to achieving a crisp texture without baking.
- → Can I use different extracts for variation?
-
Yes, peppermint extract can be swapped with spearmint or lemon extract for a unique flavor twist while maintaining freshness.
- → Is it necessary to use powdered sugar for the dough?
-
Powdered sugar is essential to create the soft, pliable dough with a smooth consistency and fine texture.
- → How can I add color to the sweets?
-
Divide the dough and knead in a few drops of food coloring to each portion before shaping for vibrant, festive sweets.
- → What tools are recommended for shaping these sweets?
-
A fork or the back of a spoon works well for flattening small dough balls into thin sweets on parchment paper.
