 Pin it
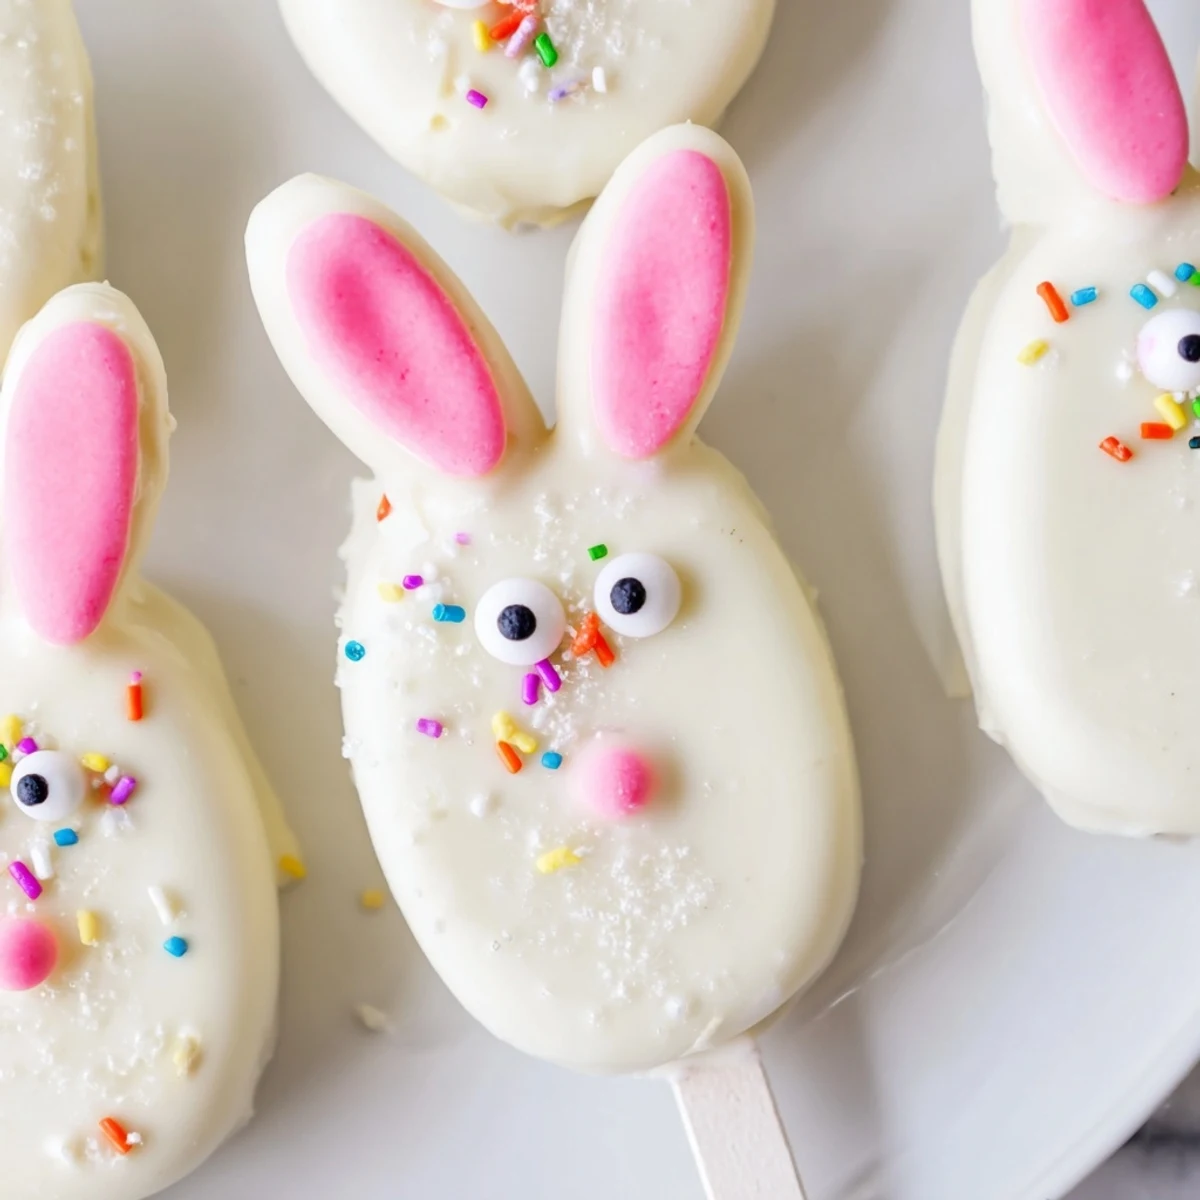
 These delightful bunny-shaped treats start with moist vanilla cake crumbs blended with cream cheese, butter, and vanilla for the perfect doughy consistency. After shaping into cute bunny faces and chilling until firm, each gets dipped in luscious melted white chocolate for that signature smooth coating.
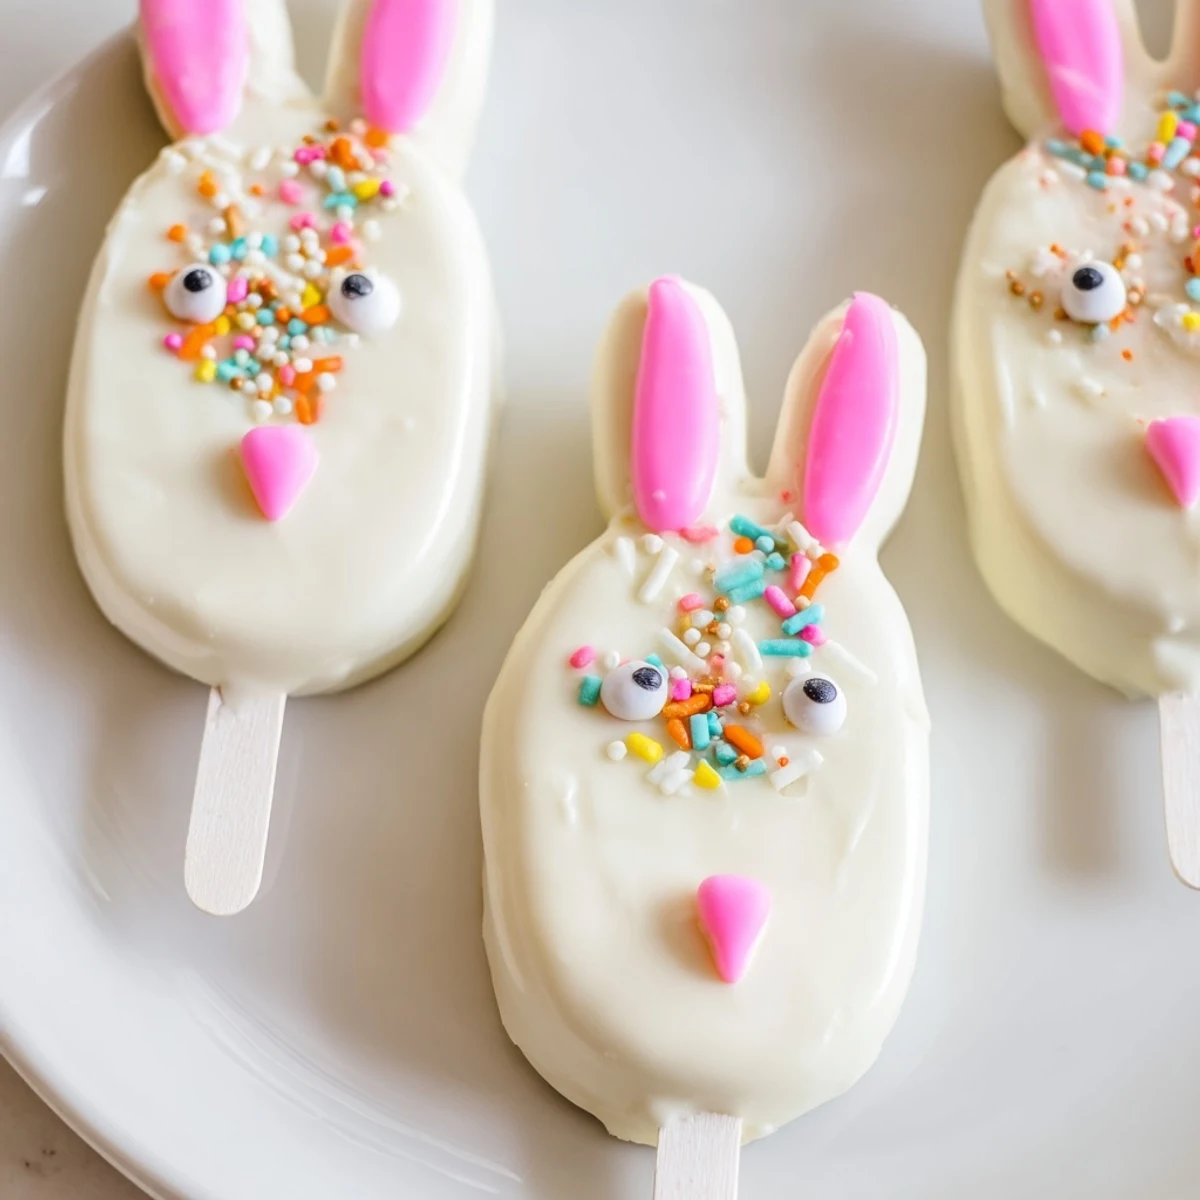
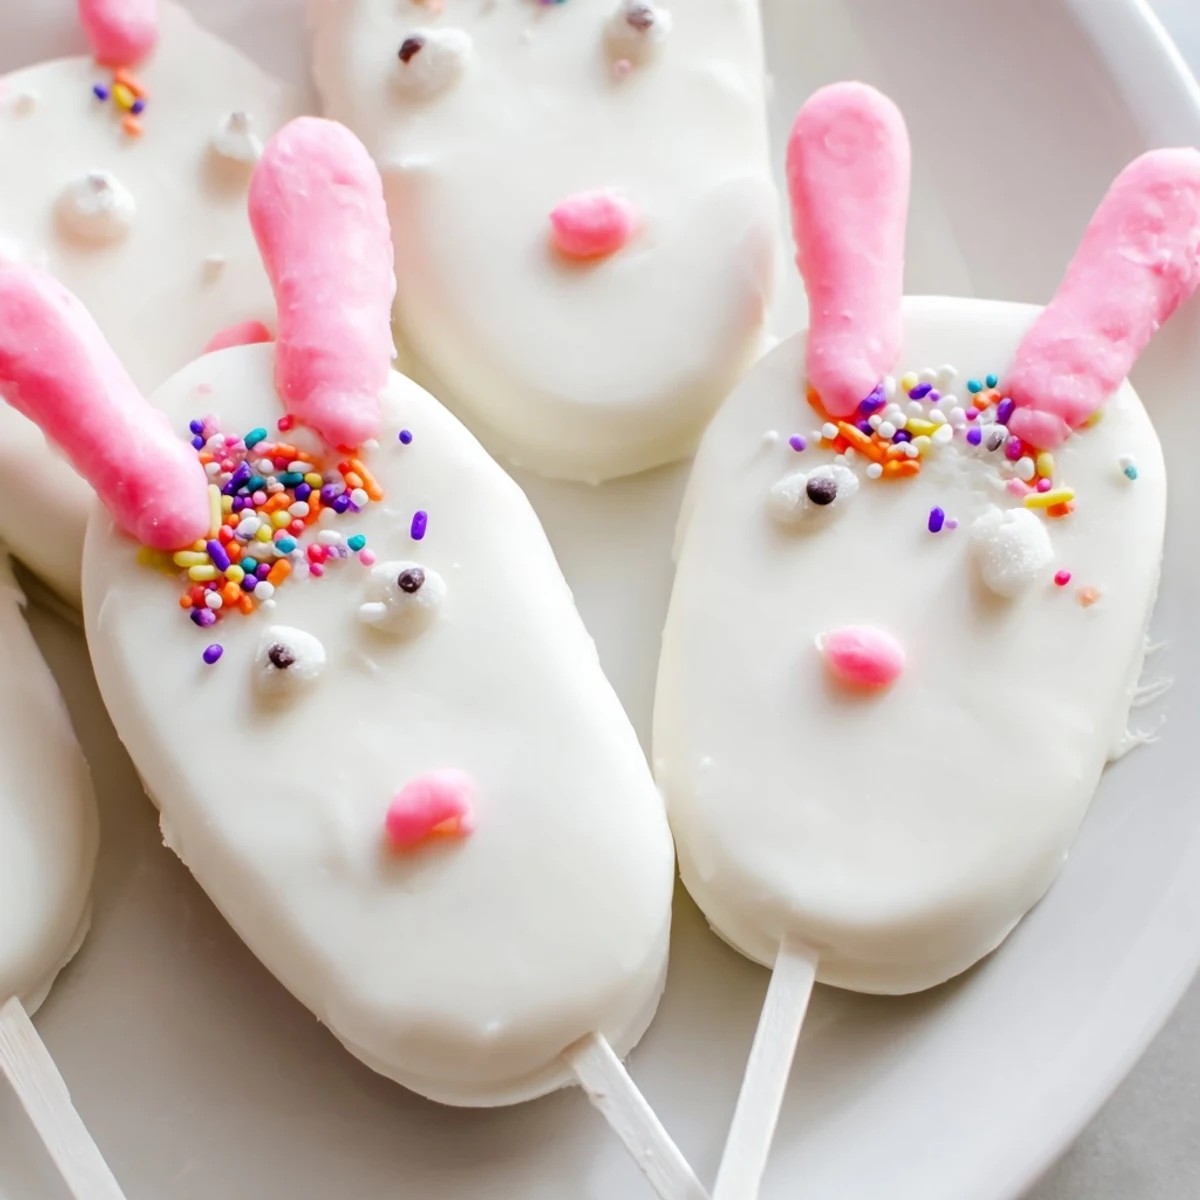
While the chocolate sets, decorate with candy eyes, colorful sprinkles, and fondant or pretzel stick ears to bring each bunny to life. The result is an irresistible combination of soft, sweet cake interior and creamy white chocolate exterior that's as fun to make as it is to eat.
Perfect for Easter baskets, spring parties, or as a creative weekend project with kids. Makes 8 adorable cakesicles ready to bring smiles to any celebration!
The first time I made these for my niece's Easter egg hunt, I accidentally dipped them upside down and created what she called 'confused bunnies.' Now it's our little tradition to make one topsy-turvy bunny every year. The kids crowd around the kitchen counter, fingers sticky with melted chocolate, while I try to keep everyone from eating the decorations before they make it onto the cakesicles.
Last spring, my neighbor's daughter helped me decorate fifty of these for a school fundraiser. We worked until midnight, listening to 80s pop songs and making increasingly ridiculous bunny expressions with the candy eyes. Some had crossed eyes, others had buck teeth made of sprinkles, and every single one sold before the bake sale officially opened.
Ingredients
- Vanilla cake crumbs: I've learned that slightly stale cake actually works better than fresh—it binds together without becoming gummy or falling apart
- Cream cheese: Room temperature is non-negotiable here; cold cream cheese creates lumps that are impossible to smooth out
- Unsalted butter: Softened butter helps the mixture hold its shape while adding just enough richness without overwhelming the white chocolate coating
- Powdered sugar: This tiny amount sweetens the cake mixture just enough to balance the tangy cream cheese
- Vanilla extract: Pure vanilla makes a noticeable difference in such a simple recipe—skip the imitation stuff
- White chocolate: Candy melts are easier for beginners but real white chocolate tastes infinitely better if you're comfortable tempering it
- Edible gel food coloring: Gel coloring won't seize your chocolate like liquid coloring does, and a little goes surprisingly far
- Cakesicle sticks: Paper sticks work fine but I've found that thicker wooden stems are sturdier for little hands
Instructions
- Mix the cake base:
- Combine everything in a medium bowl, mixing with your hands until it holds together like Play-Doh. You'll know it's ready when you can form a ball that doesn't crumble apart.
- Shape your bunnies:
- Portion into 8 equal pieces, then flatten each into an oval shape with slightly pointed ears at the top. Don't worry about perfection—bunny faces come in all shapes and sizes.
- Add the sticks:
- Gently push a stick about halfway into each bunny shape, wiggling it slightly to create space. Chill them for at least 20 minutes or until they feel firm to the touch—cold centers won't fall into warm chocolate.
- Melt the chocolate:
- Heat in 30-second intervals, stirring between each burst. Stop when there are still a few small lumps, then keep stirring until smooth—overheated white chocolate becomes grainy and stubborn.
- Dip and coat:
- Holding the stick, lower each bunny into the melted chocolate and submerge completely. Gently tap against the bowl edge to let excess drip off, then lift straight up to avoid drips down the stick.
- Decorate immediately:
- While the coating is still tacky, press on candy eyes and attach fondant ears. Work quickly because white chocolate sets faster than you expect—keep a toothpick handy for repositioning decorations.
- Set completely:
- Let them firm up at room temperature for about 20 minutes, or pop them in the fridge for 5 minutes if you're impatient like me. Once set, they're ready to face their admirers.
 Pin it
 My dad still talks about the year I made these for Easter brunch and accidentally made one bunny with enormous ears using modeling chocolate. He claimed it looked like a rabbit who'd heard something shocking, and now nobody in my family makes these without creating at least one 'surprised bunny' in his honor.
Getting the Coating Just Right
The consistency of your melted chocolate makes or breaks these treats. Too thick and it coats unevenly, too thin and it drips right off the cake center. I've found that 90 degrees Fahrenheit is the sweet spot for white chocolate—warm enough to flow smoothly but cool enough to set up quickly. If you don't have a thermometer, the chocolate should feel slightly cool to the touch, not warm.
Decoration Ideas That Actually Work
After countless failed experiments with elaborate fondant designs, I've settled on a few foolproof decorating approaches. Candy eyes placed slightly crossed create instant personality, while heart-shaped sprinkles turned upside down make adorable noses. Pink sugar pressed into the wet chocolate around the cheek area gives your bunnies a rosy glow without any special tools or skills.
Making These Ahead
These actually taste better after sitting overnight in the refrigerator, as the flavors have time to meld together. I've made them up to three days in advance, stored in an airtight container between layers of parchment paper. The white coating may develop tiny sugar blooms if stored too long, but a quick gentle rub with your finger brings back the shine.
 Pin it
 There's something about seeing these lined up on a platter that makes any Easter celebration feel complete. Happy baking, and may your bunnies be adorable and your chocolate stay smooth.
Recipe FAQs
- → How far in advance can I make these cakesicles?
-
These treats store beautifully for up to 3 days in an airtight container in the refrigerator. The white chocolate coating stays fresh and the cake remains moist. For best results, add delicate decorations like candy eyes just before serving to prevent any moisture from affecting them.
- → Can I use different cake flavors for the filling?
-
Absolutely! Chocolate, lemon, strawberry, or red velvet cake crumbs work wonderfully. The key is maintaining the right ratio of crumbs to cream cheese mixture—about 1 cup crumbs to 2 tablespoons cream cheese ensures the dough holds its shape when dipping.
- → What's the best way to melt white chocolate without seizing?
-
Melt in 30-second intervals in the microwave, stirring thoroughly between each burst. White chocolate is delicate—avoid overheating. If it becomes too thick, add 1 teaspoon of coconut oil or vegetable shortening to restore smooth dipping consistency.
- → Do I need a special cakesicle mold?
-
While molds create uniform shapes, they're not essential. Hand-shaping the dough into flattened ovals or bunny faces works perfectly. Just ensure the mixture is well-chilled before dipping—it helps maintain the shape and prevents the stick from slipping.
- → Can I make these dairy-free?
-
Yes! Substitute vegan cream cheese and butter alternatives for the cake mixture. Use dairy-free white chocolate melts for coating—many brands now offer excellent options that melt smoothly and set beautifully without any dairy ingredients.
