 Pin it
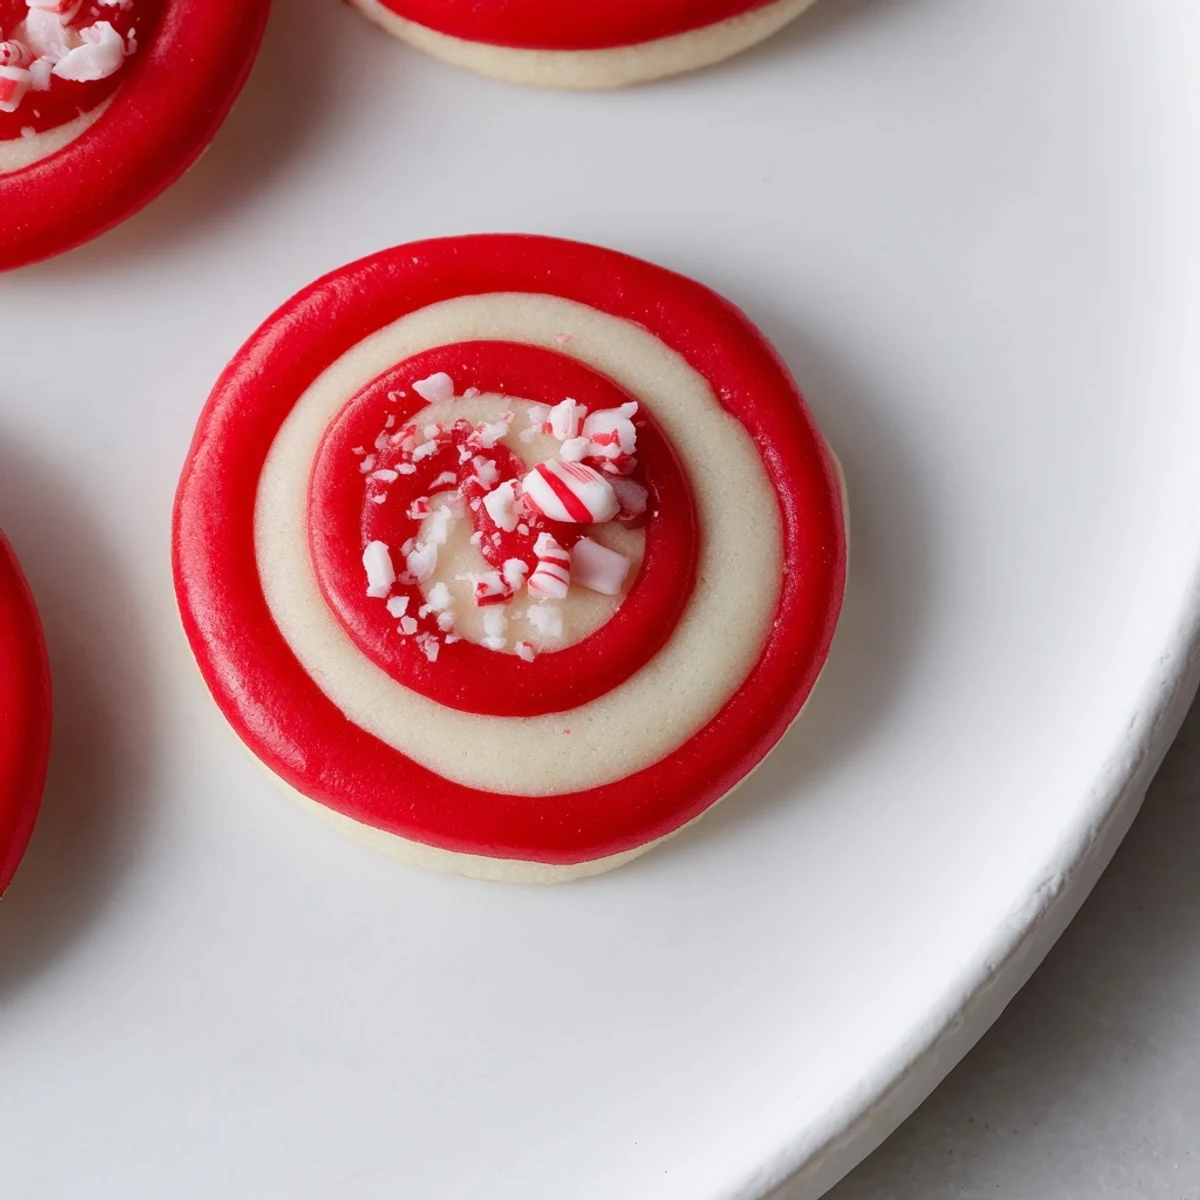
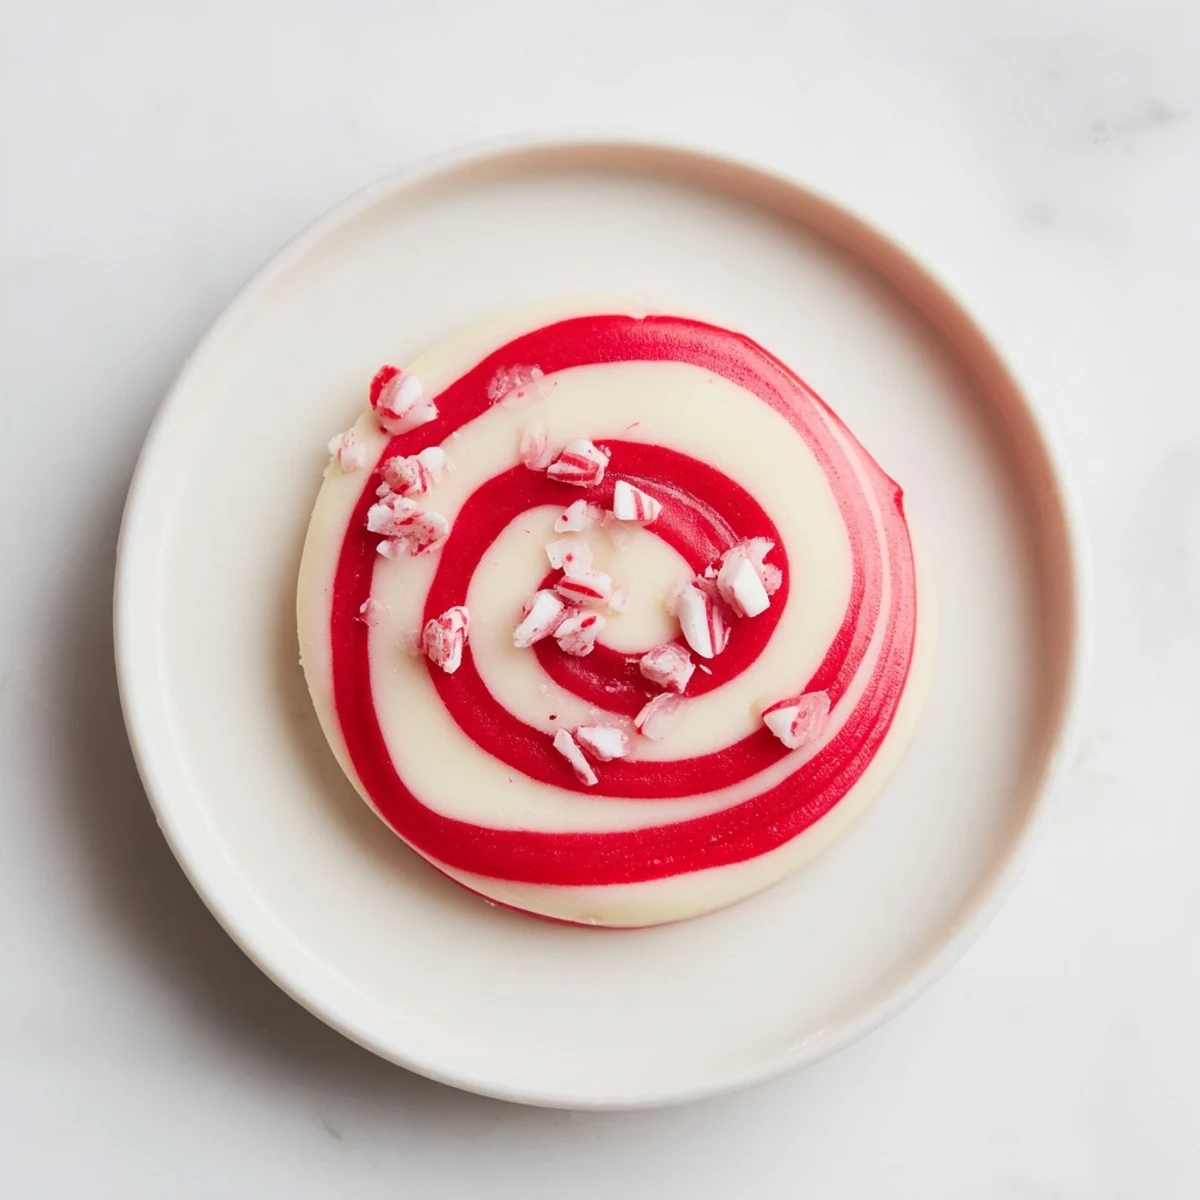
 These peppermint swirl cookies combine soft dough with a vibrant red gel-colored swirl for a festive appearance. With a delicate peppermint flavor enhanced by extract and optional crushed candy garnish, they deliver a refreshing sweetness. The dough is chilled before rolling and slicing for clean spirals, then baked just until set, yielding tender, medium-difficulty treats. Perfect paired with hot chocolate or peppermint tea, they offer a charming holiday indulgence or anytime delight.
My mom used to make these swirl peppermint cookies every December, and honestly, I was more mesmerized by the red-and-white spiral than the taste at first. Years later, I finally asked her for the recipe, expecting something complicated, but it turned out to be this perfect marriage of vanilla dough, peppermint extract, and bold food coloring. The moment I made my first batch and saw those clean spirals slice through like candy canes, I understood why she'd make them by the dozen. Now they're the first thing I bake when the kitchen smells like cinnamon and the season shifts toward something sweeter.
I brought a batch to a holiday potluck once, and they disappeared before I even sat down with my plate. A coworker came back asking if I'd sell her twelve more for her office party, and that's when I realized these weren't just pretty cookies—they were the kind of thing people actually remember eating.
Ingredients
- All-purpose flour (2 1/4 cups): The foundation that keeps these cookies structured and slightly tender, not cakey.
- Baking powder (1/2 teaspoon): Just enough lift to make them light without being airy or crumbly.
- Salt (1/4 teaspoon): Brings out the peppermint and balances the sweetness so they don't taste one-dimensional.
- Unsalted butter (3/4 cup): Softened butter creams into the sugar beautifully, creating that tender crumb that makes these cookies special.
- Granulated sugar (3/4 cup): The sweetness here is deliberate—not overly sugary, which lets the peppermint shine.
- Large egg: Binds everything together and adds richness without making the dough wet or sluggish.
- Vanilla extract (2 teaspoons): The backbone flavor that stops the peppermint from being too sharp or medicinal.
- Peppermint extract (1/2 teaspoon): Pure and potent—start here, taste, then adjust if you want it stronger (some people like a delicate hint, others want the full punch).
- Red gel food coloring: Gel holds its color better than liquid, giving you that vibrant swirl without making the dough wet or grainy.
- Crushed peppermint candies (1/4 cup, optional): A textural surprise on top, plus it signals "festive" before anyone even bites into one.
Instructions
- Whisk Your Dry Ingredients:
- In a medium bowl, combine the flour, baking powder, and salt—this ensures the leavening is evenly distributed so your cookies rise predictably. Set it aside and don't overthink this step; it takes 30 seconds.
- Cream Butter and Sugar Until Fluffy:
- With an electric mixer on medium speed, beat the softened butter and sugar for about 2 minutes until it looks pale and fluffy, almost mousse-like. This is where the magic happens—you're incorporating air that makes these cookies tender instead of dense.
- Add Eggs and Extracts:
- Drop in the egg, vanilla extract, and peppermint extract, then beat until everything is fully combined and the mixture looks smooth. You'll notice the peppermint aroma hit you immediately—that's how you know it's working.
- Fold in the Dry Mixture:
- Gradually add the whisked dry ingredients to the wet mixture, stirring on low speed until a soft, cohesive dough forms without any visible flour streaks. Don't overmix here; you want the dough tender, not tough.
- Color Half the Dough:
- Divide the dough in half, then add several drops of red gel food coloring to one half and knead it gently until the color is even and no white streaks remain. The red dough should look like a natural peppermint, not artificial or splotchy.
- Roll Out Thin Rectangles:
- Between two sheets of parchment paper, roll each dough half into a thin rectangle about 1/4-inch thick and roughly 9x7 inches—think of it as the size of a small greeting card. The thinner you roll, the more defined your swirl will be.
- Layer and Roll Into a Log:
- Carefully peel the top parchment off the red dough rectangle and flip it onto the plain dough rectangle so they're stacked. Using the parchment as your guide, roll both layers tightly together from the long edge into one compact log, like you're rolling up a yoga mat.
- Chill Until Firm:
- Wrap the log in plastic wrap or foil and refrigerate for at least 1 hour—or even overnight if your schedule allows, as a colder log slices cleaner. You'll know it's ready when you can slice through it without the dough squishing or deforming.
- Preheat and Prepare Baking Sheets:
- Heat your oven to 350°F (175°C) and line your baking sheets with parchment paper so the cookies won't stick and you'll have an easy cleanup. This also helps them bake evenly from the bottom up.
- Slice and Arrange:
- Using a sharp knife, slice the chilled log into 1/4-inch thick rounds and place them on your prepared baking sheets about 2 inches apart to give them room to spread slightly. You should get roughly 24 cookies depending on how thick you slice.
- Optional Garnish:
- If using crushed peppermint candies, sprinkle a small pinch on top of each cookie just before baking for a subtle crunch and festive sparkle. It's completely optional, but it ups the visual impact.
- Bake Until Just Set:
- Bake for 9–11 minutes—your oven may vary, so watch for the moment they look set but haven't started to brown around the edges. They'll continue cooking slightly on the hot baking sheet after you remove them from the oven.
- Cool Properly:
- Let them sit on the baking sheet for 5 minutes so they firm up enough to handle, then transfer to a wire rack to cool completely. This two-stage cooling prevents them from breaking apart and gives you that perfect tender texture.
 Pin it
 I remember standing in my kitchen at midnight on the 23rd of December, slicing these cookies fresh from the cooling rack while my partner made hot chocolate. The cookies were still warm, the peppermint scent was everywhere, and that moment—just the two of us, the quiet kitchen, those perfect spirals—felt like the entire holiday distilled into one small, beautiful thing.
The Story Behind the Swirl
Swirl cookies have this old-fashioned charm that feels timeless, but they're actually trickier than they seem at first glance. The key is understanding that you're not marbling or decorating the cookie after it's baked—you're engineering the swirl into the dough itself so every slice reveals the same clean pattern. That's what makes these peppermint swirls so satisfying to look at; there's no guesswork involved once you nail the rolling and chilling technique.
Why Peppermint and Vanilla Work Together
Peppermint can be aggressive on its own—too medicinal, too sharp—but vanilla acts as a softening agent that rounds out the edges and lets the peppermint sparkle without overwhelming your mouth. The combination tastes intentional and balanced, like someone thought deeply about flavor instead of just dumping peppermint extract into a sugar cookie. This ratio respects both flavors equally, which is why these cookies taste festive rather than feel like eating a candy cane.
Storage and Serving Ideas
These cookies stay fresh and crispy in an airtight container for up to a week, though they rarely last that long in my house. They pair beautifully with hot chocolate, peppermint tea, or even black coffee if you want a sharp contrast to their sweetness.
- Store them in a container with a sheet of parchment between layers so they don't stick together or break.
- If they soften, pop them back in a 300°F oven for 3 minutes to re-crisp them without overbaking.
- These freeze beautifully unbaked—slice and freeze the log, then bake straight from frozen, adding just 1–2 minutes to the bake time.
 Pin it
 These swirl peppermint cookies have become my holiday tradition, and honestly, they're the reason people ask me to bring dessert to gatherings. They look like you have professional baking skills, but they're forgiving enough that anyone can make them feel like they do too.
Recipe FAQs
- → How do I achieve the red and white swirl effect?
-
Divide the dough into two portions, color one with red gel food coloring, then stack and roll both layers into a log before slicing to reveal the swirl.
- → Can I make the cookies spicier with peppermint flavor?
-
Yes, increase the peppermint extract slightly or add crushed peppermint candies on top for a bolder minty taste.
- → What is the best way to store these cookies?
-
Store the cookies in an airtight container at room temperature for up to one week to maintain freshness.
- → Why is chilling the dough important before baking?
-
Chilling firms the dough, preventing spreading during baking and helps maintain the neat swirl pattern.
- → Are there any suggested beverage pairings?
-
These cookies pair wonderfully with hot chocolate or a warm cup of peppermint tea for an enhanced festive experience.
