 Pin it
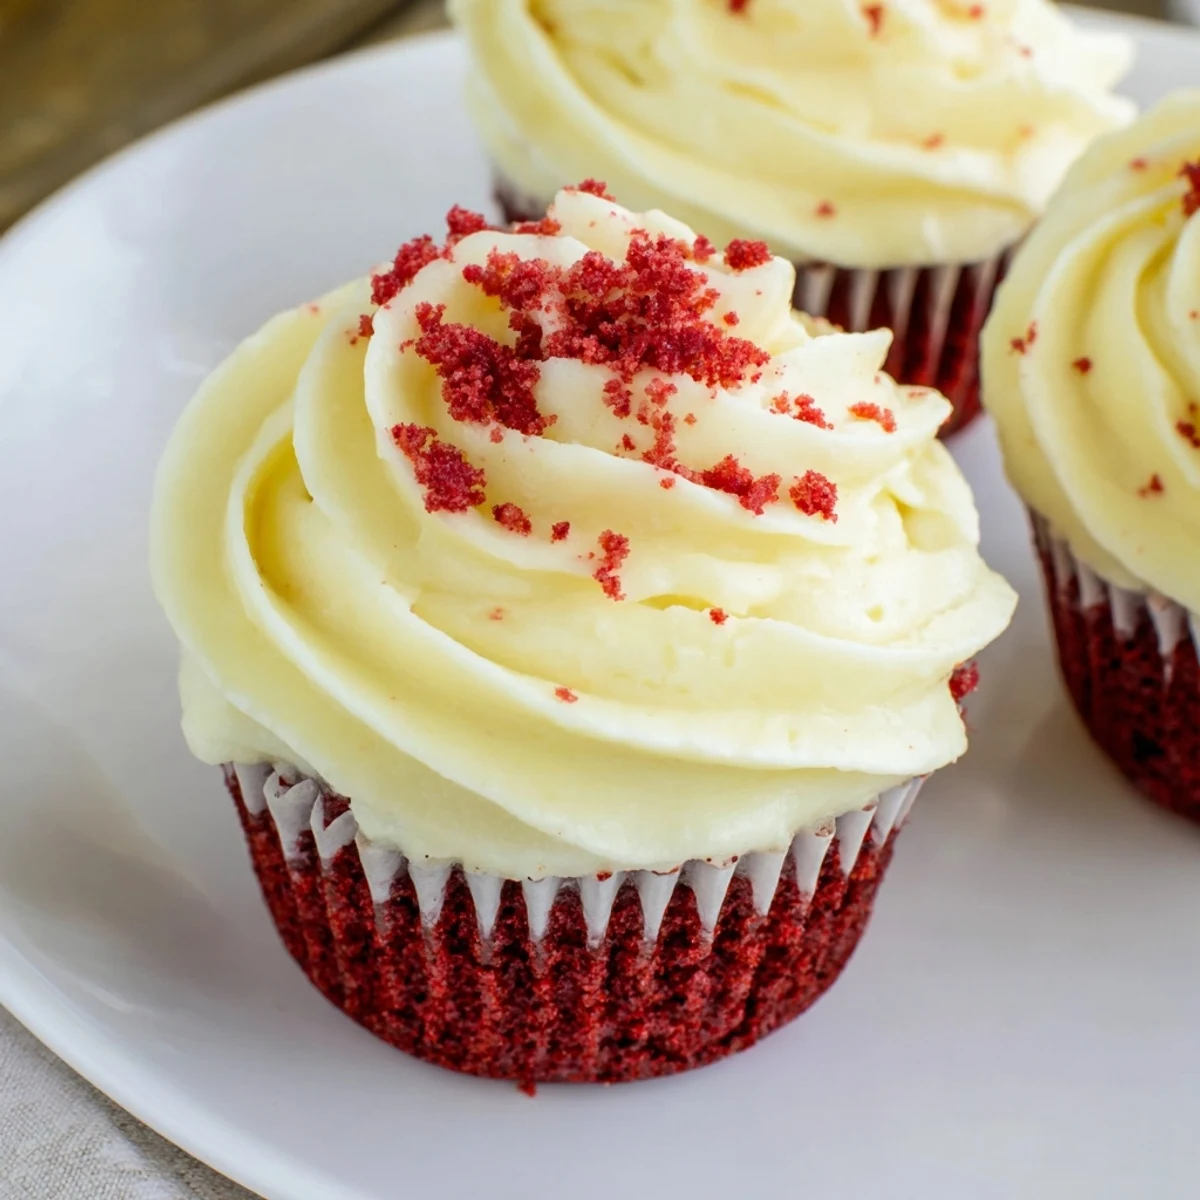
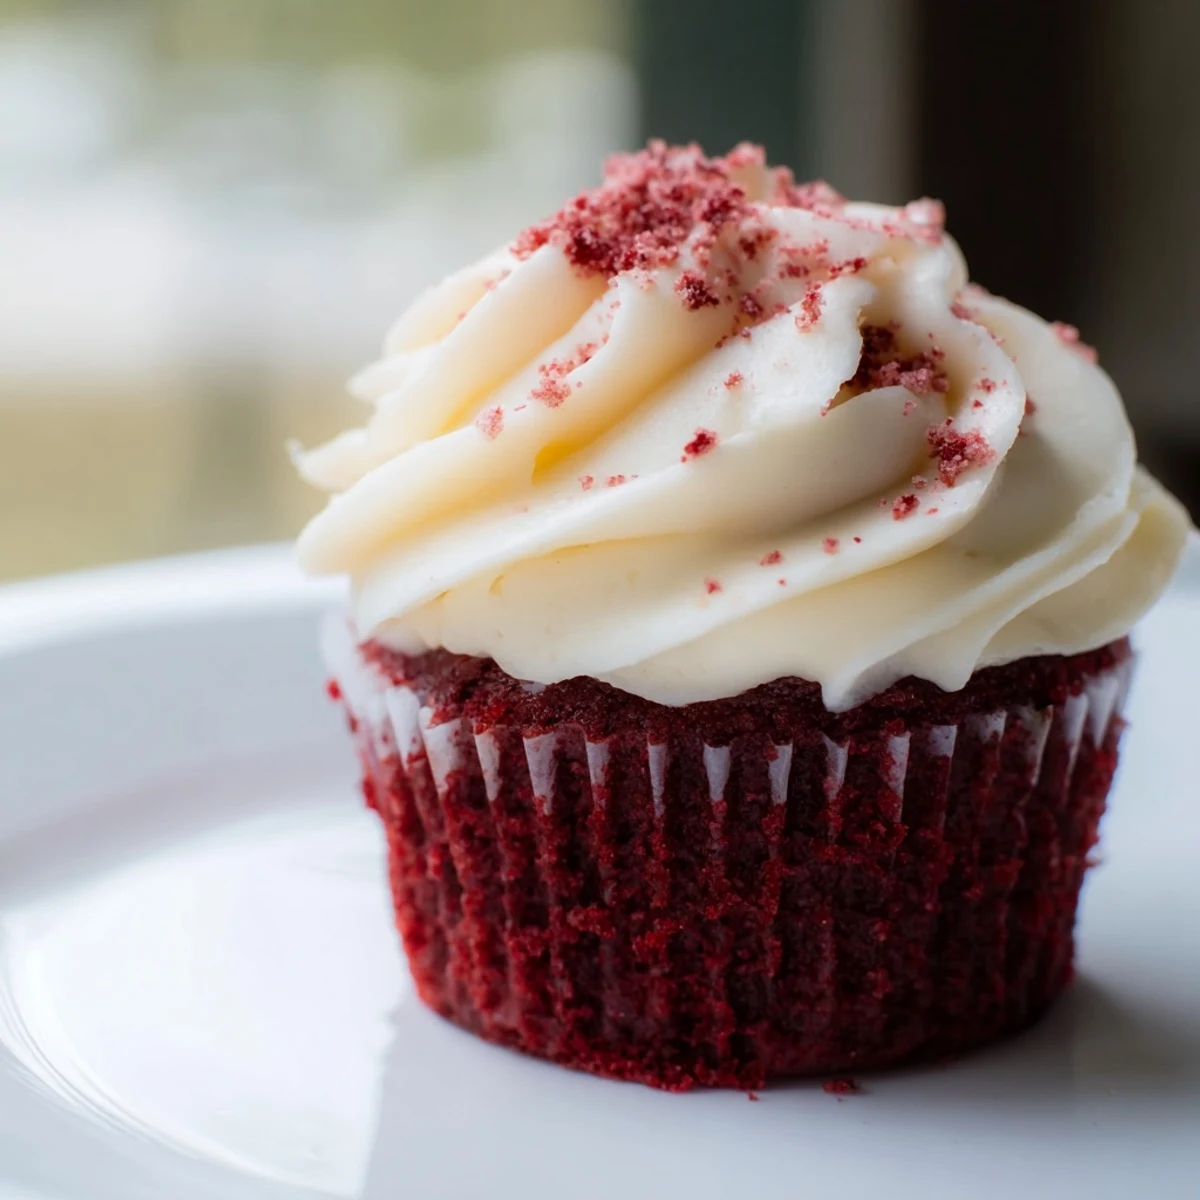
 These red velvet cupcakes are wonderfully moist and tender, offering a rich cocoa flavor balanced by a splash of red food coloring. The batter combines buttermilk and sour cream for extra softness, while the white vinegar enhances the cake's light, airy texture. Topped with a luscious cream cheese frosting, made smooth and creamy by butter and powdered sugar, these treats are perfect for celebrations or simple indulgence. Baking is straightforward, requiring basic tools and common ingredients. Store refrigerated and bring to room temperature before serving for the best taste.
My neighbor showed up at my door one rainy Tuesday with a bakery box, and inside were these crimson cupcakes that looked almost too pretty to eat. She wouldn't tell me where she got them, just smiled and said I should try making my own. That weekend, I did, and my kitchen smelled like vanilla and butter for hours.
I made these for my daughter's birthday last spring, and she insisted on helping frost every single one. We ended up with frosting on the counter, the floor, and somehow on the dog, but those cupcakes disappeared faster than anything I'd ever baked. She still asks for them whenever we have people over.
Ingredients
- All-purpose flour: This gives the cupcakes their tender crumb, and I always spoon it into the measuring cup instead of scooping to avoid packing it down.
- Unsweetened cocoa powder: Just a touch adds depth without making them taste like chocolate, more like a hint of something familiar you can't quite name.
- Baking soda: This reacts with the vinegar and buttermilk to create that soft, airy texture you want in a cupcake.
- Unsalted butter (softened): Room temperature butter creams beautifully with sugar, and I learned the hard way that cold butter makes lumpy batter.
- Granulated sugar: It sweetens and helps create that light, fluffy structure when beaten with the butter.
- Eggs (room temperature): Cold eggs can shock the batter and make it curdle, so I set mine out about thirty minutes before I start.
- Buttermilk (room temperature): The acidity tenderizes the crumb and gives the cupcakes a subtle tang that keeps them from being too sweet.
- Sour cream (room temperature): This keeps them incredibly moist and adds a richness that makes each bite feel a little indulgent.
- Vanilla extract: I use the real stuff because it makes the whole kitchen smell like a bakery.
- Red food coloring: Gel works better than liquid if you want that deep, vibrant red without thinning the batter.
- White vinegar: It reacts with the baking soda and also brightens the red color in a way that feels like kitchen magic.
- Cream cheese (softened): This is the heart of the frosting, and it has to be soft or you'll end up with lumps no amount of beating will fix.
- Powdered sugar (sifted): Sifting it first means no gritty frosting, just smooth sweetness that melts on your tongue.
Instructions
- Prep your pan:
- Preheat the oven to 350°F and line your muffin tin with paper liners. I like to set everything up first so I'm not scrambling once the batter is ready.
- Mix the dry ingredients:
- Whisk together the flour, cocoa powder, baking soda, and salt in a medium bowl. Set it aside and resist the urge to skip the whisking, it really does make a difference.
- Cream the butter and sugar:
- Beat the softened butter and sugar together until it's light, fluffy, and pale, about 2 to 3 minutes. This step adds air and makes your cupcakes tender.
- Add the eggs:
- Crack in the eggs one at a time, beating well after each one goes in. The batter should look smooth and a little glossy.
- Blend the wet ingredients:
- Stir in the buttermilk, sour cream, vanilla, and red food coloring until everything is combined and the color is even. The batter will look vivid and almost unreal.
- Fold in the dry ingredients:
- Add the flour mixture in two parts, mixing just until you don't see any streaks of flour. Overmixing makes tough cupcakes, and nobody wants that.
- Stir in the vinegar:
- Add the vinegar and give it a quick stir. You might see the batter bubble slightly, that's exactly what you want.
- Fill the liners:
- Divide the batter evenly among the cupcake liners, filling each about two-thirds full. I use a cookie scoop to keep them uniform.
- Bake until done:
- Bake for 16 to 18 minutes, or until a toothpick comes out clean. The tops should spring back when you touch them lightly.
- Cool completely:
- Let them cool in the pan for 5 minutes, then move them to a wire rack. Frosting warm cupcakes will turn into a melty mess.
- Make the frosting:
- Beat the cream cheese and butter together until smooth and creamy. Gradually add the powdered sugar, vanilla, and salt, and beat until it's fluffy and holds its shape.
- Frost generously:
- Once the cupcakes are completely cool, pipe or spread the frosting on top. Don't be shy, the frosting is half the joy.
 Pin it
 These cupcakes showed up at my friend's baby shower, and I watched people take photos before they even peeled the liner off. One guest asked if I'd made them from scratch, and when I said yes, she looked at me like I'd performed a magic trick. That's the thing about red velvet, it always feels a little special.
Getting the Color Just Right
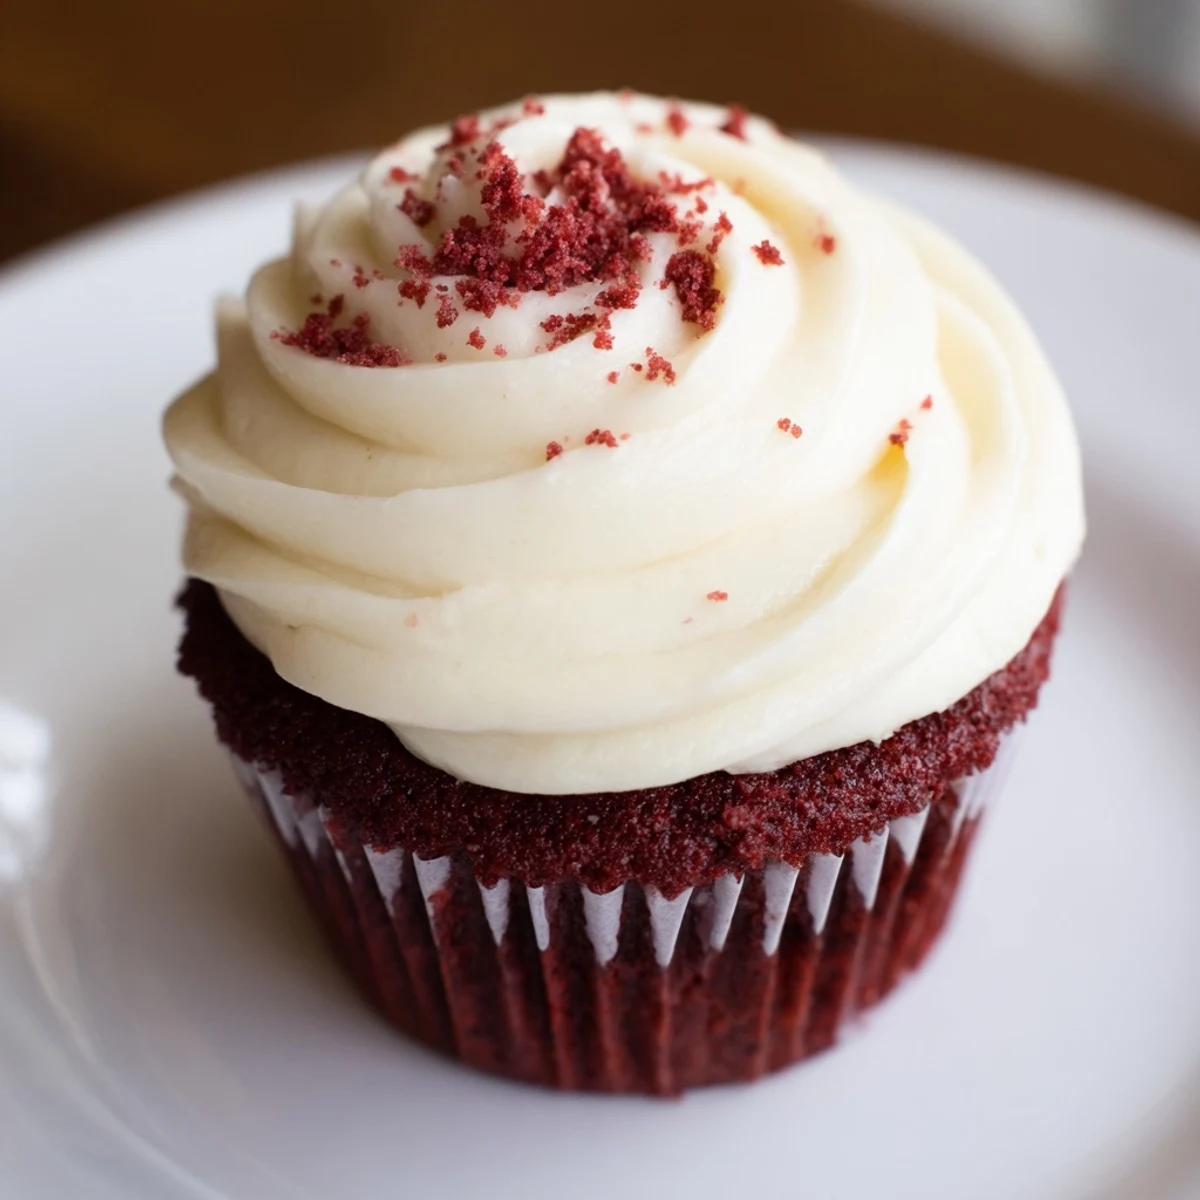
The first time I made these, I used liquid food coloring and ended up with pink cupcakes instead of red. Gel food coloring is stronger and won't water down your batter, so you get that deep, bakery-style red without needing half a bottle. Start with a tablespoon and add more if you want them darker, just remember the color deepens as they bake.
Storing and Serving
I always keep frosted cupcakes in the fridge because of the cream cheese, but I pull them out about twenty minutes before serving so the frosting softens and the cake isn't cold. They'll stay fresh for up to three days, though in my house they rarely last that long. If you want to freeze them, wrap unfrosted cupcakes tightly and frost them after thawing.
Making Them Your Own
You can top these with red velvet crumbs, sprinkles, or even a dusting of cocoa powder for a more elegant look. I've added mini chocolate chips to the batter before, and it gave them a fun twist without losing that classic red velvet flavor. Sometimes I pipe the frosting into tall swirls, other times I just spread it with a knife and call it rustic.
- Use a piping bag with a star tip if you want bakery-style swirls.
- If you don't have buttermilk, mix regular milk with a teaspoon of lemon juice and let it sit for five minutes.
- Let the butter and cream cheese soften naturally on the counter, the microwave can make them greasy.
 Pin it
 There's something about pulling a tray of these out of the oven and seeing that deep red color that makes all the measuring and mixing feel worth it. I hope they become a favorite in your kitchen too.
Recipe FAQs
- → What gives red velvet its distinctive color?
-
The vibrant red hue comes from the added red food coloring, which can be liquid or gel for deeper color intensity.
- → How does buttermilk affect the cupcakes?
-
Buttermilk adds moisture and a slight tang, enhancing the softness and flavor depth in the cupcake crumb.
- → Why is vinegar used in the batter?
-
Vinegar reacts with baking soda to create a tender texture and subtle rise, contributing to a light and airy crumb.
- → Can these cupcakes be stored for later?
-
Yes, keep frosted cupcakes refrigerated for up to three days and allow them to warm to room temperature before serving.
- → What tools are needed to make these cupcakes?
-
A muffin tin, paper liners, mixing bowls, a hand or stand mixer, a wire rack, and a piping bag or spatula for frosting are recommended.
