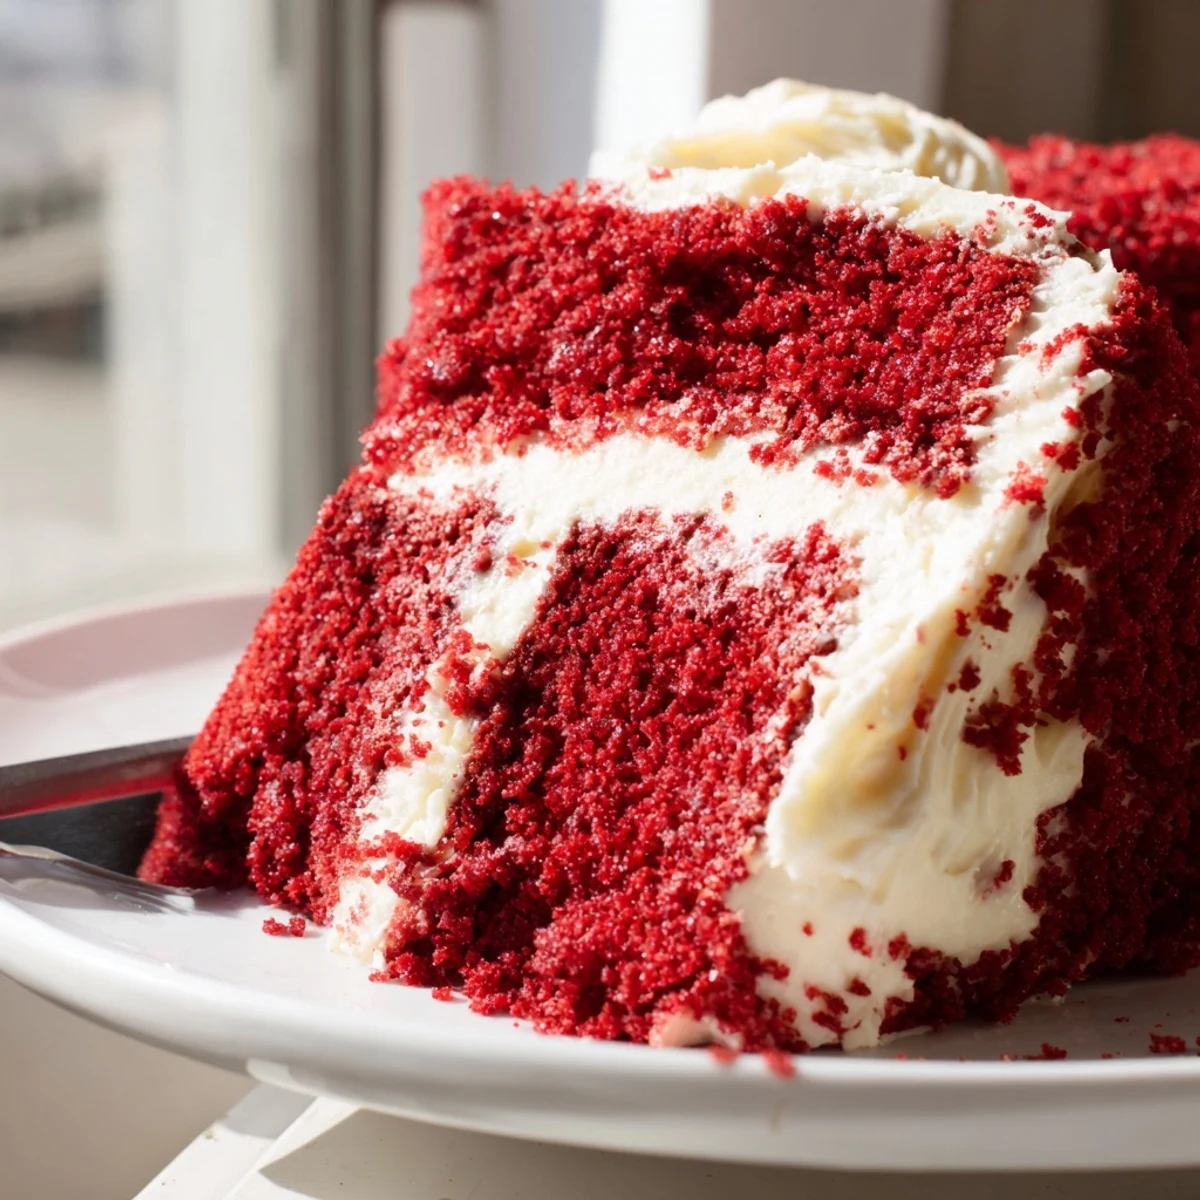
 Pin it
 This beloved American classic combines tender, vibrant red layers with just a hint of cocoa. The tangy cream cheese frosting perfectly balances the sweetness, creating that signature flavor everyone loves. Ideal for birthdays, holidays, or anytime you want to impress.
The first time I made red velvet cake, I accidentally doubled the food coloring and ended up with something closer to maroon than velvet. My sister called it 'the cake that bled,' but the flavor was so incredible nobody cared about the color mishap. Now I know that perfect shade comes from patience, not pouring, and that this cake deserves its reputation as the showstopper of Southern baking.
I made this cake for my best friends birthday last year, and her three-year-old kept calling it 'the princess cake' because of the stunning red layers against the white frosting. The best part was watching all the adults go back for seconds, each one pretending they were just 'testing the texture.' Theres something about this combination that turns ordinary moments into memories.
Ingredients
- All-purpose flour: The structure that holds everything together. Sift it first to avoid any lumps in your velvety crumb.
- Granulated sugar: Sweetness and tenderness. Dont reduce this or youll lose that signature moist texture.
- Baking soda: The lift that makes the layers rise beautifully. Make sure its fresh for the best results.
- Fine salt: Enhances all the flavors and balances the sweetness. Use table salt rather than coarse flakes.
- Unsweetened cocoa powder: Just enough to give depth without overpowering. Dutch-processed gives the smoothest flavor.
- Vegetable oil: The secret to staying moist longer than butter-based cakes. Neutral oil lets the other flavors shine.
- Buttermilk: Adds tang and tenderizes the gluten. Room temperature ingredients blend more evenly.
- Large eggs: Structure and richness. Let them come to room temperature for better incorporation.
- Red food coloring: The signature hue. Gel coloring gives more vibrant results with less liquid.
- White vinegar: Reacts with baking soda for extra lift and enhances the red color development.
- Cream cheese: Use full-fat brick cheese, not spreadable tubs, for the best frosting consistency.
- Unsalted butter: Adds structure to the frosting. Softened to room temperature for smooth mixing.
- Powdered sugar: Sift before adding to avoid lumps. This sweetness balances the tangy cream cheese.
Instructions
- Preheat your oven:
- Set to 350°F (175°C) and prepare two 9-inch round pans with grease and flour or parchment paper for easy release.
- Whisk the dry ingredients:
- Combine flour, sugar, baking soda, salt, and cocoa powder in a large bowl until everything is evenly distributed.
- Mix the wet ingredients:
- In another bowl, whisk oil, buttermilk, eggs, red food coloring, vanilla, and vinegar until completely smooth and uniform.
- Combine the mixtures:
- Pour wet ingredients into dry ingredients and mix gently until just combined. Overmixing will make the cake tough.
- Divide and bake:
- Spread batter evenly between prepared pans and bake for 28 to 32 minutes until a toothpick in the center comes out clean.
- Cool the layers:
- Let cakes rest in pans for 10 minutes, then turn onto wire racks to cool completely before frosting.
- Make the frosting:
- Beat softened cream cheese and butter until smooth. Gradually add sifted powdered sugar, then mix in vanilla and salt until fluffy.
- Assemble the cake:
- Place one layer on your serving plate, spread frosting generously, add the second layer, then frost the top and sides completely.
- Chill before serving:
- Refrigerate for 30 minutes to set the frosting, making cleaner slices and better texture.
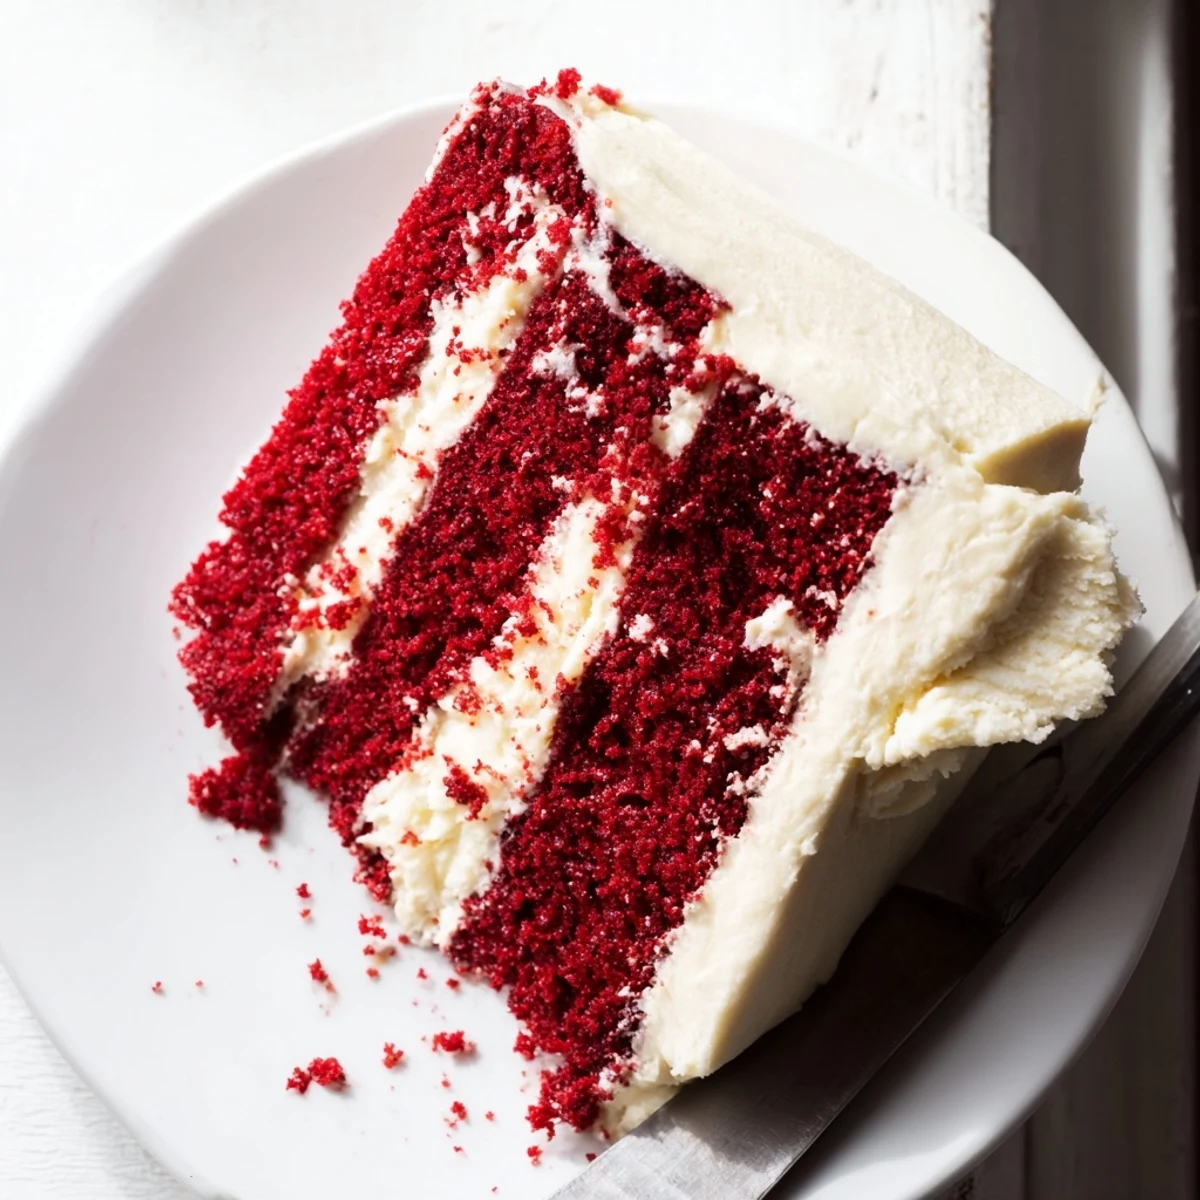 Pin it
 My grandmother always said red velvet cake tasted better the next day, once the flavors had time to marry and the frosting had softened into the crumb. She would make it the evening before family gatherings and I swear she was right about the magic that happens overnight.
Getting The Perfect Red Color
Gel food coloring is worth every penny for this recipe. Liquid coloring can thin the batter and affect the baking, while gel delivers concentrated color with minimal liquid. Start with one tablespoon and add more only if needed. Remember that the color bakes slightly darker than the raw batter looks.
Frosting Like A Pro
Always frost a completely cool cake. Even slightly warm layers will melt the frosting and cause sliding or drips that cannot be fixed. If you are nervous about frosting, try doing a thin crumb coat first, chill for 15 minutes, then add the final layer of frosting for a perfectly smooth finish.
Make It Your Own
This classic cake is beautifully adaptable. Toasted pecans between the layers add a Southern crunch, while fresh berries on top make it feel lighter for summer. For special occasions, try adding a tablespoon of espresso powder to deepen the chocolate notes without changing the classic velvet profile.
- Try adding orange zest to the frosting for a bright twist
- Swap some of the all-purpose flour for cake flour for an even more tender crumb
- Mini cupcakes bake in 15 to 18 minutes if you want individual portions
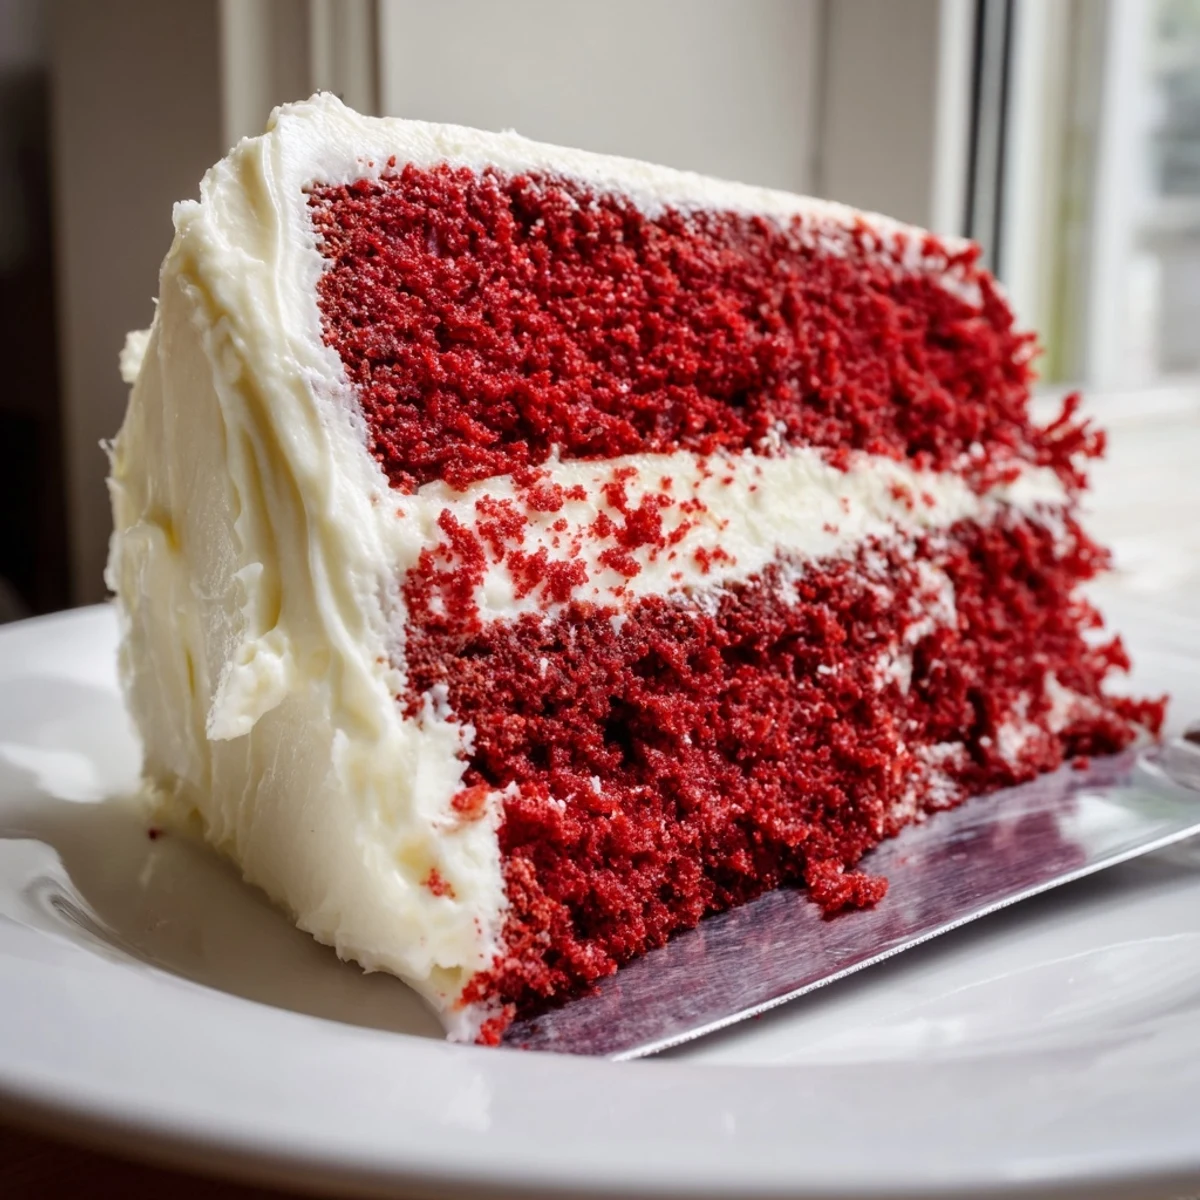 Pin it
 There is something magical about slicing into that red and white beauty and seeing everyones faces light up. This cake has a way of making any occasion feel like a celebration worth remembering.
Recipe FAQs
- → Why is my red velvet cake dry?
-
Overbaking is the most common cause. Check at 28 minutes and remove when toothpick comes clean with moist crumbs. Also ensure you're measuring flour properly and not overmixing the batter.
- → Can I make red velvet cake ahead of time?
-
Yes, the unfrosted layers can be wrapped and frozen for up to 3 months. The frosted cake keeps well in the refrigerator for 3-4 days. Bring to room temperature before serving for best texture.
- → What makes red velvet cake different from chocolate cake?
-
Red velvet uses much less cocoa than traditional chocolate cake, resulting in a subtle chocolate flavor. The combination of buttermilk and vinegar creates a tender, velvety crumb, while cream cheese frosting provides that iconic tangy finish.
- → Why did my cake not turn red?
-
Natural cocoa can sometimes cause the color to brown slightly during baking. Use gel food coloring instead of liquid for more vibrant results, and consider adding a touch more coloring if needed.
- → Can I use butter instead of oil?
-
Oil keeps this cake exceptionally moist, but butter can be substituted for a slightly firmer texture. Use the same amount and bring to room temperature before creaming with sugar.
