 Pin it
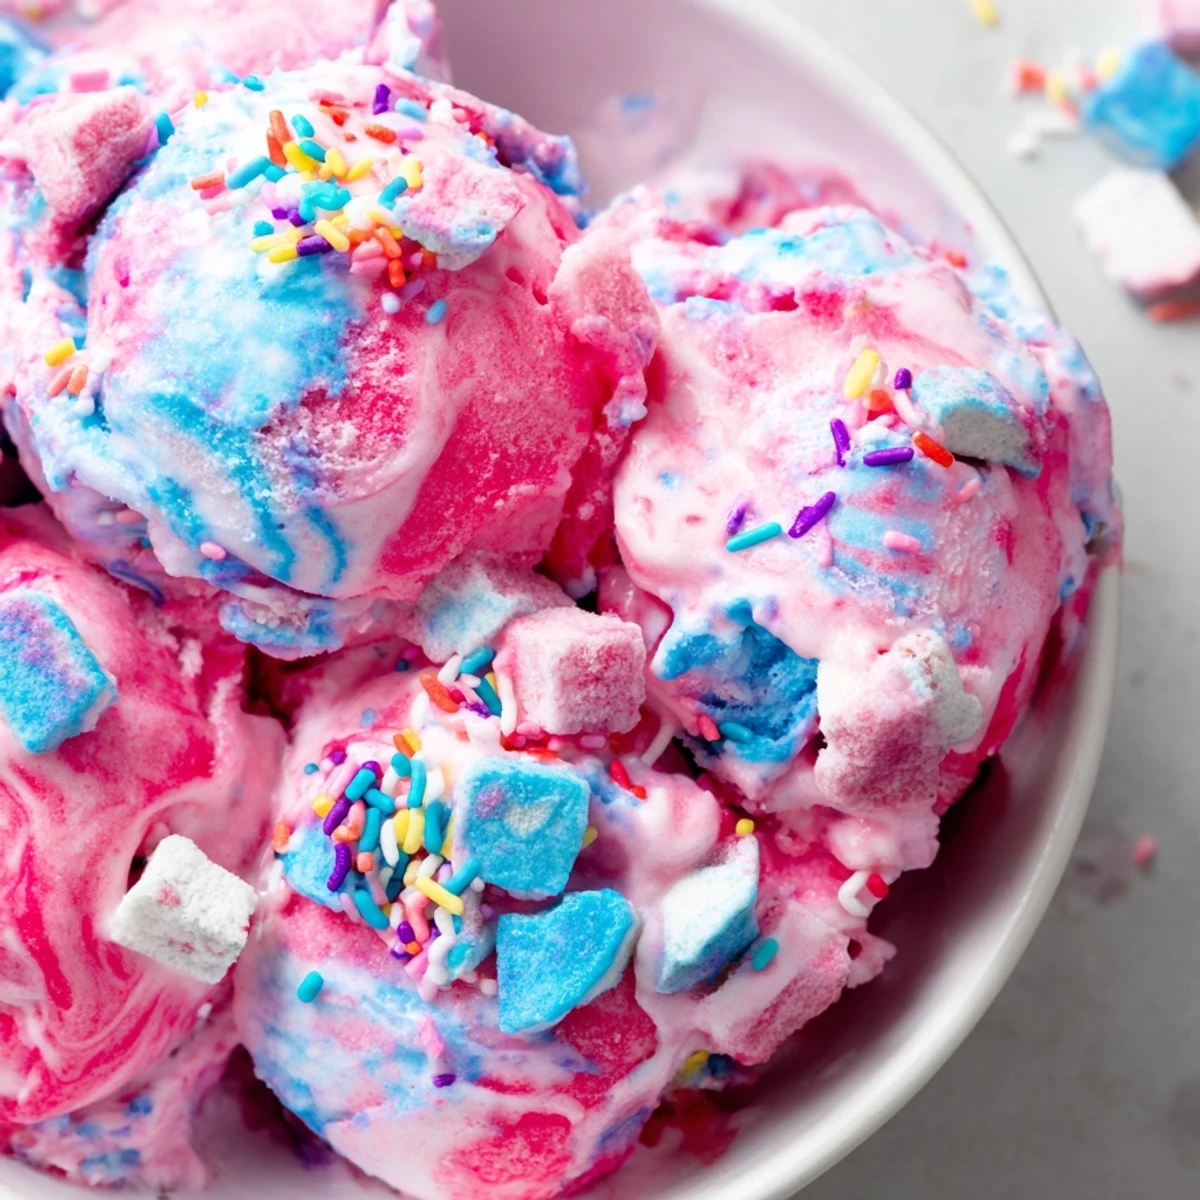
 Create this fun frozen dessert at home with just five simple ingredients and no special equipment required. The combination of sweetened condensed milk and freshly whipped heavy cream creates an incredibly smooth base that's swirled with bubblegum flavoring and pastel food coloring for that classic nostalgic taste.
Chopped bubblegum candies add chewy texture throughout, while extra sprinkles on top make it party-ready. After six hours in the freezer, you'll have scoopable perfection that tastes like childhood summers. The method couldn't be simpler - whip cream, fold into flavored condensed milk, add your mix-ins, and freeze. No machine needed, just delicious results everyone will love.
My daughter begged for bubblegum ice cream after spotting it at an old-fashioned soda shop during our summer vacation. I watched her eyes light up at that impossible pink swirl, knowing I had to recreate that magic at home. The version we make now has become a family tradition that the kids talk about for weeks after we pull it from the freezer.
Last summer, I made three batches for a neighborhood block party and honestly, the adults were just as excited as the kids. My neighbor admitted she hadnt tasted bubblegum ice cream since she was eight years old. Watching everyone crowd around the freezer container, debating who got the last scoop, made me realize some childhood favorites never really lose their charm.
Ingredients
- Heavy whipping cream: Cold cream whips up beautifully and creates that velvety texture we all love in premium ice cream
- Sweetened condensed milk: This is the secret ingredient that keeps the ice cream scoopable straight from the freezer
- Bubblegum flavoring: A little goes a long way so start with a half teaspoon and taste as you go
- Food coloring: That iconic pink color makes it instantly recognizable and twice as fun to serve
- Bubblegum candies: Chopping them into small pieces ensures you get some in every single bite
Instructions
- Whip the cream:
- Beat your cold heavy cream with an electric mixer until you see those stiff peaks stand up tall when you lift the beaters
- Mix the flavor base:
- Whisk together the sweetened condensed milk with vanilla, bubblegum flavoring, and a few drops of food coloring until everything is combined
- Combine the mixtures:
- Gently fold the whipped cream into your flavored milk mixture using a spatula being careful not to deflate all those air bubbles you worked so hard to create
- Add the bubblegum pieces:
- Fold in the chopped bubblegum candies distributing them evenly throughout the creamy base
- Freeze until firm:
- Pour everything into a loaf pan smooth the top and freeze for at least six hours before serving
 Pin it
 Ive started making double batches during summer because one container disappears embarrassingly fast at our house. My youngest now asks to help every time claiming shes the best bubblegum candy chopper in the family.
Finding the Right Bubblegum Flavoring
Baking supply stores and online shops are your best bet for authentic bubblegum flavoring. I once tried using bubblegum extract from a craft store and the taste was noticeably artificial. The good stuff really does make a difference.
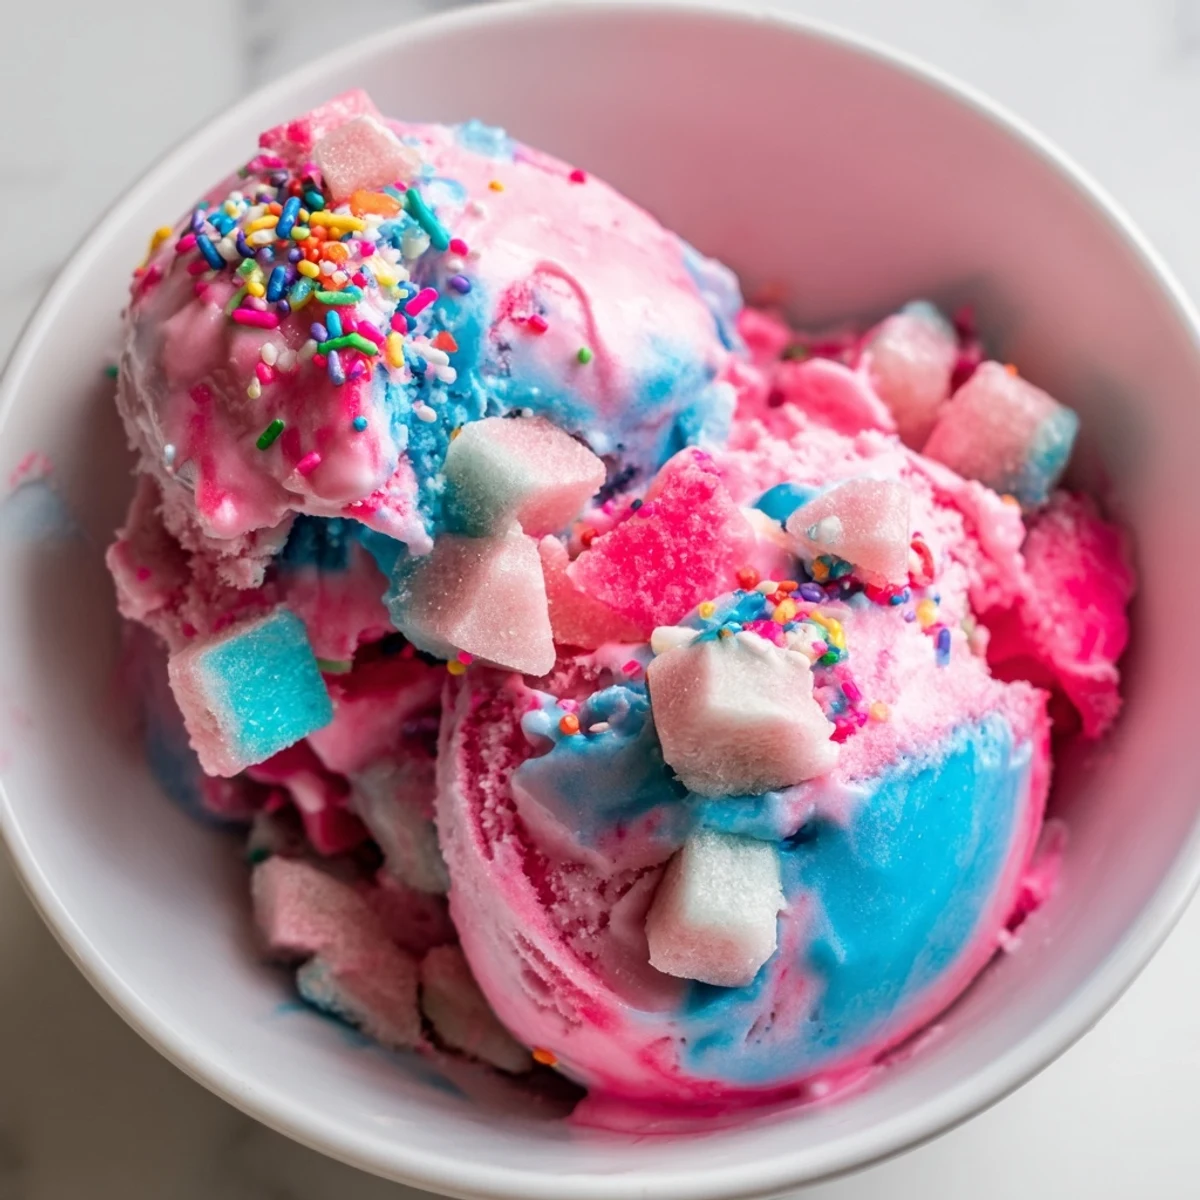
Making It Swirly
For that classic soda shop look I sometimes divide the base into two bowls and color one pink and one blue. Then I pour them into the loaf pan in alternating layers and drag a knife through once to create a marbled effect that looks absolutely stunning.
Storage and Serving
This ice cream keeps beautifully in the freezer for up to two weeks though in my experience it never lasts that long. For the best texture press a piece of parchment paper directly against the surface before covering with a lid to prevent ice crystals from forming.
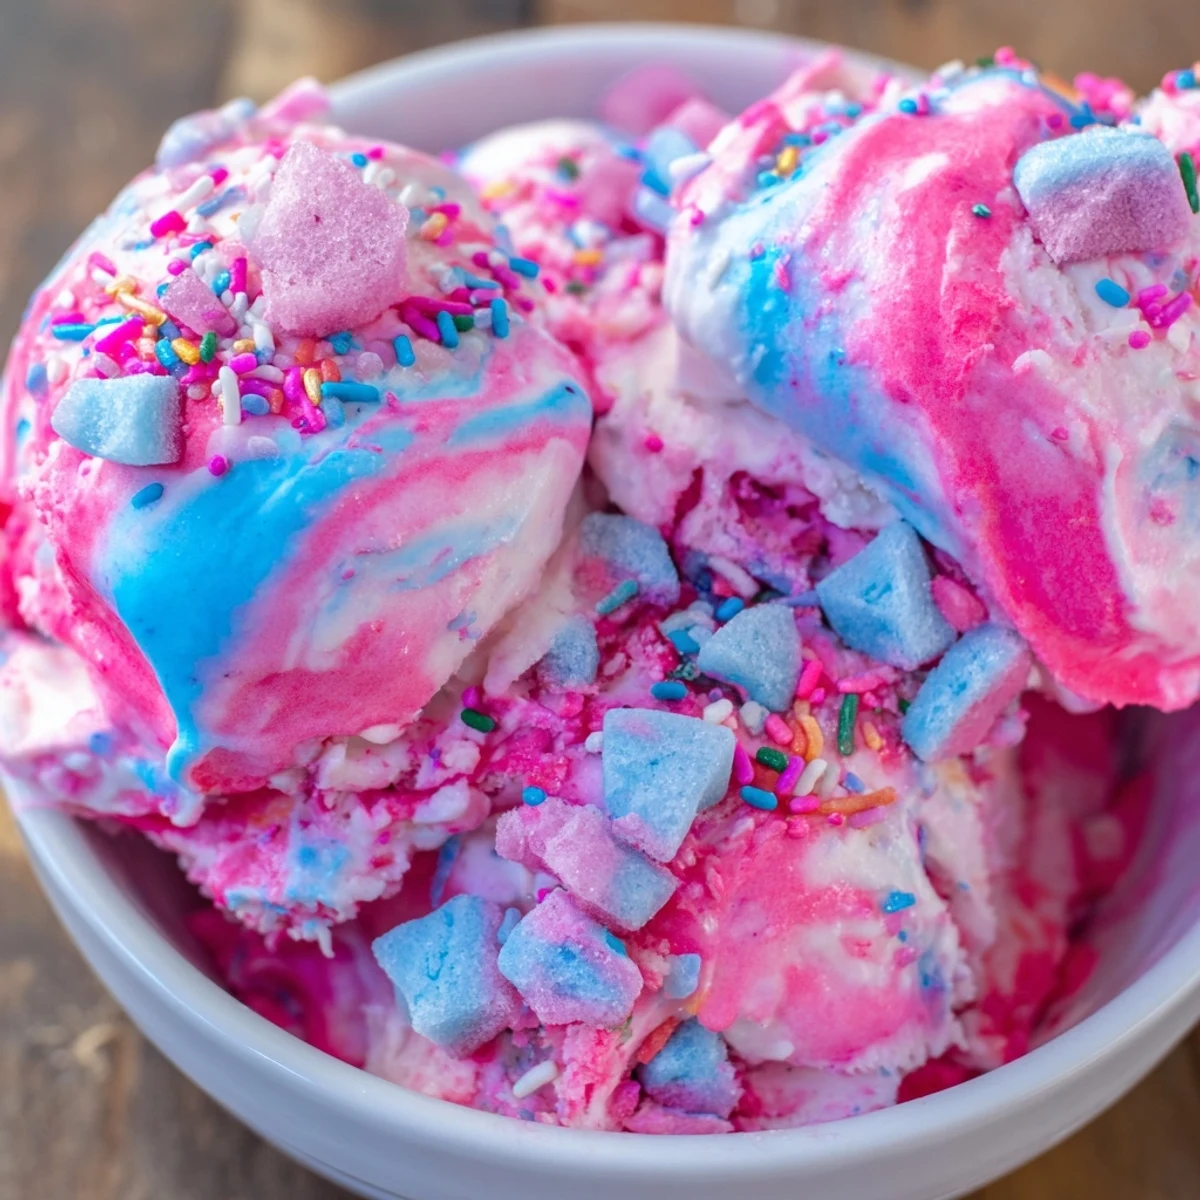
- Use a warm ice cream scoop for perfect rounds
- Top with extra sprinkles right before serving for maximum celebration vibes
- Waffle cones are practically mandatory in my house
 Pin it
 Theres something wonderful about watching kids and adults alike get excited over a flavor that reminds them of being young. This simple no-churn recipe brings so much joy to our table and I hope it does the same for yours.
Recipe FAQs
- → What does no-churn ice cream mean?
-
No-churn means you don't need an ice cream maker to create this frozen dessert. The magic comes from sweetened condensed milk, which prevents ice crystals from forming, and whipped heavy cream, which adds air and structure. Together they create perfectly creamy results without any churning required.
- → Where can I find bubblegum flavoring?
-
Bubblegum flavoring is typically found in baking supply stores, craft stores with baking aisles, or online retailers. Look for concentrated candy flavoring or candy oil rather than extracts. Some specialty grocery stores may also carry it in their baking section.
- → Can I use liquid food coloring instead of gel?
-
You can use liquid food coloring, but gel coloring provides more vibrant colors without adding excess liquid to your mixture. If using liquid, add just one drop at a time and mix thoroughly - you'll need less than you think to achieve that pretty pastel pink or blue hue.
- → How long does this ice cream keep in the freezer?
-
This frozen treat will stay fresh for up to 2 weeks when stored properly in an airtight container. For best texture and flavor, enjoy within the first week. Place a piece of parchment paper directly on the surface before sealing to prevent ice crystals from forming.
- → Can I make this without bubblegum candies?
-
Absolutely! The base itself delivers plenty of bubblegum flavor. You can skip the candies entirely or substitute with other mix-ins like mini marshmallows, white chocolate chips, or colorful sprinkles for extra fun without the chewy candy pieces.
- → Why do I need to let it sit before scooping?
-
Frozen straight from the freezer, this will be quite hard and difficult to scoop. Letting it sit at room temperature for 5-10 minutes softens it slightly to the perfect scooping consistency. This short wait ensures you get those beautiful round scoops instead of jagged chunks.
