 Pin it
 Layer sliced cheddar inside a halved block of Hawaiian sweet rolls, add optional ham or mustard, brush the top with melted butter mixed with honey or garlic powder, and bake 10–15 minutes until cheese melts and tops turn golden. Prep takes about 10 minutes; slice into individual bites and serve warm. Swap cheeses, add bacon or caramelized onions, and pair with tomato soup or a dipping sauce.
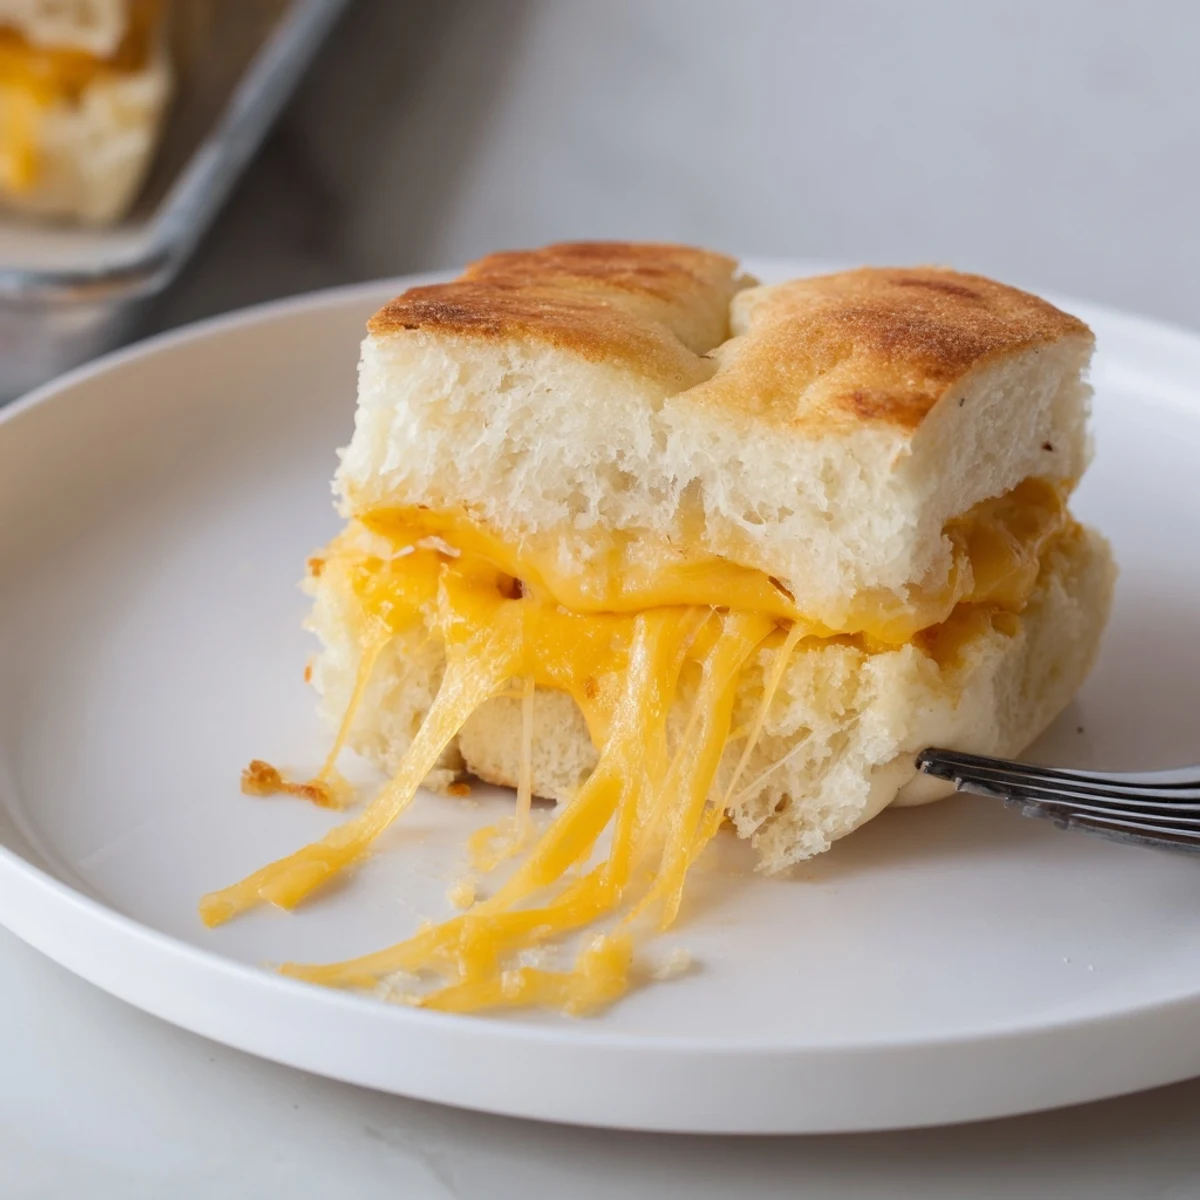
The aroma that wafts from the oven when these Mini Grilled Cheese Hawaiian Rolls are baking always makes me laugh—there's a hush that falls over the kitchen as we all turn our heads and sniff the air. I never knew how irresistible a grilled cheese could be in bite-sized form until I started experimenting with sweet Hawaiian rolls. Tucking slices of cheddar inside and watching them melt together with that buttery topping feels oddly satisfying after a long morning. Sometimes, it's the simplest recipes that pull everyone in.
I once whipped up a batch on a rainy Monday when my neighbor dropped by, drenched and craving something warm. We both ended up hovering by the oven, joking about college grilled cheese disasters while these minis baked golden and fragrant. The batch barely made it to the kitchen island before half disappeared.
Ingredients
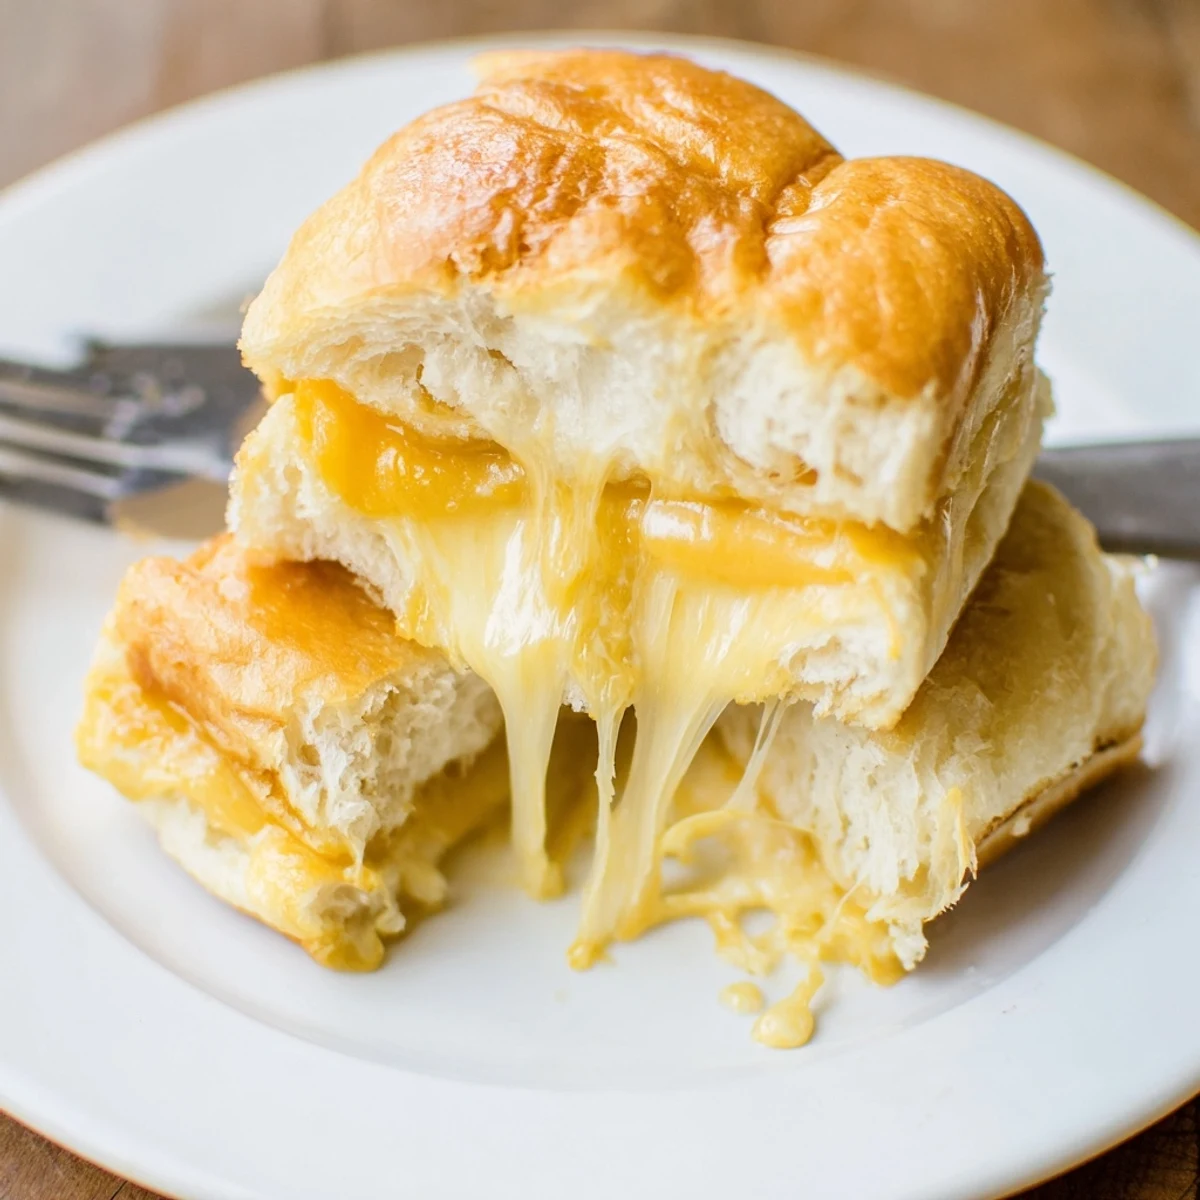
- Hawaiian sweet rolls: Their subtle sweetness rounds out the savory cheese and makes every bite a little more interesting—don't separate them until after baking for easy assembly.
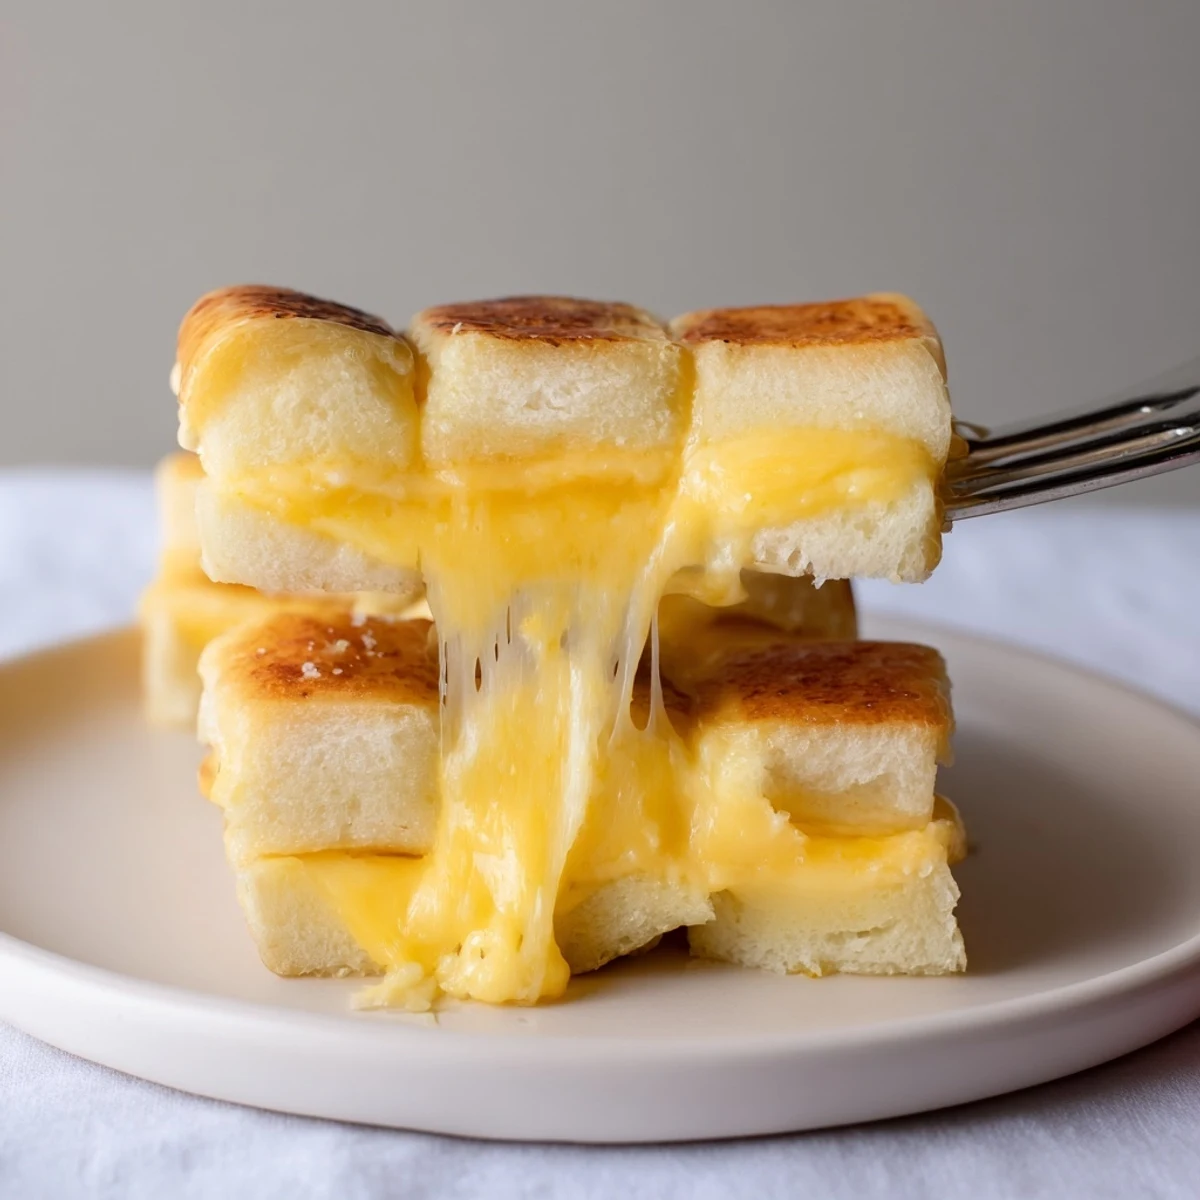
- Sliced cheddar cheese: Cheddar's sharp, melty character is classic, but I found extra-thick slices give the gooey pull everyone loves.
- Unsalted butter, melted: Melted butter browns the tops just right—brush it on evenly for that tempting sheen.
- Deli ham or turkey (optional): Sometimes I sneak a layer in for my meat-loving crew; it adds just enough heartiness.
- Dijon or yellow mustard (optional): A swipe of mustard in the butter mixture gives the crust a gentle tang that always surprises people (in a good way).
- Honey (optional): When I'm craving a touch more sweetness, a drizzle of honey in the butter brings everything together.
- Garlic powder (optional): One shake on top, and the smell alone will bring everyone into the kitchen.
Instructions
- Set up the oven:
- Start by preheating your oven to 350°F (175°C) and laying parchment on your baking sheet—the rolls won&apost stick and cleanup is painless.
- Slice the rolls as one block:
- Grab a serrated knife and carefully halve the whole set of rolls horizontally, keeping them together to make assembly easy.
- Layer the goodness:
- Place the bottom half of the rolls on your sheet, then evenly layer on slices of cheddar (plus ham or turkey if you&apost afraid of going deluxe).
- Seal with the tops:
- Carefully lay the top half of the rolls over the fillings, aligning them so they bake up as neat minis.
- Mix and brush:
- Stir together the melted butter, mustard, honey, and garlic powder if you’re feeling adventurous, then brush the tops until glistening.
- Bake to perfection:
- Slide them into the oven and bake for 10–15 minutes, watching for pooled cheese and golden tops—the hardest part is waiting out the last few minutes.
- Slice and serve:
- Let the rolls cool slightly so you don&apost lose all the cheese, then cut through with a sharp knife to make 12 inviting minis, best eaten warm.
 Pin it
 The day my cousin announced her engagement, these mini sandwiches turned a regular family lunch into an impromptu celebration—everyone kept sneaking one more, smudging their fingers with buttery crumbs and grinning between bites.
Pairing Suggestions That Wow
Tomato soup next to these melts is basically a warm hug on a plate, and honestly, it's how I most often serve them for lunch. For parties, I set out little bowls of pickles or roasted red peppers so folks can stack up their favorite extras.
Switch Up the Flavors
Provolone or pepper jack swaps in for cheddar without missing a beat—and one night, leftover caramelized onions stole the show as an add-in. Cooking is meant for playing, and these cheerful rolls are the perfect canvas for whatever's in your fridge.
Helpful Tools and Quick Fixes
A serrated bread knife is your best friend for splitting the fragile rolls evenly without squashing them, and parchment paper prevents any sticky situations. If the cheese doesn&apost quite melt, pop everything back in for a quick two minutes&mdashthey’ll be perfect.
- Use room temperature butter for easy mixing.
- Double the batch for crowds—no one ever complains.
- Don&apost be shy with the butter brush for golden tops!
 Pin it
 May every batch of these mini grilled cheese rolls bring as many laughs and happy crumbs as they do around my table. Share them warm, and you'll make any day feel a bit more festive.
Recipe FAQs
- → What cheese melts best for these bites?
-
Cheddar offers classic flavor and melts well; Swiss, provolone, or pepper jack are great alternatives depending on desired creaminess and heat. For extra stretch, mix a softer melting cheese with cheddar.
- → How do I prevent soggy rolls?
-
Toast the cut sides briefly or use thin slices of cheese to reduce moisture transfer. Arrange fillings evenly and bake on a parchment-lined sheet to allow edges to crisp while cheese melts.
- → Can I make these ahead and reheat?
-
Assemble and bake, then cool and refrigerate up to 2 days. Reheat in a 350°F oven until warmed through to keep the tops crisp; avoid microwaving to prevent sogginess.
- → How long should I bake them?
-
Bake at 350°F (175°C) for 10–15 minutes, until cheese is melted and tops are golden brown. If using thicker fillings, check for full melt and adjust time by a few minutes.
- → What flavorful add-ins work well?
-
Try thinly sliced deli ham or turkey, cooked bacon, caramelized onions, or sliced tomatoes. A brush of melted butter mixed with mustard or honey adds a glossy, savory-sweet finish.
- → Are there good dipping pairings?
-
Classic pairings include tomato soup, marinara, or a tangy mustard dip. For party platters, offer ranch, barbecue, or a honey-mustard sauce to complement the sweet rolls.
