 Pin it
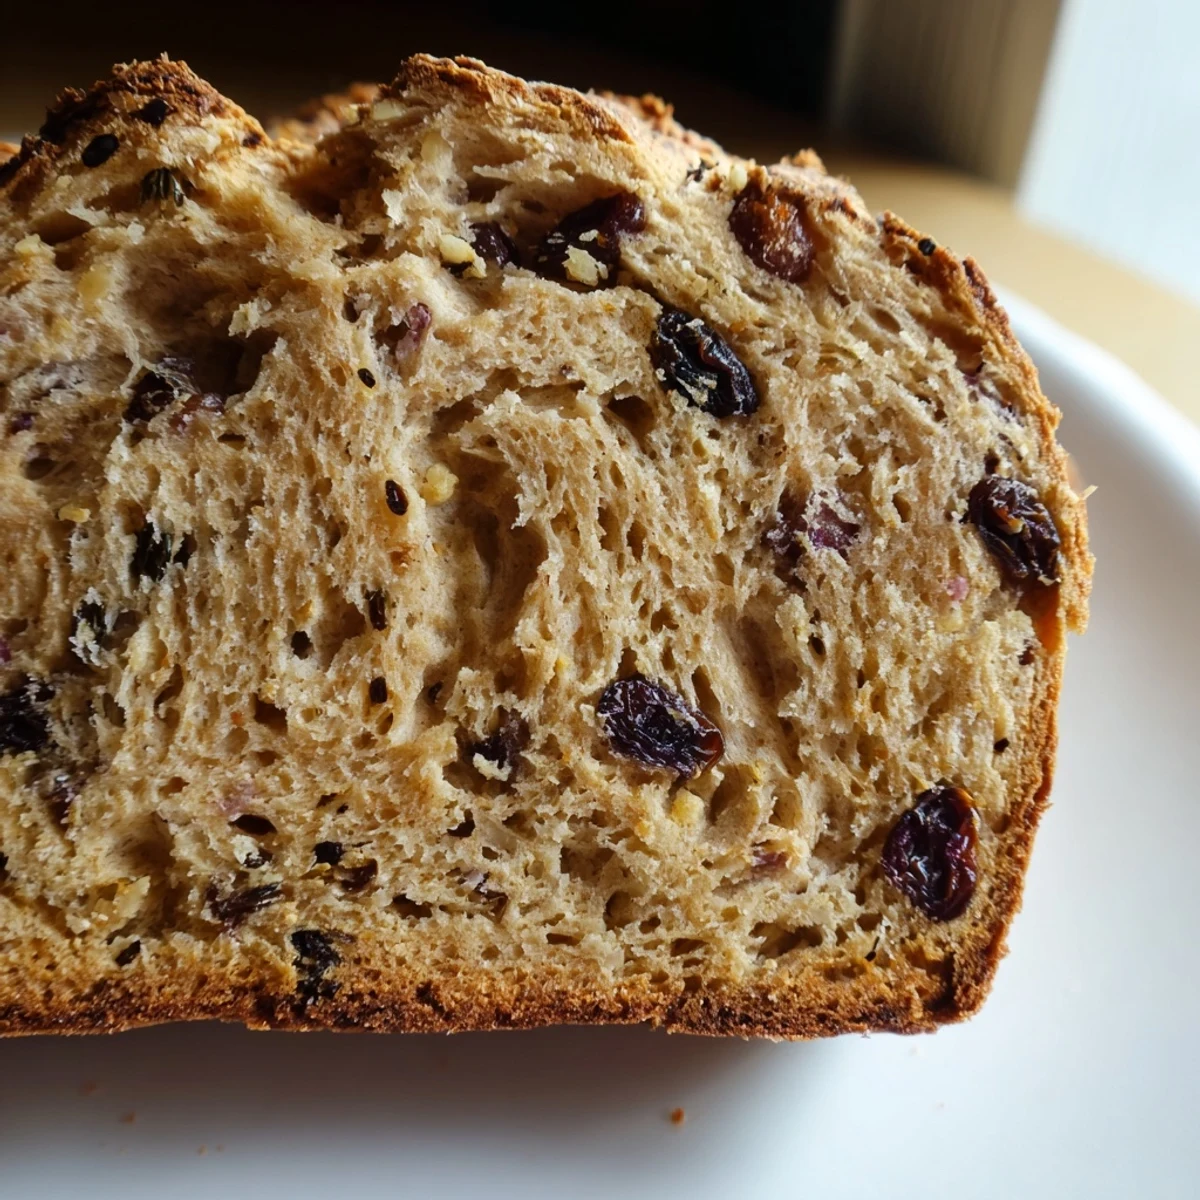
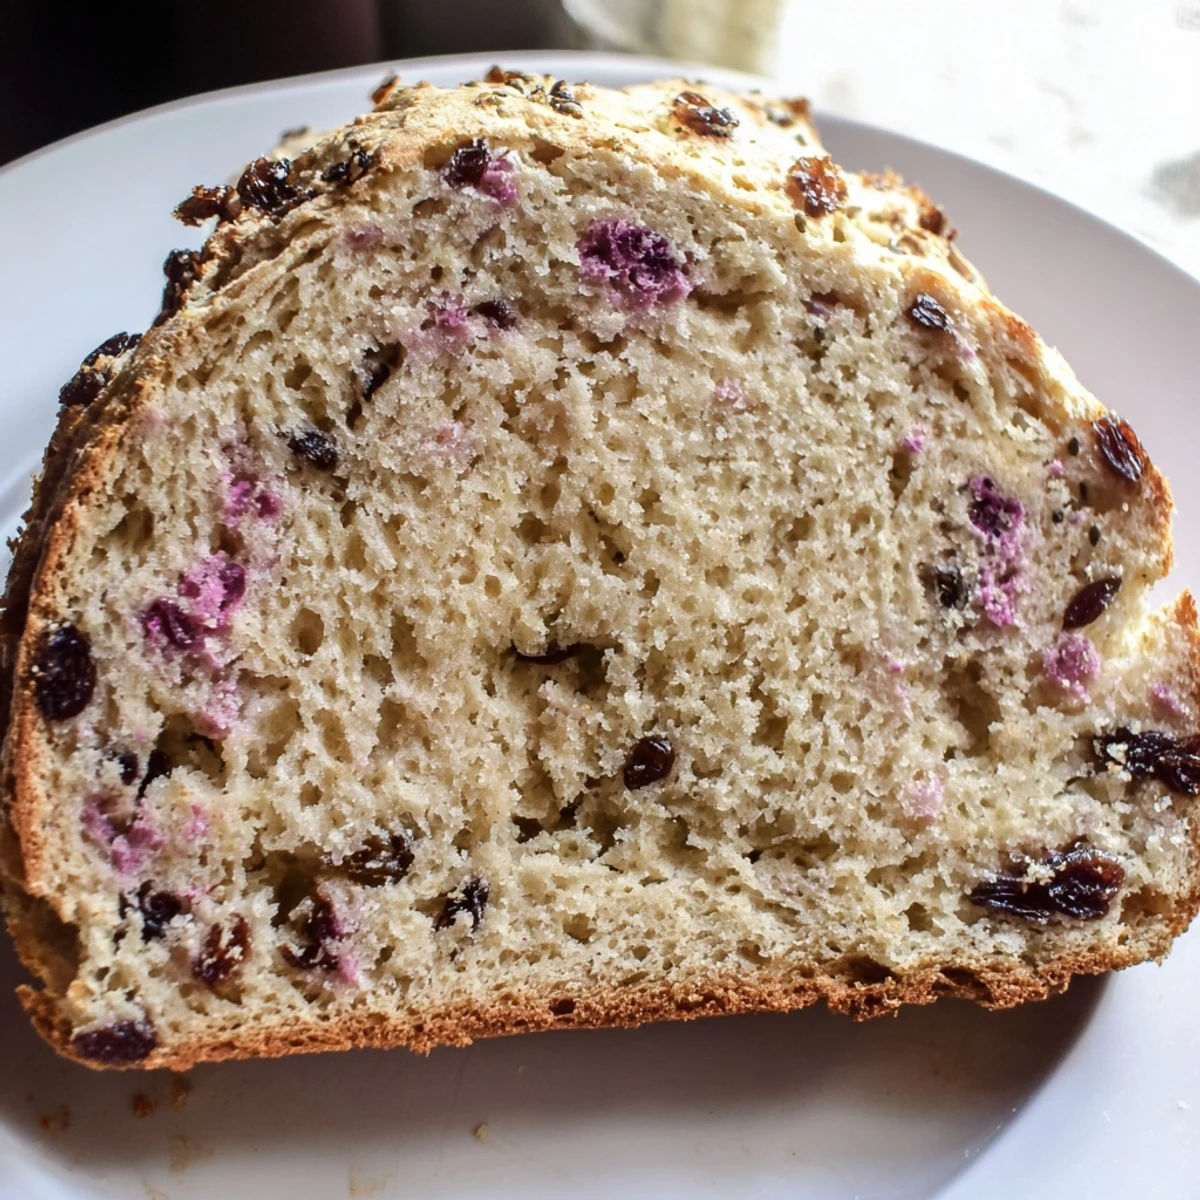
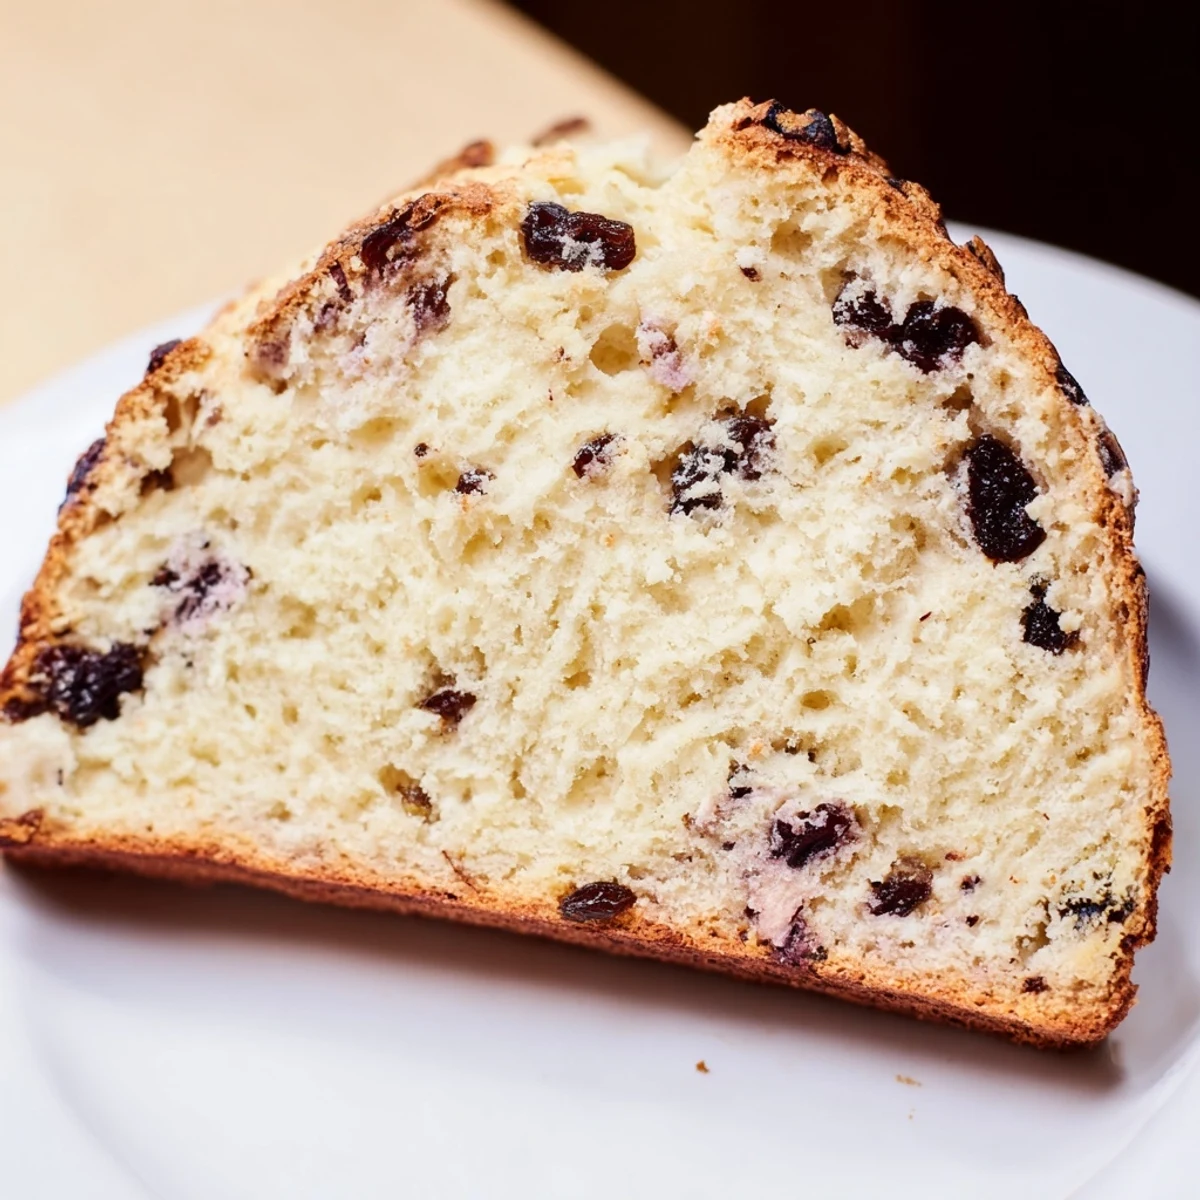
 This traditional Irish quick bread is a delightful baked good, known for its tender crumb and slightly sweet flavor profile. It's generously studded with plump, juicy raisins and fragrant caraway seeds, offering a unique aromatic twist.
Preparation is straightforward, combining dry ingredients like flour, baking soda, and salt with wet components such as buttermilk, egg, and melted butter. The dough is gently mixed, shaped, and scored before baking to a golden perfection.
Once cooled, this loaf is perfect served warm with a slather of butter, jam, or even sharp cheese. It makes an excellent accompaniment to a cup of tea or as part of a brunch spread, embodying comforting Irish flavors.
A crisp spring morning, the smell of baking bread, a sudden craving for something comforting and simple – I always associate soda bread with that feeling of quiet warmth, a perfect counterpoint to a blustery day. The caraway seeds in this version add an unexpected, earthy whisper that elevates it beyond just a quick bread. It's the kind of thing you bake when you need a little hug from your kitchen.
I remember one particularly busy Saint Patrick's Day when my friends were all coming over, and I'd completely forgotten to plan a dessert. Panic-baking set in, but then I remembered this recipe. The whole house filled with that sweet, yeasty aroma, and everyone raved about it, thinking I'd spent hours. It became my little secret weapon for impromptu gatherings.
Ingredients
- All-purpose flour: This is the backbone of our bread, providing structure without being too heavy. Don't be tempted by bread flour; AP is just right here.
- Granulated sugar: Just a touch to balance the tang of the buttermilk and highlight the sweetness of the raisins.
- Baking soda: Our primary leavening agent, reacting with the buttermilk to create that classic soda bread rise. Ensure it's fresh for the best lift.
- Salt: A crucial flavor enhancer; it really brings out the subtle notes in the bread.
- Caraway seeds: My secret weapon for this recipe, adding a warm, slightly licorice-like aroma and an unexpected depth of flavor. They make this bread truly special.
- Raisins: These plump little gems add pockets of sweetness and moisture. Feel free to use a mix of golden and dark for visual appeal and varied sweetness.
- Buttermilk: Essential for both flavor and leavening. Its acidity activates the baking soda, giving the bread its characteristic tender texture.
- Large egg: Binds everything together and adds a little richness and color to the crust.
- Unsalted butter, melted and slightly cooled: Contributes to the tender crumb and a lovely, subtle buttery flavor. Make sure it's not hot, or it might cook the egg.
Instructions
- Get Ready to Bake:
- Preheat your oven to 400°F (200°C) and prepare your baking surface; a parchment-lined sheet or a greased round cake pan works perfectly.
- Whisk the Dry Goodies:
- In your largest mixing bowl, whisk together the flour, sugar, baking soda, salt, and those wonderful caraway seeds until they're evenly combined.
- Fold in the Fruit:
- Gently stir in the raisins, making sure each one gets a nice coating of the flour mixture. This prevents them from sinking to the bottom during baking.
- Combine the Liquids:
- In a separate, smaller bowl, whisk together the buttermilk, the lightly beaten egg, and the slightly cooled melted butter.
- Bring Them Together:
- Make a little well in the center of your dry ingredients and pour in the wet mixture. Using a wooden spoon or spatula, stir just until a shaggy, cohesive dough forms. Be careful not to overmix, as that makes for tough bread.
- Quick Knead:
- Turn the dough out onto a lightly floured surface. Knead it very gently, just 6 to 8 times, until it holds together nicely. We're not developing gluten here, just forming a ball.
- Shape and Score:
- Shape your dough into a round loaf and place it on your prepared pan. Grab a sharp knife and cut a deep "X" across the top; this helps the bread rise beautifully and evenly.
- Into the Oven:
- Bake for about 35 to 40 minutes, or until the top is a beautiful golden brown and a skewer inserted into the center comes out clean.
- Cool and Enjoy:
- Let your beautiful loaf cool on a wire rack for at least 20 minutes before you even think about slicing into it. It needs that time to set up.
 Pin it
 There's a specific Sunday morning I remember, pouring rain outside, and I had this loaf cooling on the counter. My neighbor, Sarah, popped over unexpectedly with a small crisis. We sat at my kitchen island, sipping tea, sharing slices of still-warm soda bread with salted butter, and her worries somehow seemed a little lighter with every bite. It was a simple moment, but the bread felt like an anchor in the storm, a shared comfort.
A Word on Buttermilk
If you don't have buttermilk on hand, a common trick is to add a tablespoon of lemon juice or white vinegar to regular milk and let it sit for five minutes until it curdles slightly. While this works in a pinch for the acidity, true buttermilk has a richer flavor and thicker texture that really shines in this recipe, so it's always worth getting the real deal if you can.
Getting the Perfect Crust
The initial high heat of the oven helps the crust to develop quickly, creating that lovely golden-brown exterior. Some people like to mist the oven with a little water at the beginning or place a pan of water on the bottom rack to create steam, which can lead to an even crisper crust, but I find this recipe works wonderfully without it.
Serving Suggestions & Storing Your Loaf
While this bread is undeniably best enjoyed warm from the oven, its charm doesn't fade entirely overnight. It makes fantastic toast the next day, especially when slathered with a good quality jam or some sharp cheddar.
- Try it with a dollop of clotted cream and strawberry jam for a truly indulgent treat.
- Don't be afraid to experiment with different dried fruits like currants or chopped dried apricots for a new twist.
- Store any leftover bread in an airtight container at room temperature for up to two days.
 Pin it
 This Irish soda bread is more than just a recipe; it's a tradition, a moment of simple joy. I hope it brings as much warmth and comfort to your kitchen as it does to mine.
Recipe FAQs
- → What makes this a 'quick' bread?
-
This is considered a quick bread because it relies on baking soda as a leavening agent rather than yeast. This means there's no lengthy proofing time required, making it much faster to prepare from start to finish.
- → Can I substitute the raisins in this bread?
-
Yes, you can certainly substitute the raisins. Currants or dried cranberries are excellent alternatives that will provide a similar texture and tartness. For a richer flavor, you could also use a mix of golden and dark raisins.
- → What are the best serving suggestions for this loaf?
-
This bread is best enjoyed warm, ideally fresh from the oven. It pairs wonderfully with a generous spread of salted butter, your favorite jam, or even a sharp cheddar cheese. It's a delightful companion to a cup of hot tea or coffee.
- → How should I store leftover Irish soda bread?
-
Store any leftover bread at room temperature in an airtight container or wrapped tightly in foil. While it's best enjoyed the day it's baked, it can be gently toasted the next day to refresh its texture and flavor.
- → Why is an 'X' cut on top of the dough before baking?
-
Cutting a deep 'X' into the top of the loaf is a traditional step. It serves a practical purpose by allowing the bread to expand evenly during baking and helps it cook through thoroughly. Culturally, some say it's to ward off evil or to let the good spirits out!
- → Is this bread suitable for dietary restrictions like gluten-free or dairy-free?
-
As prepared, this bread contains wheat (gluten), milk, eggs, and butter, making it unsuitable for gluten-free or dairy-free diets. Significant ingredient substitutions would be required to adapt it, which would alter its classic texture and flavor profile.
