 Pin it
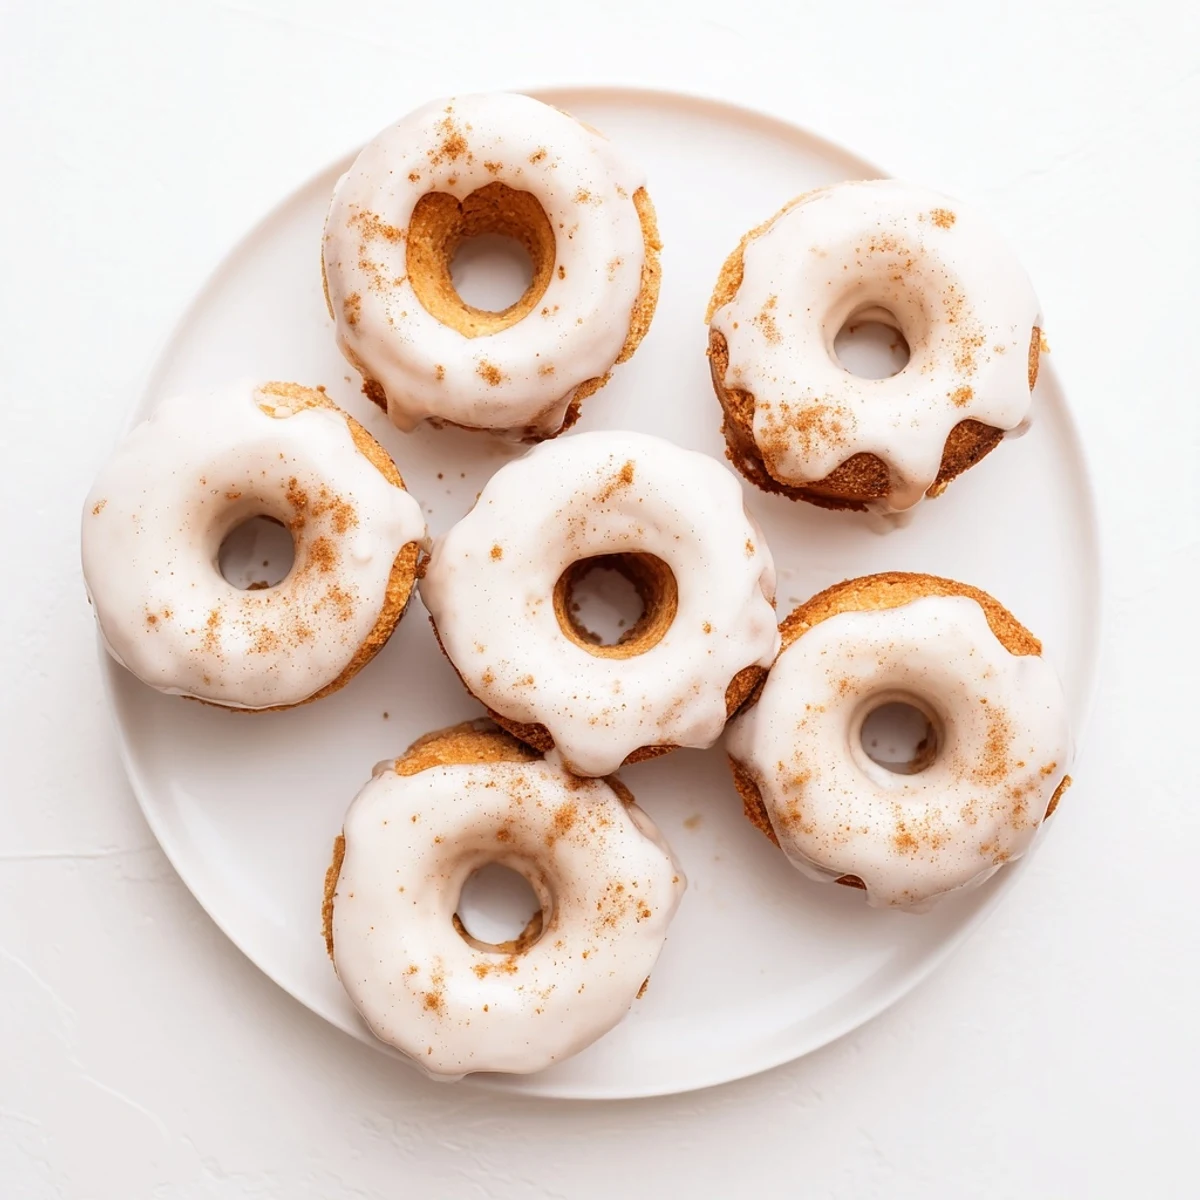
 These baked cake donuts feature Greek yogurt for moisture and a subtle tang, creating a tender texture without deep frying. The batter comes together quickly in one bowl before piping into a donut pan. A quick vanilla glaze adds the perfect sweet finish. Ready in under 30 minutes, they make an ideal breakfast treat or dessert.
The smell of cinnamon and vanilla drifting from my oven always transports me back to a rainy Sunday when I decided baked donuts were somehow a responsible adult choice. My kitchen was tiny, the kind where opening the oven door means you have to step into the hallway, but these Greek yogurt donuts came out so incredibly moist that I ate three standing right there at the counter. They're lighter than fried donuts, with this subtle tang that makes you feel almost virtuous about having dessert for breakfast.
I brought a batch to my book club last month and watched three normally reserved women practically fight over the last cinnamon-sugared one. Something about the combination of that tender cake interior and sweet glaze just makes people's eyes light up, like they're remembering childhood donut shop runs but with this sophisticated twist they cannot quite place.
Ingredients
- 2 cups all-purpose flour: The protein structure here is crucial for the cake donut texture but dont be tempted to use bread flour or they will turn rubbery on you
- 1 tsp baking powder: This works with the baking soda to give you that beautiful rise that fills the donut cavities properly
- 1/2 tsp baking soda: The acidity in the Greek yogurt needs this to neutralize and create lift
- 1/2 tsp salt: Do not skip this because salt is what makes the vanilla and cinnamon actually taste like themselves
- 1/2 tsp ground cinnamon: I add this directly to the batter rather than just coating the outside because I love that warmth throughout every bite
- 3/4 cup granulated sugar: This amount hits the sweet spot without being cloying since the glaze adds its own sweetness layer
- 2 large eggs: Bring these to room temperature before you start or they will not incorporate smoothly with the cold yogurt
- 1 cup plain Greek yogurt: Full fat works best here because that fat content translates directly into how moist and tender these stay
- 1/4 cup vegetable oil: You could use melted coconut oil but vegetable oil keeps the flavor neutral so the vanilla shines through
- 2 tsp vanilla extract: This is the backbone of the whole flavor profile so please use real vanilla not imitation
- 1 cup powdered sugar: Sift this first or you will end up with tiny lumps in your glaze that I have learned the hard way look unappetizing
- 2–3 tbsp milk: Start with 2 tablespoons because you can always add more but you cannot take it back once the glaze becomes too thin
- 1/2 tsp vanilla extract: Yes there is vanilla in both the batter and glaze because that double dose of aroma is what makes these taste like they came from a bakery
Instructions
- Get your oven ready:
- Preheat to 350°F and really thoroughly grease your donut pan because I promise you nothing is sadder than having to carve these out with a knife later
- Whisk the dry team:
- Combine the flour, baking powder, baking soda, salt, and cinnamon in a medium bowl and set it aside where it will wait patiently
- Beat the wet ingredients:
- In a large bowl, beat together the sugar, eggs, Greek yogurt, oil, and vanilla until you have a smooth, pale mixture that looks like it wants to be eaten already
- Bring them together gently:
- Add the dry ingredients to the wet ones and mix until you just do not see flour anymore because overmixing here makes tough donuts that nobody wants
- Pipe like a pro:
- Transfer that thick batter to a piping bag or ziplock bag with the corner cut off and fill each donut cavity about two thirds full, which is less than you think
- Bake until golden:
- Pop them in for 10 to 12 minutes and watch for that moment when they turn lightly golden and a toothpick comes out clean
- The patience part:
- Let them cool in the pan for exactly 5 minutes before turning them out because they need that time to set or they will break apart
- Make the glaze magic:
- Whisk the powdered sugar, milk, and vanilla until completely smooth then dip each cooled donut and let the excess drip off before setting them on a rack
 Pin it
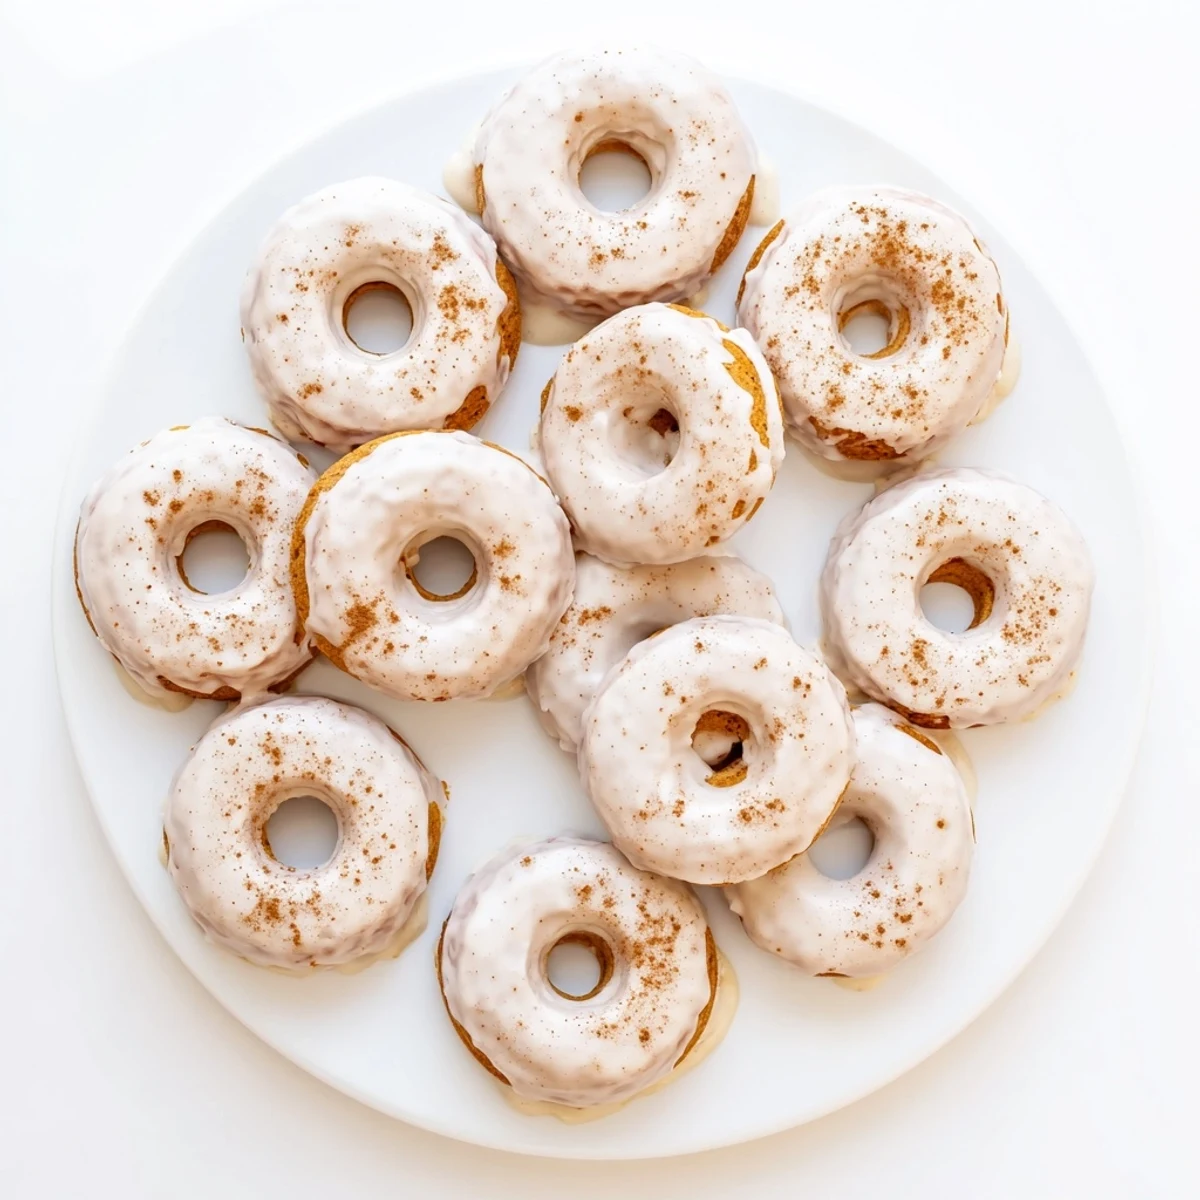
 My niece now requests these for every single birthday celebration, and I have accepted that at family gatherings I am officially the donut person. There is something almost magical about watching someone bite into that first warm donut, their eyes closing as the glaze cracks and the tender cake gives way beneath their teeth.
Glaze Variations That Change Everything
I have spent many experimental afternoons playing with glaze flavors and some combinations have become absolute staples in my kitchen. The classic vanilla is perfect but sometimes you want something that feels a little more special or seasonal.
Making These Your Own
The base recipe is incredibly forgiving which means it is the perfect canvas for whatever flavor profile you are craving. I have made these with lemon zest in spring and pumpkin spice in fall and every variation has been a winner.
Storage And Serving Suggestions
These are honestly best eaten the same day because that freshly baked texture is impossible to replicate but they will keep for a couple days if stored properly. Once glazed, let them sit uncovered for about 15 minutes so the glaze sets completely.
- Store unglazed donuts in an airtight container for up to 3 days
- Glazed donuts should be stored in a single layer to prevent sticking
- Warm leftover donuts for about 10 seconds in the microwave to bring back that fresh baked texture
 Pin it
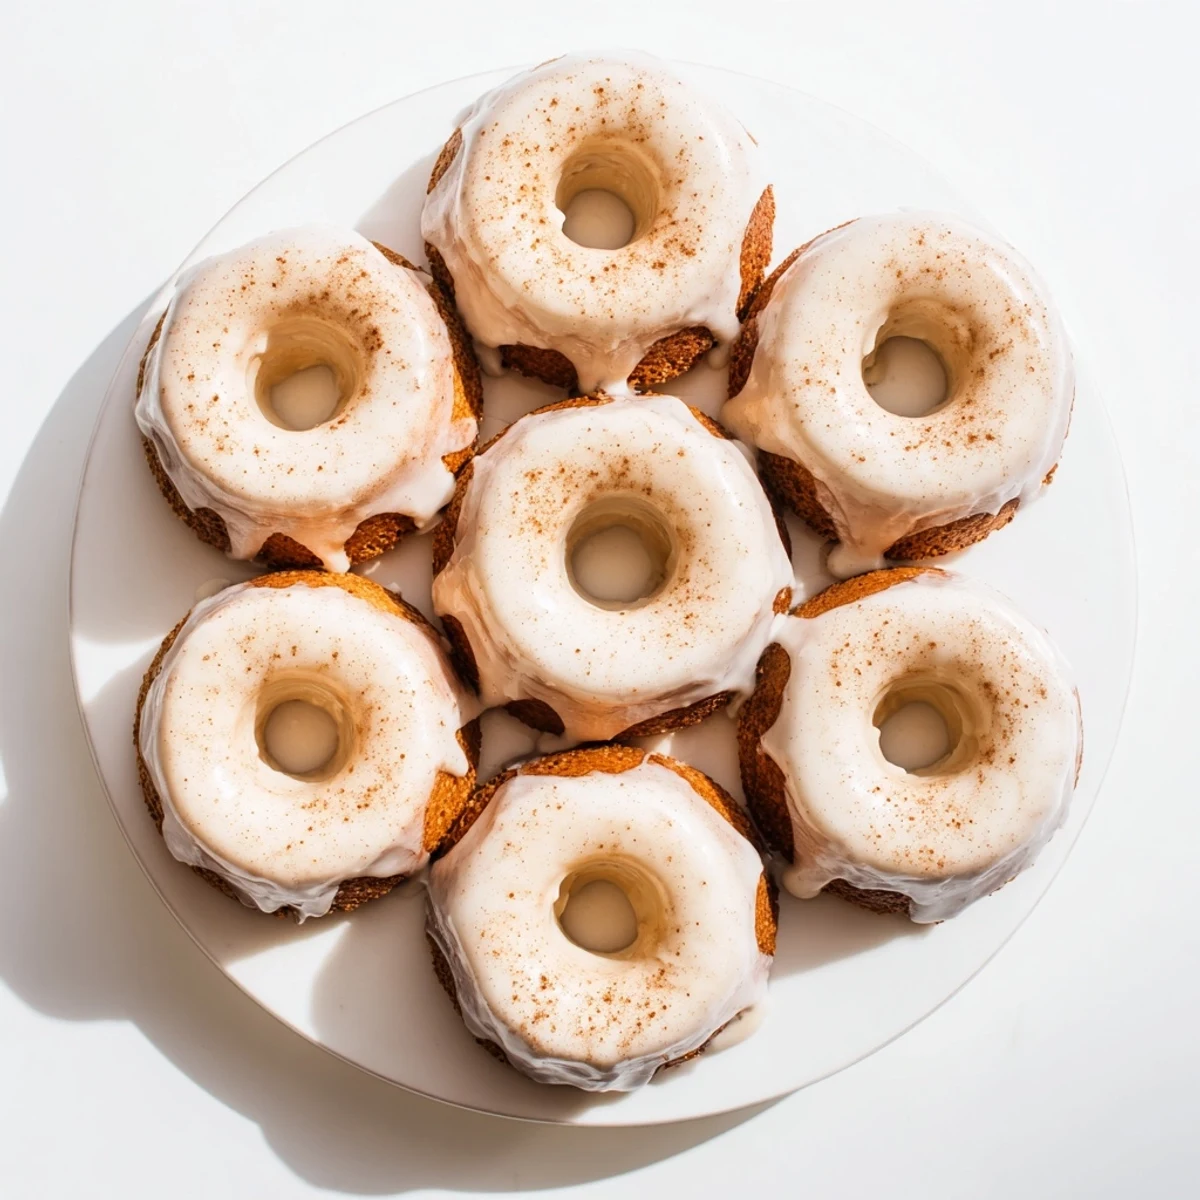
 I hope these bring as much joy to your kitchen as they have to mine over the years. There is something so satisfying about pulling a tray of perfectly risen donuts out of the oven and knowing you made that magic happen.
Recipe FAQs
- → Why use Greek yogurt in donuts?
-
Greek yogurt adds moisture and tenderness while providing a subtle tangy flavor that balances the sweetness. It also creates a denser, cake-like texture similar to traditional donuts without the need for frying.
- → Can I make these without a donut pan?
-
Yes, you can use a muffin tin instead. The baking time remains similar at 10-12 minutes. They'll have a muffin shape but the same moist texture and flavor.
- → How should I store these donuts?
-
Store in an airtight container at room temperature for up to 2 days. For longer storage, refrigerate for up to 5 days. They can also be frozen for up to 3 months—glaze after thawing for best results.
- → Can I make these gluten-free?
-
Substitute the all-purpose flour with a 1:1 gluten-free flour blend. The texture may be slightly different but still delicious. Ensure your other ingredients, including baking powder, are certified gluten-free.
- → Why bake instead of fry these donuts?
-
Baking creates a lighter version with less oil and fewer calories while maintaining the moist, cake-like interior. It's also easier and less messy than deep frying, with no hot oil to handle.
