 Pin it
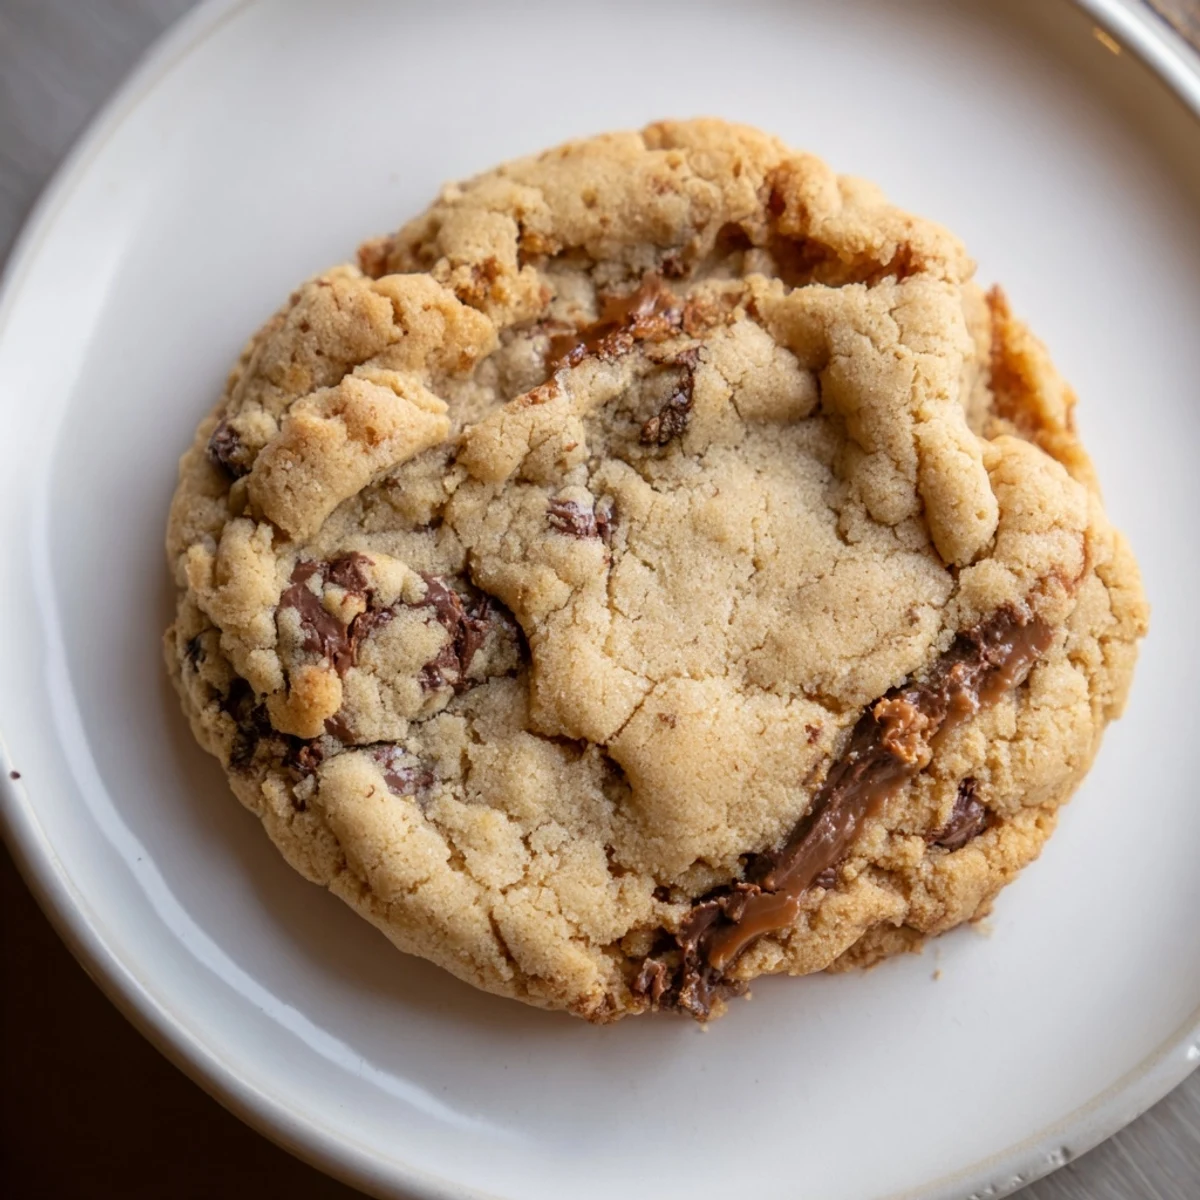
 These buttery cookies boast irresistibly crisp edges combined with tender, soft centers that create a satisfying texture contrast. Made with simple ingredients like flour, sugar, butter, vanilla, and optional chocolate chips or nuts, they bake quickly to golden perfection. Flattening the dough slightly before baking enhances edge crispness. Ideal alongside coffee or tea, they offer a delightful balance of crunch and melt-in-mouth softness for every bite.
There's something almost magical about pulling a batch of cookies from the oven where the edges have turned that perfect shade of caramel-gold while the centers still hold a whisper of softness. I discovered this particular balance during a rainy afternoon when I was experimenting with ratios, trying to chase that elusive crunch I'd been craving. The moment I bit into one and heard that satisfying crack followed by the tender give in the middle, I knew I'd found something worth repeating. My kitchen smelled like butter and toasted sugar for hours, and honestly, that's when I realized these weren't just cookies—they were the kind you'd want to share with someone you actually wanted to impress.
I made these for my neighbor one Saturday morning after she'd helped me move a bookcase, and I remember her taking the first bite with that skeptical look people get when they're being polite. Then her eyes lit up in a way that made the effort feel completely worth it. She came back three days later asking if I'd make another batch, this time with half chocolate chips and half walnuts because she couldn't decide. That's when I knew the recipe had staying power.
Ingredients
- All-purpose flour (1 ½ cups): The foundation that gives structure—make sure it's not packed when you measure, or your cookies will be dense instead of tender.
- Baking soda (½ teaspoon): This is your secret weapon for spread and browning; it's what creates those lacey, crispy edges.
- Salt (½ teaspoon): Never skip this—it amplifies the butter and sugar flavors in a way that makes people wonder what your secret is.
- Unsalted butter, melted and cooled (½ cup): Melting the butter first changes everything; it creates a richer flavor and helps the cookies spread just enough to get those edges.
- Granulated sugar (1 cup): This creates spread and crispness at the edges.
- Light brown sugar, packed (¼ cup): The molasses adds depth and chewiness to the center—pack it gently so you're not adding too much moisture.
- Large egg: This binds everything and helps with structure, so use a fresh one at room temperature if possible.
- Vanilla extract (2 teaspoons): Pure vanilla makes a noticeable difference; don't reach for the imitation here.
- Chocolate chips or chopped nuts (½ cup, optional): These are optional, but they add personality—I've used dark chocolate, white chocolate, and a mixture of both.
Instructions
- Set your stage:
- Preheat your oven to 350°F and line two baking sheets with parchment paper. This matters more than you'd think—cold baking sheets will mess with your spread and browning.
- Combine the dry team:
- Whisk together the flour, baking soda, and salt in a medium bowl, making sure everything is evenly distributed. Set it aside and don't overthink this part.
- Build the wet foundation:
- In a large bowl, whisk the melted butter with both sugars until the mixture looks smooth and glossy, almost like wet sand. This takes maybe a minute of whisking.
- Wake it up:
- Add the egg and vanilla to the butter mixture and beat until everything is fully combined and looks pale and slightly fluffy. You should notice the mixture getting lighter in color.
- Bring it together gently:
- Gradually stir the dry ingredients into the wet mixture, stirring just until combined—stop as soon as you don't see any white streaks of flour. Overmixing develops gluten, which makes cookies tough instead of tender.
- Add your personality:
- Fold in chocolate chips or nuts if you're using them, being careful not to crush them as you fold.
- Portion with intention:
- Scoop heaping tablespoons of dough onto the prepared baking sheets, leaving at least 2 inches between each mound. If you want extra-crispy edges, gently flatten each mound with the bottom of a glass before baking.
- Watch the magic happen:
- Bake for 10–12 minutes, watching for golden brown edges while the centers still look slightly underbaked—they'll continue cooking on the hot pan. The moment you see the edges turn that caramel color, that's your cue to pull them out.
- Practice patience:
- Let the cookies cool on the baking sheet for 5 minutes so they set properly, then transfer them to a wire rack to cool completely. This is where the crispy edges really develop.
 Pin it
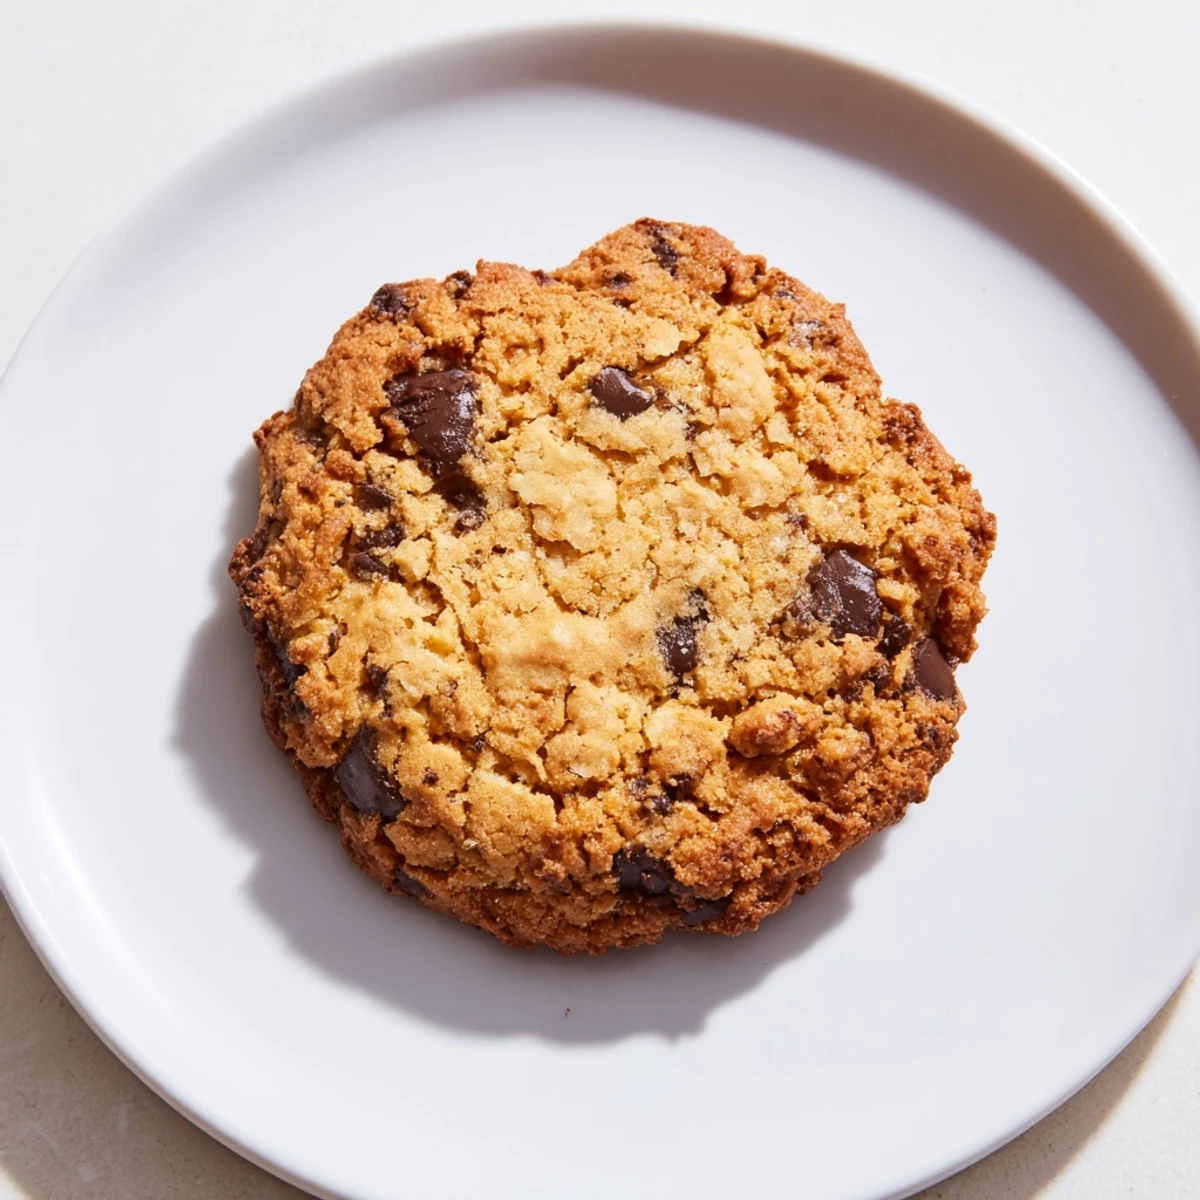
 I learned the cooling-on-the-pan step the hard way when I immediately transferred warm cookies to a rack and lost all that precious crispness at the edges. Now I see those 5 minutes as a built-in moment to breathe between batches, maybe pour a cup of coffee, and prepare for the real test—trying not to eat them all before they even cool.
The Art of the Perfect Edge
The secret to those irresistibly crisp edges lies in the interplay between the melted butter, the ratio of sugars, and the oven temperature. The butter spreads the dough outward, the sugars caramelize at the edges, and 350°F is just hot enough to brown those edges before the center sets. If your oven runs hot, you might need to pull them out a minute earlier; if it runs cool, you might need to add a minute. The only way to know is to watch your first batch and adjust from there.
Why This Works Every Time
This recipe respects the science of cookie-making without requiring you to think too hard about it. The baking soda is the real MVP—it neutralizes the acidic egg and butter, which allows browning to happen faster and more thoroughly. The brown sugar adds moisture and molasses flavor, keeping the center tender while the edges crisp up. It's a simple formula, but it works because each ingredient is doing exactly what it's supposed to do.
Variations That Keep Things Interesting
Once you've made these a few times and understand how they work, the fun part starts. Swap the chocolate chips for white chocolate chunks, dried cranberries, or chopped pistachios—or skip the mix-ins entirely and appreciate the pure butter-sugar cookie on its own. I've also added a pinch of cinnamon or a tiny amount of sea salt to the dough, which sounds unusual until you taste how it rounds out the sweetness. The base recipe is flexible enough to handle experimentation, but stable enough that you won't mess it up.
- Brown chocolate chips get nutty and almost caramel-like when they bake alongside the sugars.
- A mix of white and dark chocolate creates interesting flavor contrast without being too sweet.
- If you use nuts, toast them lightly first so their flavor really comes through instead of getting lost.
 Pin it
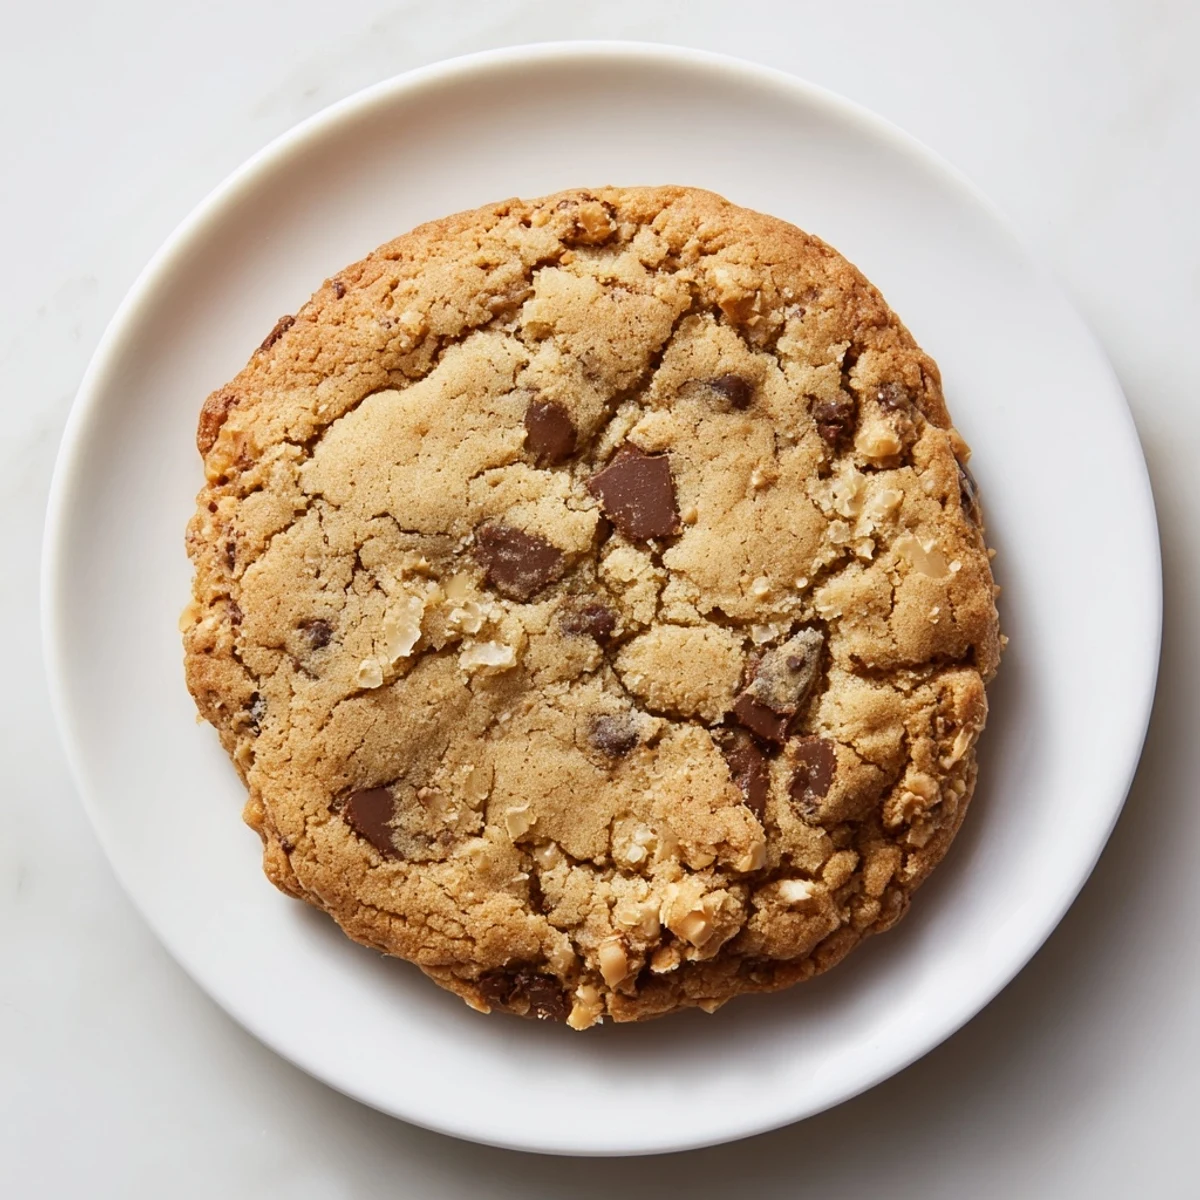
 These cookies are best enjoyed fresh from the rack with something warm to drink, but they're also the kind of cookie that's still good three days later. Keep them in an airtight container and remember that imperfect, irregular cookies always taste better than perfect ones.
Recipe FAQs
- → What makes the cookie edges crispy?
-
Using melted butter and slightly flattening the dough helps the edges bake thin and crisp while keeping the centers tender.
- → Can I add mix-ins to these cookies?
-
Yes, chocolate chips or chopped nuts can be folded into the dough to add extra flavor and texture.
- → How do I know when the cookies are done baking?
-
Look for golden-brown edges that appear crisp while the centers still look set but soft; they firm up as they cool.
- → Is it okay to substitute brown sugar with white sugar?
-
Brown sugar adds moisture and depth of flavor but you can use all white sugar for a slightly crisper and lighter cookie.
- → What is the best way to store these cookies?
-
Keep them in an airtight container at room temperature to maintain their crisp edges and tender centers for several days.
