 Pin it
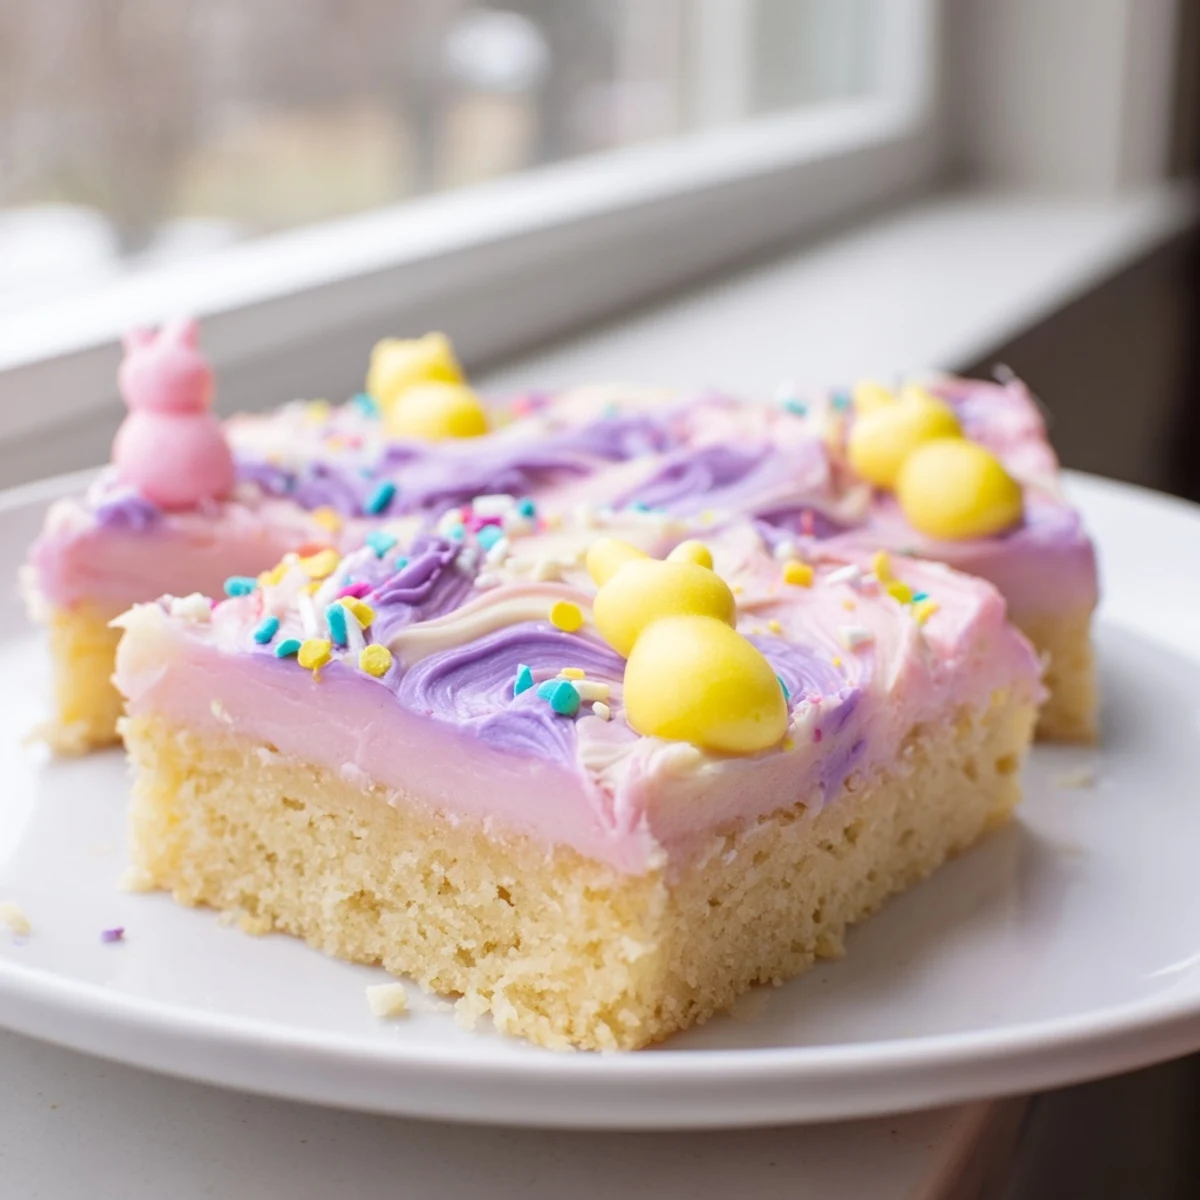
 These soft, tender sugar cookie bars feature a buttery vanilla base baked to golden perfection, then crowned with luscious pastel-hued frosting and cheerful Easter sprinkles. The simple preparation comes together in just 40 minutes, making them ideal for last-minute holiday gatherings or spring baking sessions.
The cookie base stays moist and tender thanks to careful mixing and proper baking time, while the velvety buttercream frosting offers endless creative possibilities with pastel food coloring. Each bar delivers the perfect balance of sweetness and vanilla flavor that both children and adults adore.
Store these delightful treats at room temperature for up to four days or refrigerate for extended freshness. They travel well to potlucks and make excellent additions to dessert tables or Easter basket gift boxes.
The kitchen smelled like vanilla and butter that Sunday morning, my daughter standing on a stool at the counter, covered in flour. We had 30 minutes before our Easter brunch guests arrived, and I'd forgotten to make dessert. Panic turned into something sweet when we decided to transform regular sugar cookie dough into bar form—faster to bake, easier to serve, and somehow even more comforting than individual cookies.
Last year, my neighbor's three-year-old helped me frost these bars. She dipped her finger into every color of frosting, creating the most chaotic swirl of pastel pinks and greens across the pan. Everyone at brunch couldn't stop talking about them—not because they were perfectly decorated, but because they looked like pure joy on a plate.
Ingredients
- All-purpose flour: The foundation that gives these bars their tender crumb—sifting first prevents lumps in the dough
- Baking powder and salt: Just enough lift to make the bars light without losing that satisfying cookie density
- Unsalted butter: Room temperature butter is non-negotiable here—it creates that melt-in-your-mouth texture we crave
- Granulated sugar: Sweetens and tenderizes while creating those beautifully golden edges
- Eggs: Bind everything together while adding richness and structure
- Pure vanilla extract: The backbone of classic sugar cookie flavor—splurge on the good stuff
- Almond extract: Optional, but adds this subtle sophistication that makes people ask what your secret ingredient is
- Powdered sugar: Sifting is crucial—no one wants gritty frosting ruining silky smooth bars
- Whole milk or cream: Adjusts frosting consistency—start with less and add gradually
- Pastel food coloring: Gel colors work best for those soft Easter egg hues without thinning the frosting
- Festive sprinkles: The crowning glory that makes these feel like a celebration
Instructions
- Prep your pan with confidence:
- Line that 9x13 inch pan with parchment paper, letting the edges hang over like little handles—this is how you'll lift the bars out later without breaking them or your spirit
- Whisk the dry team together:
- In a medium bowl, combine flour, baking powder, and salt—this simple step prevents overmixing later and ensures every bite is perfectly tender
- Cream butter and sugar until they're best friends:
- Beat them together until the mixture looks pale and fluffy, about 3 minutes—this creates air pockets that make the bars lighter
- Add eggs one at a time:
- Each egg needs its moment to fully incorporate before the next one joins the party
- Whisk in those extracts:
- The vanilla-almond combo is what makes these taste like they came from a fancy bakery
- Fold in the flour mixture gradually:
- Mix until just combined—overworking the dough at this stage is what leads to tough, sad cookies
- Spread the dough with patience:
- Use an offset spatula to create an even layer—wet your spatula with water if the dough keeps sticking
- Bake until barely golden:
- 18 to 20 minutes is the sweet spot—the center should be set but still soft to the touch
- Let them cool completely:
- I know the temptation is real, but frosting warm bars is a mistake you'll make exactly once
- Make the frosting while they cool:
- Beat butter until creamy, add powdered sugar, vanilla, and 2 tablespoons of milk—add more milk only if needed
- Divide and conquer with colors:
- Split frosting into separate bowls and tint each with a drop of gel coloring—less is more for that delicate pastel look
- Frost like you mean it:
- Spread evenly or create swirling patterns with different colors—both look stunning
- Add sprinkles while frosting is still soft:
- They stick better and look more generous this way
- Lift, cut, and serve:
- Use those parchment handles to lift the whole slab out, then cut into squares with a sharp knife
 Pin it
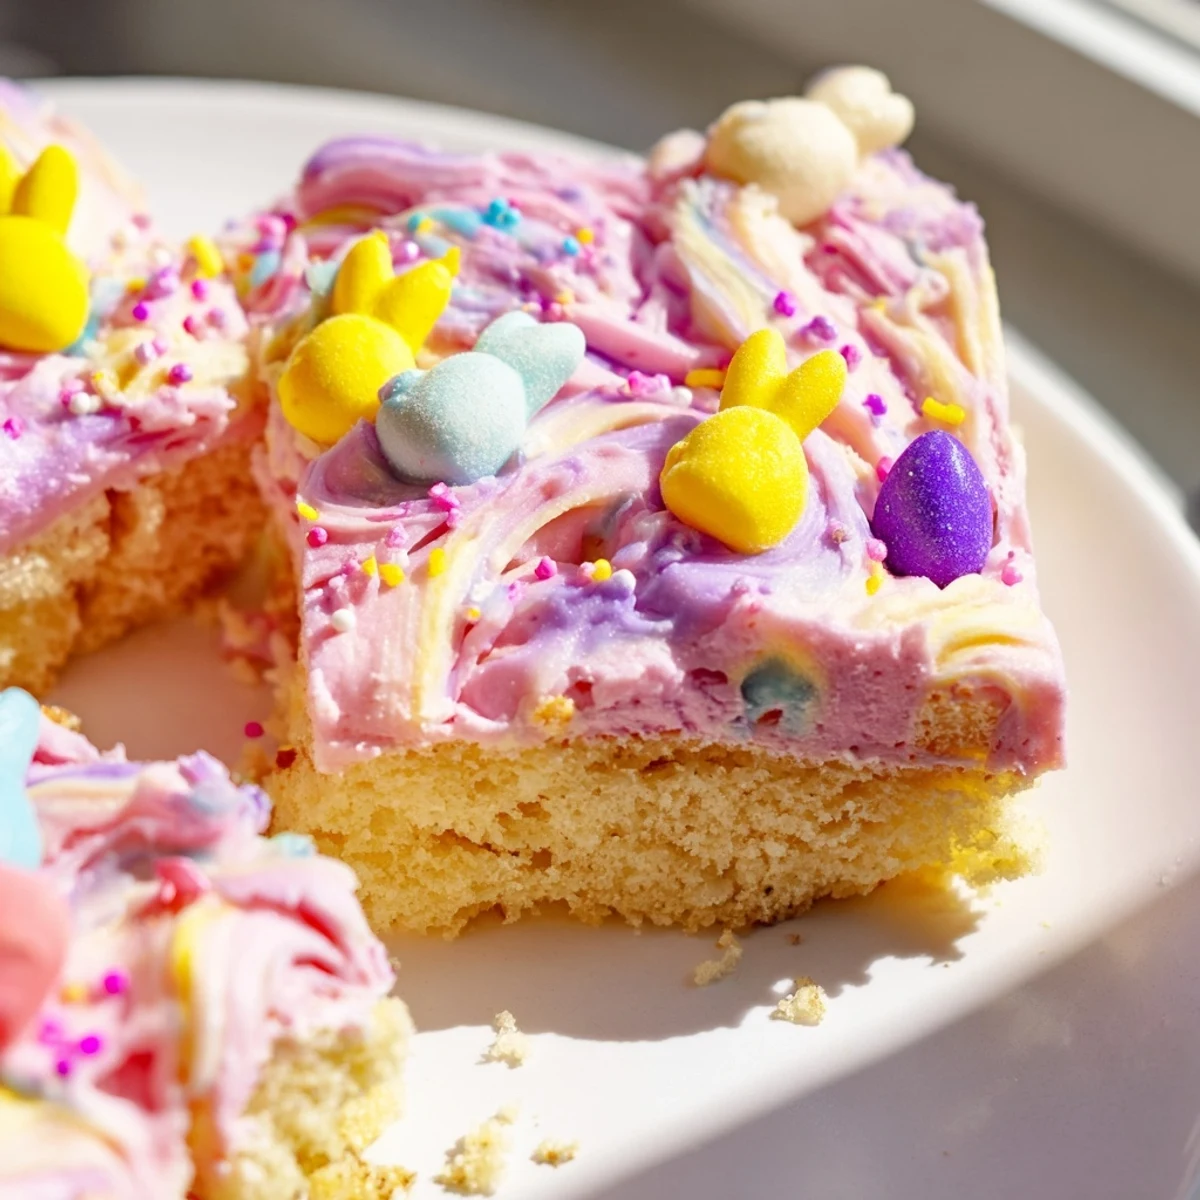
 My aunt once brought these to our Easter gathering in a mismatched Tupperware container, frosting still slightly soft from her warm kitchen. We ate them standing around the kitchen island, laughing about how the pink frosting stained everyone's fingers, and realized the best desserts are the ones that bring people together before they even take a bite.
Making These Ahead
I've learned that baking the bars the day before and storing them unfrosted in an airtight container keeps them incredibly fresh. Frost them the morning of your gathering—they'll taste just-baked and look freshly decorated.
Frosting Freedom
One Easter, I ran out of piping bags and used zip-top bags with the corner snipped off instead. The mess was glorious, and the kids loved squeezing different colors side by side to create tie-dye effects across the bars.
Storage Secrets
These bars actually taste better on day two when the flavors have had time to meld together. The frosting softens the cookie base slightly, creating this perfect cake-cookie hybrid that disappears faster than you can say chocolate bunny.
- Store layered between wax paper in an airtight container to prevent sticking
- Bring to room temperature before serving for the best texture
- Freeze unfrosted bars for up to three months, then thaw and frost when needed
 Pin it
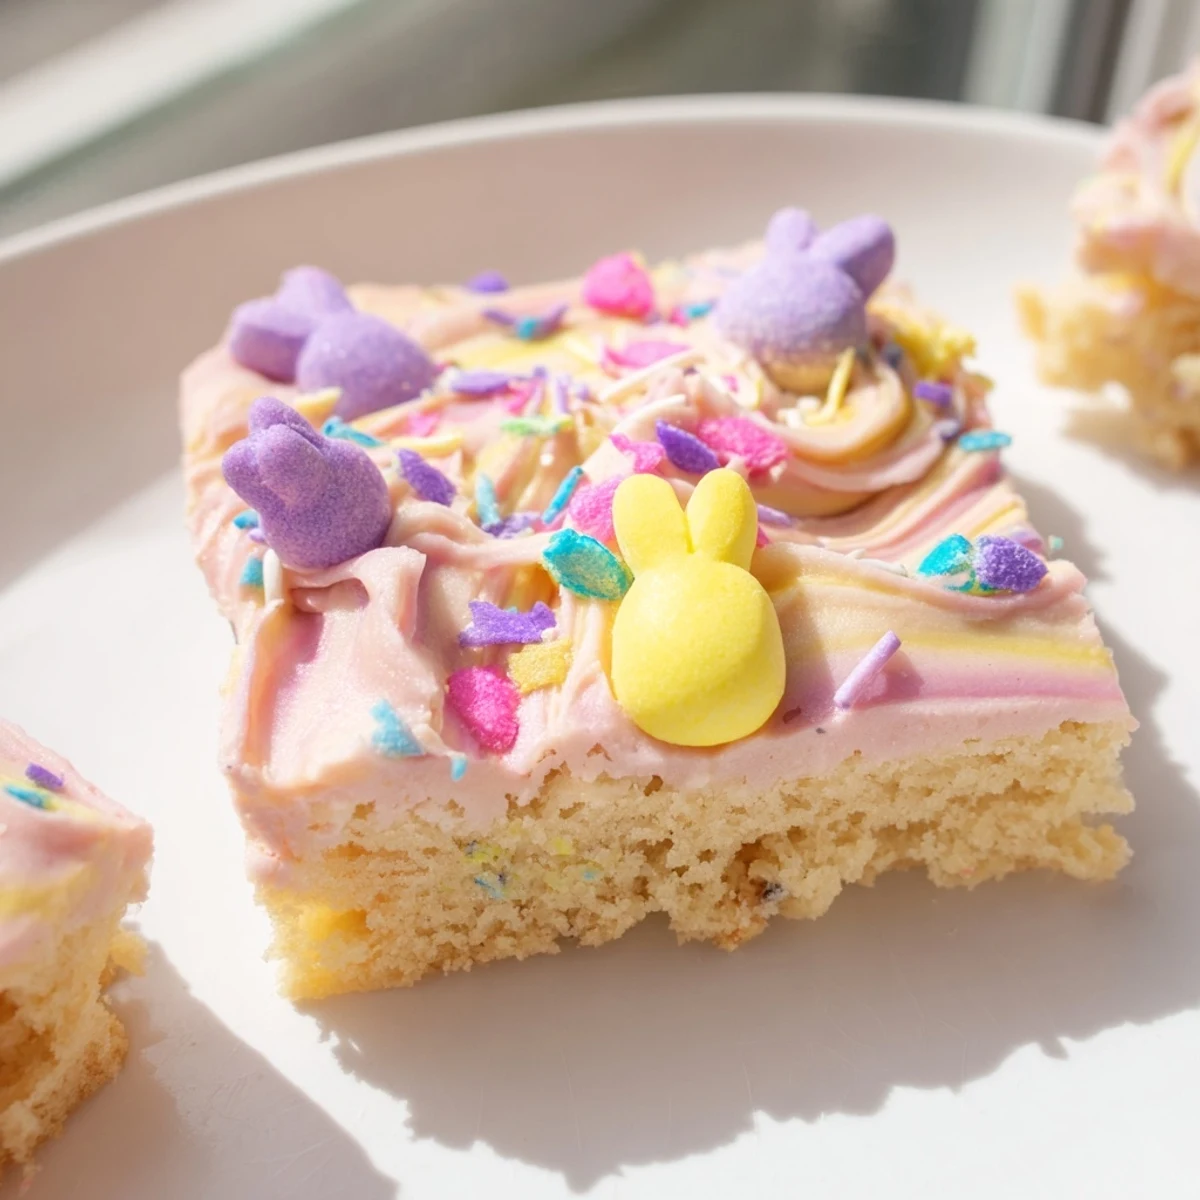
 These sugar cookie bars have become our Easter tradition not because they're fancy or complicated, but because they're exactly what a holiday dessert should be—sweet, shareable, and made with love.
Recipe FAQs
- → Can I make these cookie bars ahead of time?
-
Absolutely! The unfrosted bars can be baked up to two days in advance and stored tightly wrapped at room temperature. Frost and decorate on the day you plan to serve them for the freshest appearance and texture.
- → What's the best way to achieve smooth frosting?
-
Beat the butter until creamy before adding powdered sugar gradually. Sifting the sugar first prevents lumps. Adjust milk one teaspoon at a time until you reach spreadable consistency. An offset spatula helps create perfectly even layers.
- → Can I freeze these Easter cookie bars?
-
Yes! Freeze the unfrosted bars for up to three months, wrapped well in plastic and foil. Thaw overnight at room temperature before frosting. Frosted bars can also be frozen, though sprinkles may bleed slightly into the frosting.
- → How do I prevent the bars from overbaking?
-
Start checking at 18 minutes. The edges should be barely golden and the center set—slightly underbaked is better than overbaked for soft texture. They continue cooking slightly from residual heat. Cool completely in the pan for best results.
- → Can I use natural food coloring for the frosting?
-
Natural options like beet juice for pink, turmeric for yellow, spinach or matcha for green, and blueberry juice for purple work beautifully. Keep in mind natural colors may be more subtle than artificial gel colors.
- → What pan size works best for this recipe?
-
A standard 9x13 inch pan yields perfectly thick, chewy bars. Using a larger 15x10 jelly roll pan will create thinner bars that bake faster, while an 8x8 square pan makes thicker bars requiring extended baking time.
