 Pin it
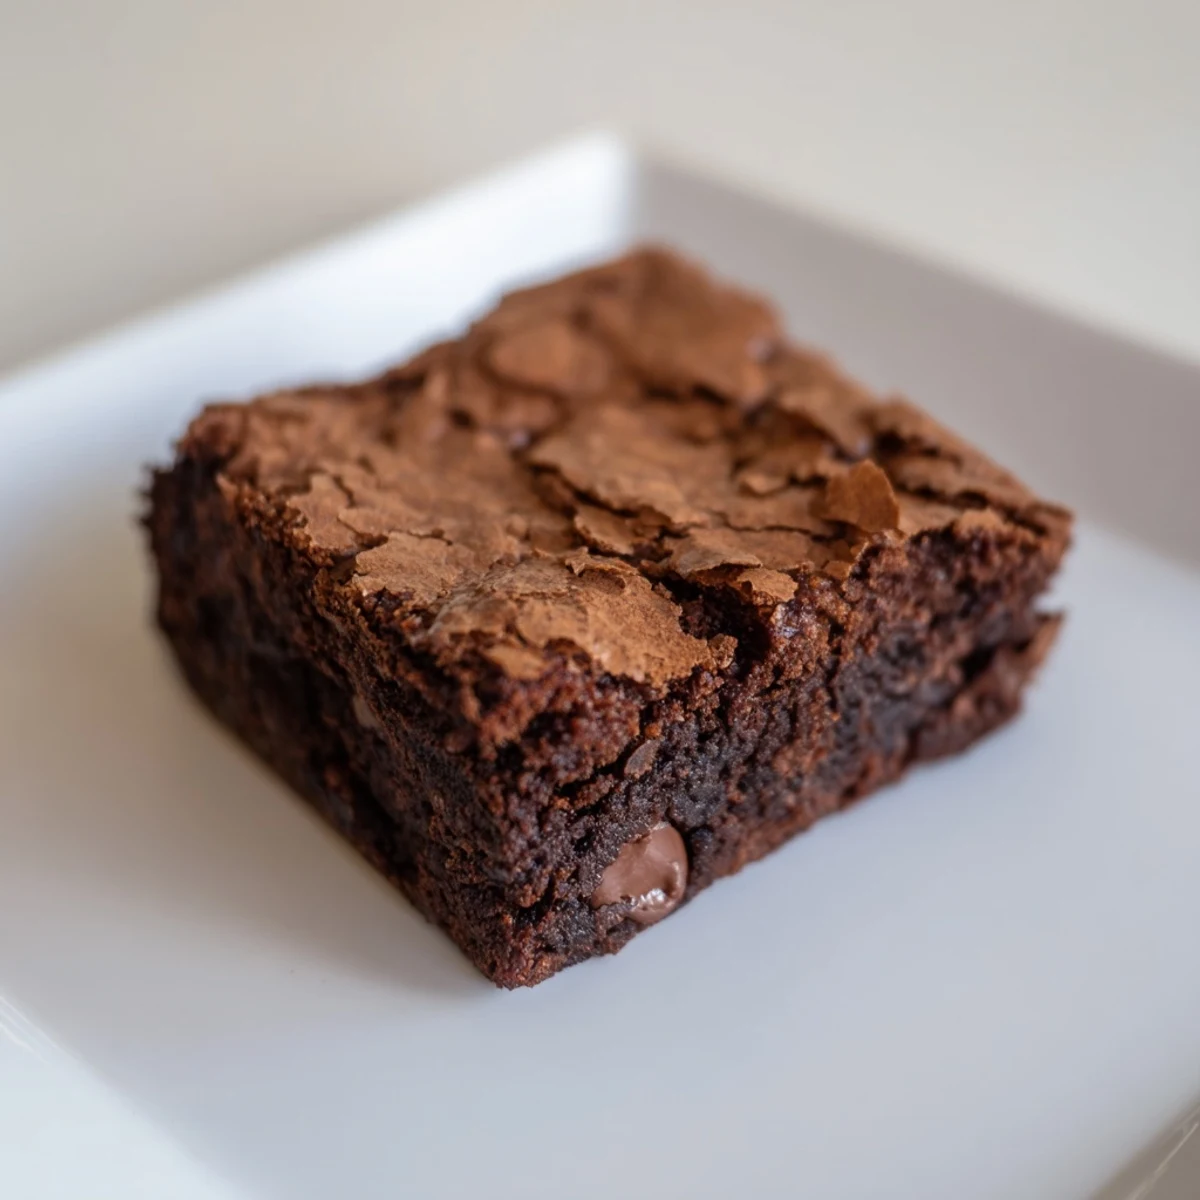
 These rich, fudgy chocolate squares feature a crisp top and a gooey center that melts in your mouth. Combining cocoa, melted butter, and chocolate chunks creates a dense yet tender texture, balanced by a subtle vanilla hint. Simply whisk dry ingredients separately, blend wet components, then gently fold them together before baking to perfection. Cooling before slicing ensures neat, satisfying squares. For more indulgence, add nuts or swirl in caramel or peanut butter. Serve slightly warm alongside creamy vanilla ice cream for a luscious finish.
One Saturday afternoon, I opened my pantry looking for something quick to bake and spotted a half-used bag of cocoa powder pushed to the back. I'd been craving something sweet and rich, and brownies felt like the answer. What I didn't expect was how that simple craving would turn into my most-requested recipe, the one friends text me for before every gathering.
I brought a pan of these to a potluck once, still warm from the oven, and watched them disappear in minutes. A neighbor cornered me by the dessert table, insisting I write down the recipe on a napkin. That's when I realized these weren't just brownies, they were the kind that make people remember you.
Ingredients
- All-purpose flour: Just one cup gives structure without making them cakey, and I learned the hard way not to pack it into the measuring cup.
- Unsweetened cocoa powder: This is where the deep chocolate flavor lives, and using good quality cocoa makes a noticeable difference in richness.
- Salt: A small amount sharpens the chocolate and keeps the sweetness from feeling flat.
- Baking powder: Just half a teaspoon creates a slight lift and that signature crackly top.
- Unsalted butter: Melted butter blends smoothly and adds moisture, and I always let it cool slightly so it doesn't scramble the eggs.
- Granulated sugar: Two cups sounds like a lot, but it creates that shiny crust and balances the bitter cocoa.
- Eggs: Three large eggs bind everything together and give the brownies their fudgy chew.
- Vanilla extract: Two teaspoons round out the chocolate and add warmth you can taste but not quite name.
- Semi-sweet chocolate chips: Folding in extra chocolate creates molten pockets throughout, and I sometimes chop a bar instead for irregular chunks.
Instructions
- Prep the pan:
- Preheat your oven to 350°F and line a 9×9-inch pan with parchment, leaving some overhang on the sides. This makes lifting the brownies out so much easier once they've cooled.
- Mix the dry ingredients:
- Whisk together flour, cocoa powder, salt, and baking powder in a medium bowl until evenly blended. I like to sift the cocoa if it's clumpy, but it's not essential.
- Combine butter and sugar:
- In a large bowl, whisk melted butter and sugar until the mixture looks glossy and slightly pale. It should feel smooth when you drag the whisk through it.
- Add eggs and vanilla:
- Crack in the eggs one at a time, whisking well after each one until the batter is thick and silky. Stir in the vanilla and watch the whole mixture come alive with fragrance.
- Fold in dry ingredients:
- Gently fold the flour mixture into the wet ingredients until just combined, with a few streaks still visible. Overmixing here turns fudgy into cakey, and that's not what we're after.
- Add the chocolate:
- Fold in the chocolate chips with a spatula, distributing them evenly. I always save a few to press into the top before baking for extra visual appeal.
- Bake:
- Pour the batter into the prepared pan, smooth the top, and bake for 28 to 32 minutes. A toothpick should come out with moist crumbs, not wet batter, and the edges will pull away slightly from the pan.
- Cool and slice:
- Let the brownies cool completely in the pan before cutting, as hard as that is to resist. I lift them out using the parchment and slice them on a cutting board for clean edges.
 Pin it
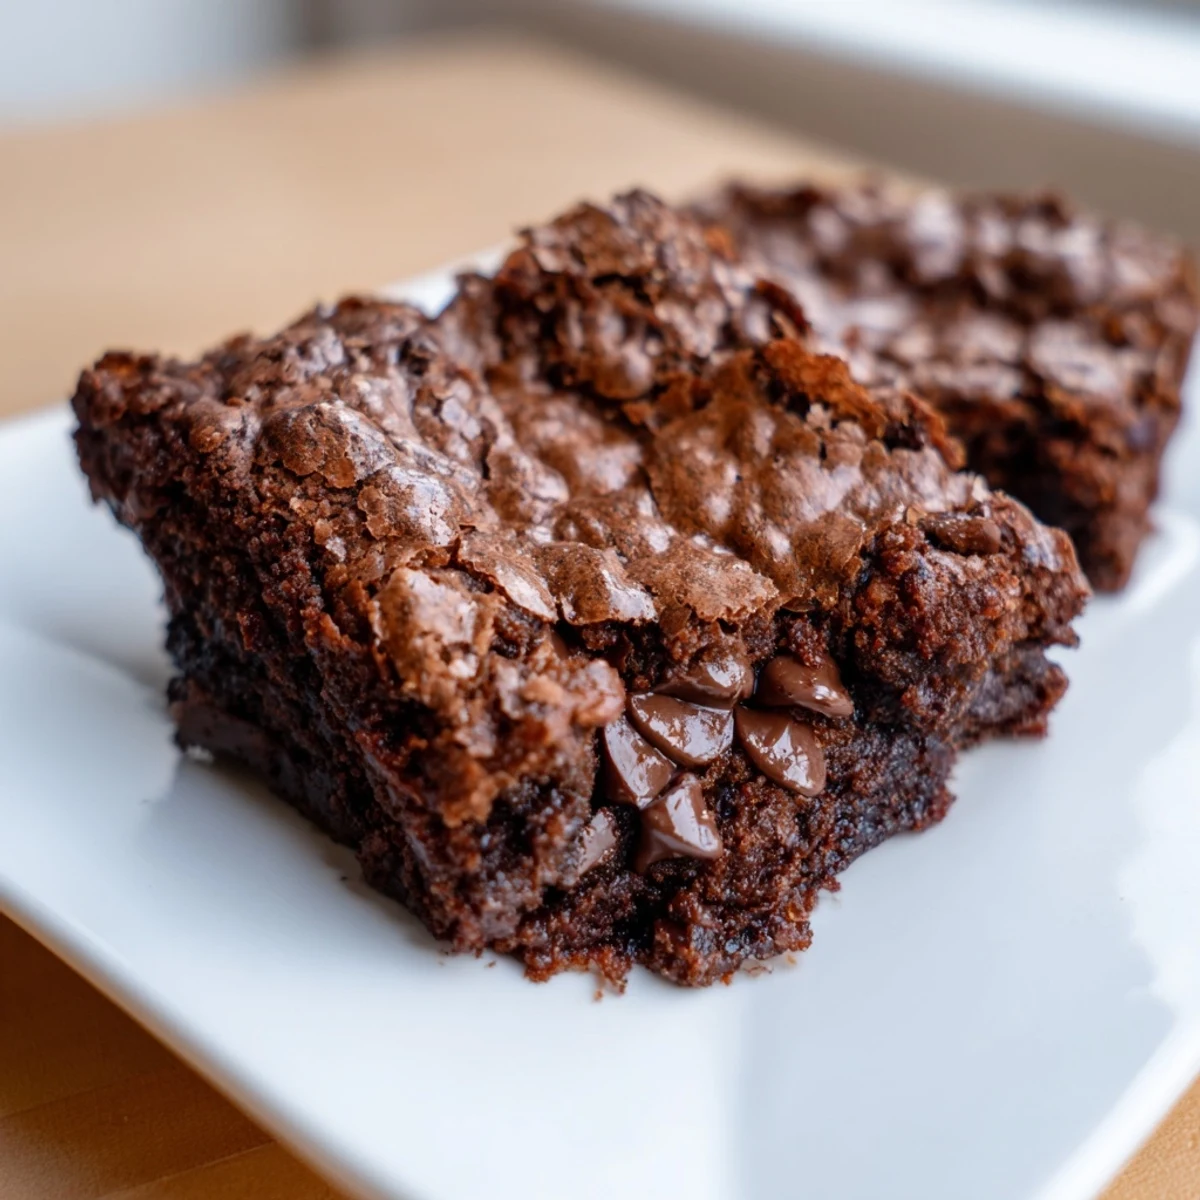
 There was one evening when I made these after a long week, just for myself, and ate two warm from the pan with a glass of cold milk. That moment of quiet indulgence reminded me why I love baking, it's not always about impressing others, sometimes it's just about making yourself feel cared for.
How to Store and Serve
I keep these in an airtight container at room temperature for up to four days, though they rarely last that long. If you want to serve them warm, a quick 10-second zap in the microwave brings back that just-baked softness, and a scoop of vanilla ice cream on top turns them into an event.
Variations Worth Trying
I've stirred in chopped walnuts for crunch, swirled peanut butter into the batter before baking, and even pressed salted caramel into the top halfway through. Each version feels like a new discovery, but the base recipe is so good it never needs much to shine.
What to Watch For
The trickiest part is knowing when to pull them from the oven, because that perfect fudgy center requires confidence to underbake slightly. I also learned to resist cutting them too soon, as they set up beautifully once cool and hold their shape much better.
- Check doneness at 28 minutes first, especially if your oven runs hot.
- If the top cracks deeply, that's a sign of great texture, not a mistake.
- Use a sharp knife wiped clean between cuts for the neatest squares.
 Pin it
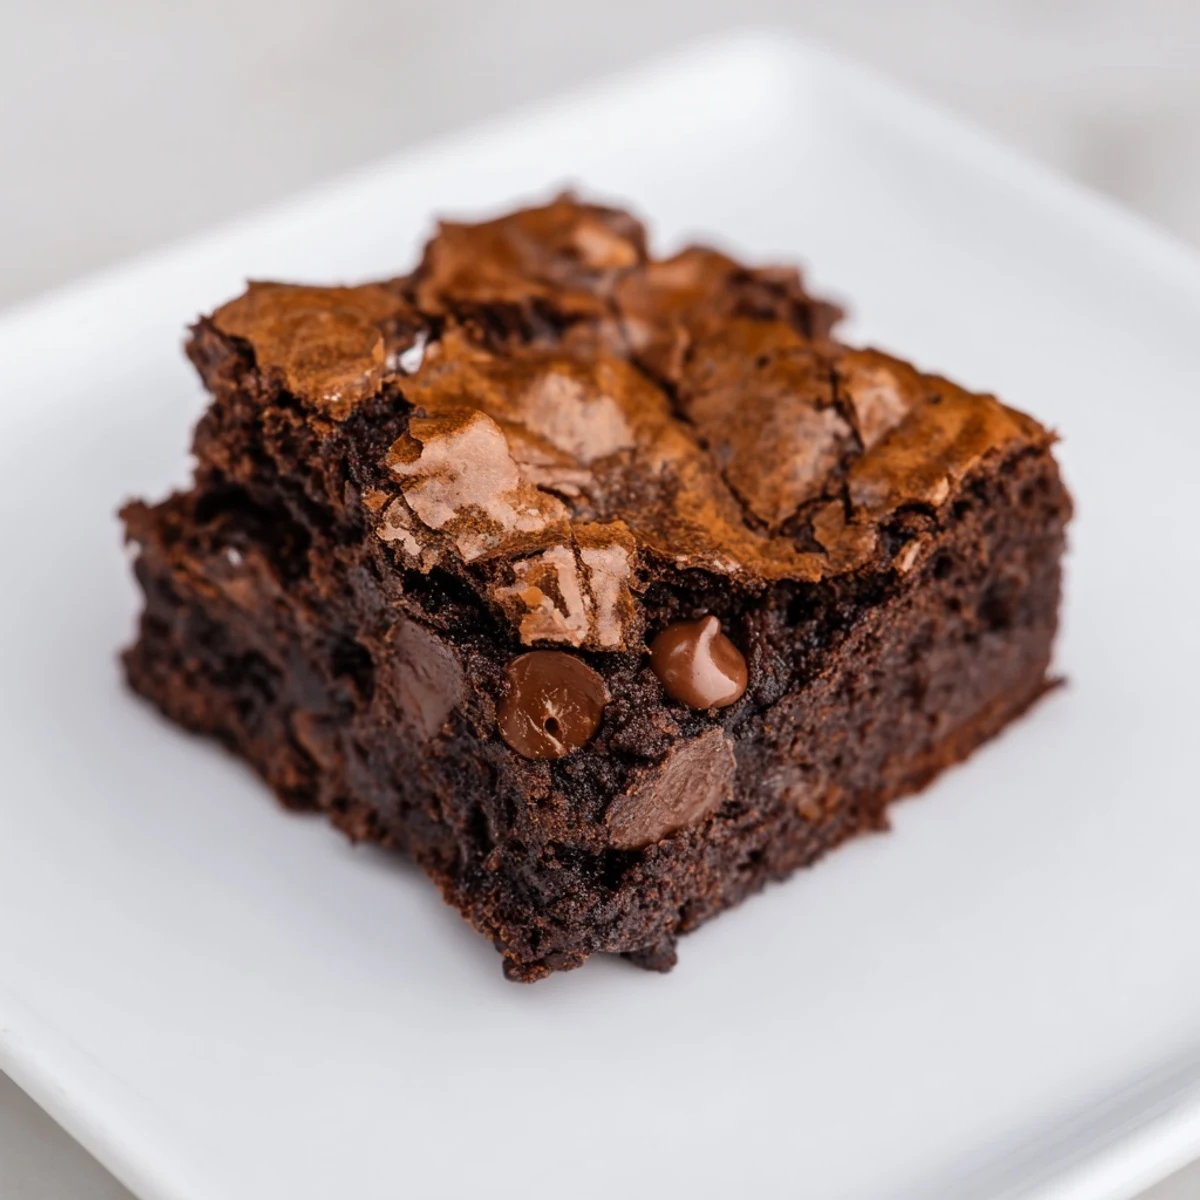
 These brownies have become my go-to for everything from birthday celebrations to quiet nights at home, and they've never let me down. I hope they bring you as much joy as they've brought me, one fudgy square at a time.
Recipe FAQs
- → How can I get a fudgier texture?
-
To achieve a fudgier texture, bake the squares for less time, aiming for the shorter range of 28 minutes to keep them moist inside.
- → Can I add nuts to the chocolate squares?
-
Yes, folding in 1/2 cup of chopped nuts before baking adds a pleasant crunch and enhances texture contrast.
- → What type of chocolate works best?
-
Semi-sweet chocolate chips or chopped chocolate add rich flavor and gooey pockets throughout the squares.
- → Is there a way to add extra flavor variations?
-
Swirling in peanut butter or caramel before baking introduces exciting flavor twists to the sweet chocolate base.
- → How should the squares be cooled and stored?
-
Allow squares to cool completely in the pan for clean slicing, then store in an airtight container to preserve freshness.
- → What tools are needed for preparation?
-
Basic kitchen tools such as a 9×9-inch baking pan, mixing bowls, whisk, spatula, and measuring cups are used for easy preparation.
