 Pin it
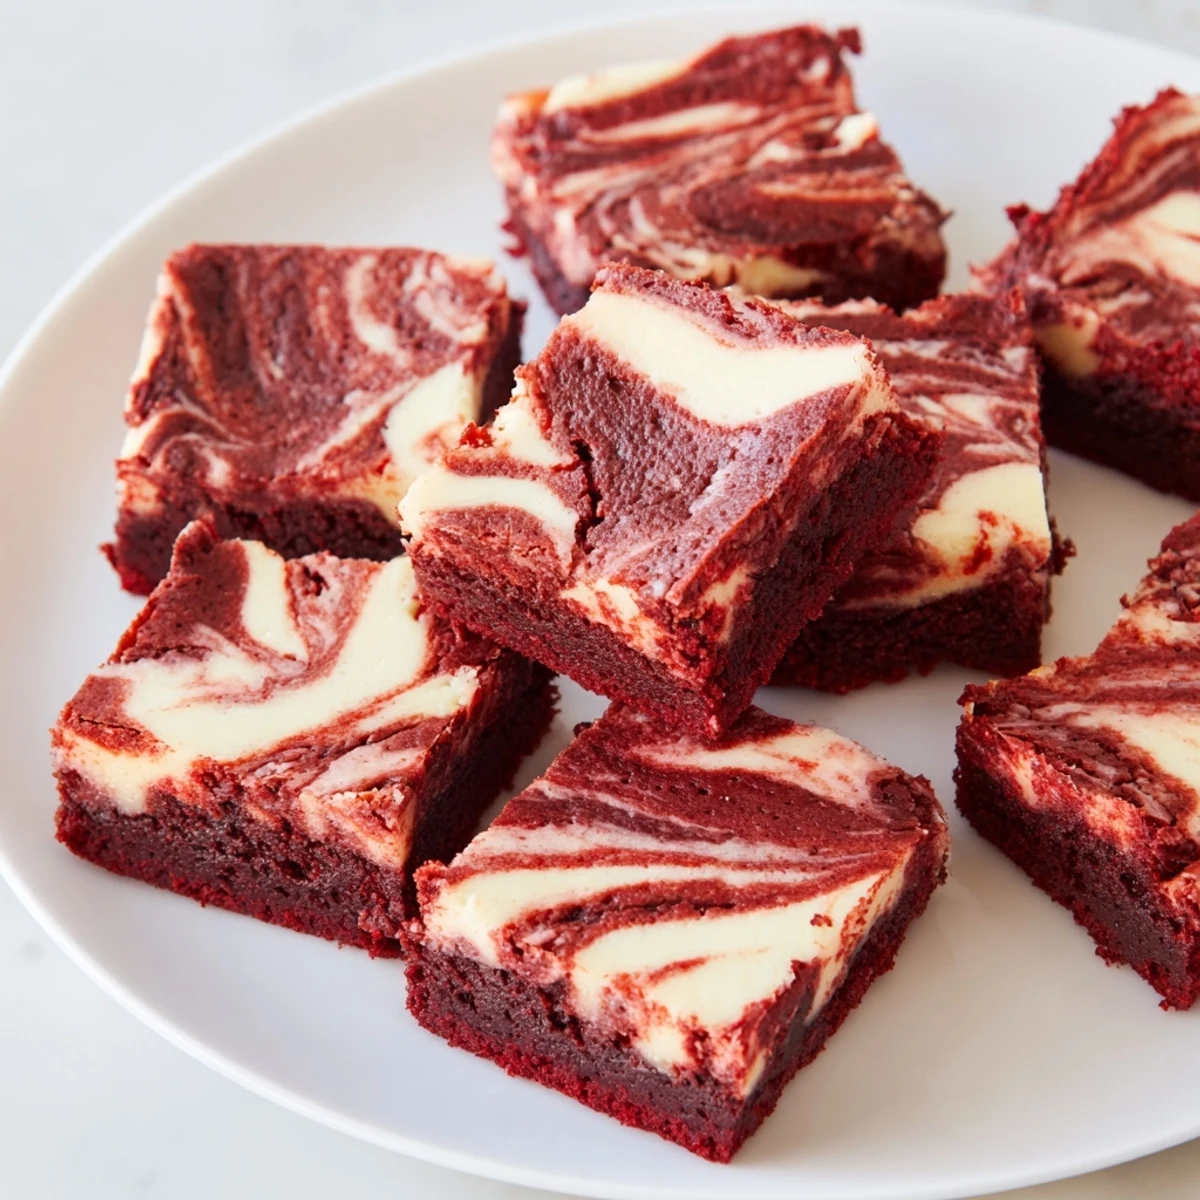
 These red velvet cheesecake brownie bites blend the deep cocoa flavors of red velvet with a smooth, creamy cheesecake swirl. Made in a mini muffin tin, each bite offers a moist texture and balanced sweetness. Easy to prepare and perfect for sharing, they're ideal for parties or special events. The cheesecake layer is gently swirled into the brownie batter before baking, creating a beautiful marbled effect. Store leftovers refrigerated or freeze for longer freshness.
The first time I made these, I was running late for a friend's birthday gathering and needed something impressive but portable. I ended up swirling the cheesecake mixture too enthusiastically, creating what looked like tiny marbled galaxies in each muffin cup. Everyone kept asking where I bought them.
My grandmother never understood red velvet anything. She called it cake with an identity crisis. But when I brought her a container of these, she ate four in one sitting and asked for the recipe. Sometimes the most skeptical people become your biggest fans.
Ingredients
- Unsalted butter: Melted butter combines more easily with sugar than softened butter here, creating that dense fudgy texture
- Granulated sugar: Do not reduce this, the sweetness balances the slight bitterness of the cocoa
- Large eggs: Room temperature eggs incorporate better and prevent the batter from seizing
- Vanilla extract: Use pure vanilla extract, the imitation stuff tastes noticeably off in red velvet
- Red food coloring: Gel coloring gives you that vibrant restaurant red without thinning your batter
- All purpose flour: Spoon and level your flour measuring, packing it down makes these bites tough
- Unsweetened cocoa powder: Dutch process cocoa gives a smoother flavor but natural cocoa works perfectly fine
- Salt: Do not skip, salt makes chocolate taste more chocolatey
- Cream cheese: Full fat block cream cheese creates the best swirl texture, whipped cream cheese is too thin
- Large egg yolk: The extra yolk enriches the cheesecake layer without making it eggy
Instructions
- Get your oven ready:
- Preheat to 350F and line your mini muffin tin with liners. The liners make these so much easier to transport and serve.
- Make the red velvet base:
- Whisk melted butter and sugar in a medium bowl until no sugar crystals remain. Add eggs, vanilla, and red food coloring. The mixture will look like glossy red paint.
- Add the dry ingredients:
- Sift in your flour, cocoa, and salt. Fold everything together until no dry streaks show. Do not keep mixing once combined.
- Fill the muffin cups:
- Divide batter among 24 mini muffin cups, about 2/3 full. An ice cream scoop makes this task so much faster and neater.
- Prepare the cheesecake swirl:
- Beat softened cream cheese until smooth. Mix in sugar, egg yolk, and vanilla until completely blended and creamy.
- Create the marble effect:
- Drop a small spoonful of cheesecake mixture onto each brownie cup. Use a toothpick to swirl gently. Do not over swirl or you lose the beautiful contrast.
- Bake to perfection:
- Bake 22 to 25 minutes until centers are set. A toothpick should come out with moist crumbs, not wet batter.
- Cool completely:
- Let them rest in the pan 10 minutes, then move to a wire rack. They firm up as they cool and become easier to handle.
 Pin it
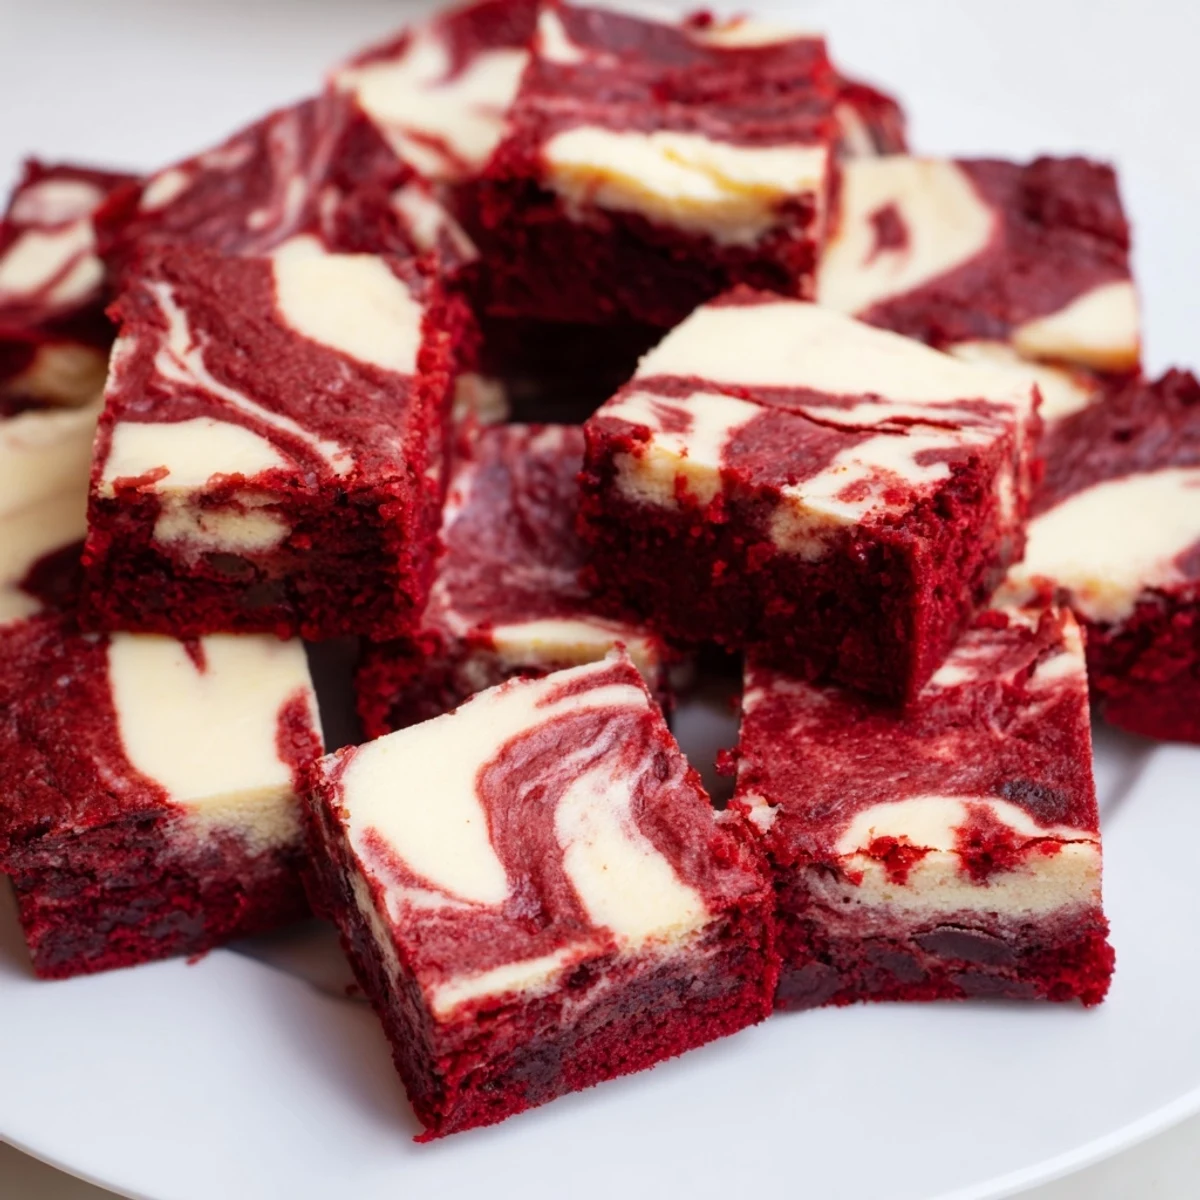
 Last Valentine's Day, I made three batches of these for my office. My coworker confessed she ate three for breakfast because they were sitting right there on the counter. Sometimes the most dangerous desserts are the smallest ones.
Making Ahead
You can prepare both batters the night before and store them separately in the refrigerator. Let them come to room temperature for 30 minutes before baking. The batter will thicken slightly but that is completely normal.
Swirl Techniques
A simple circular motion with your toothpick creates a classic swirl pattern. Try making a figure eight for something more intricate. The key is just one or two passes, more than that blends everything together.
Serving Ideas
These shine on any dessert table but think about serving them warm with a scoop of vanilla ice cream. The contrast between hot fudgy brownie and cold creamy ice cream is unforgettable.
- Sprinkle gold leaf on top for weddings or anniversaries
- Arrange them in a circle on a cake stand for maximum visual impact
- Package them in clear boxes tied with red ribbon for edible gifts
 Pin it
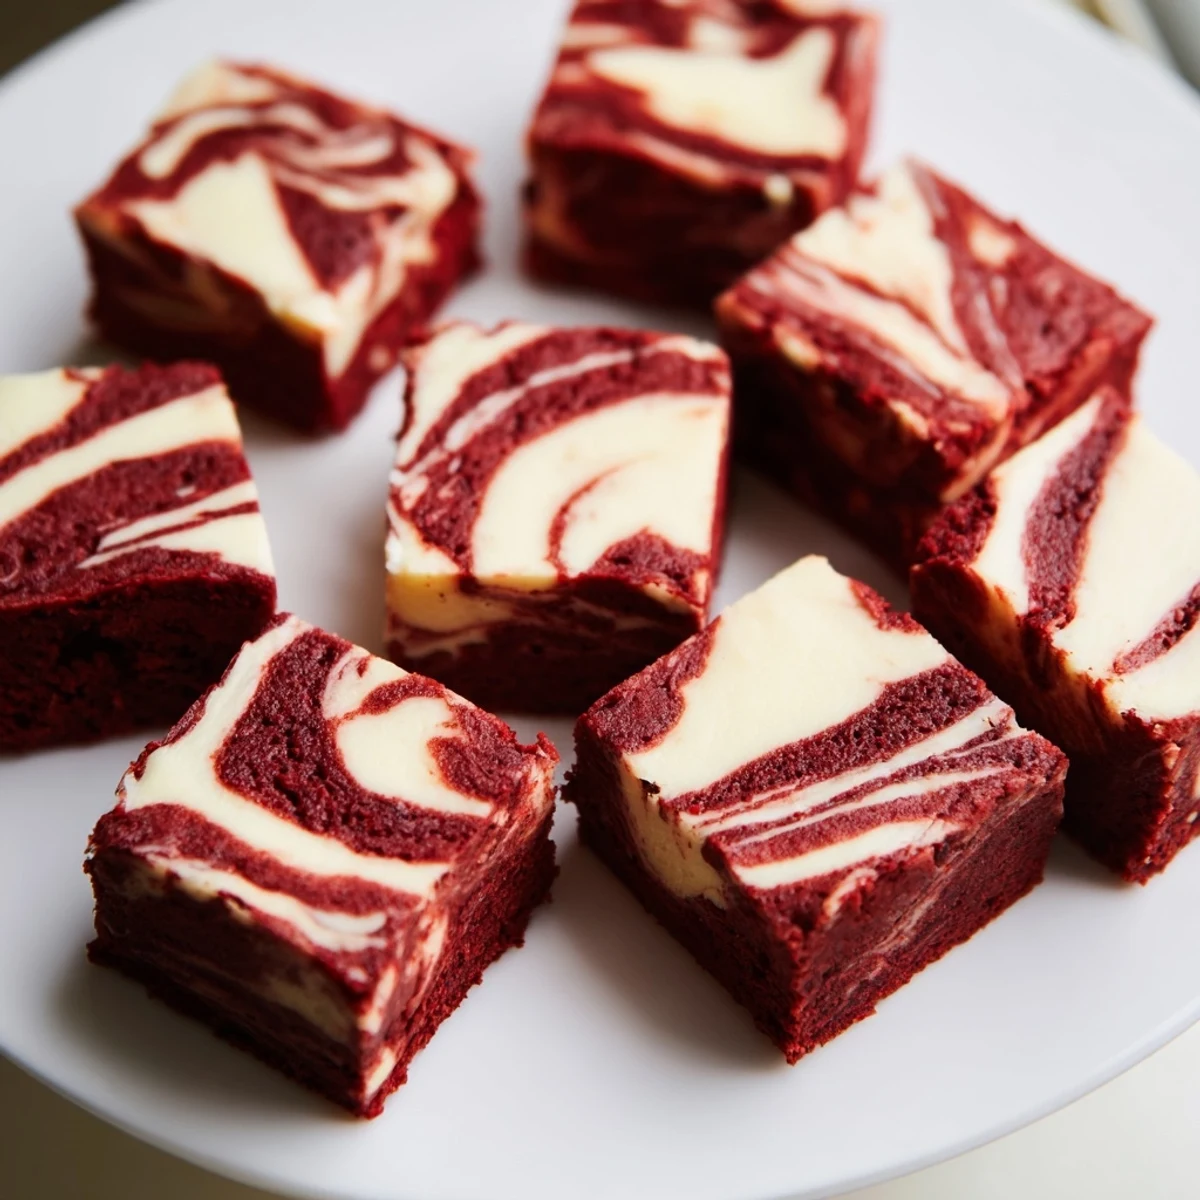
 These little bites have become my go to for every celebration. They never fail to disappear within minutes, leaving behind nothing but happy red stained smiles.
Recipe FAQs
- → What type of pan is best for baking these bites?
-
A 24-cup mini muffin tin is ideal for shaping these bite-sized treats evenly and ensuring proper baking.
- → How do I create the cheesecake swirl effect?
-
Spoon the cheesecake mixture on top of the brownie batter and gently swirl using a toothpick or skewer for a marbled look.
- → Can I add toppings for extra texture?
-
Yes, consider sprinkling mini chocolate chips or red sanding sugar before baking for added flavor and festive appearance.
- → How long can these bites be stored?
-
Store in an airtight container in the refrigerator for up to 5 days or freeze for up to 2 months.
- → Are these bites suitable for a vegetarian diet?
-
Yes, the ingredients are vegetarian-friendly, containing dairy, eggs, and gluten.
- → What is the baking temperature and time?
-
Bake at 350°F (175°C) for 22 to 25 minutes until centers are set with a few moist crumbs.
