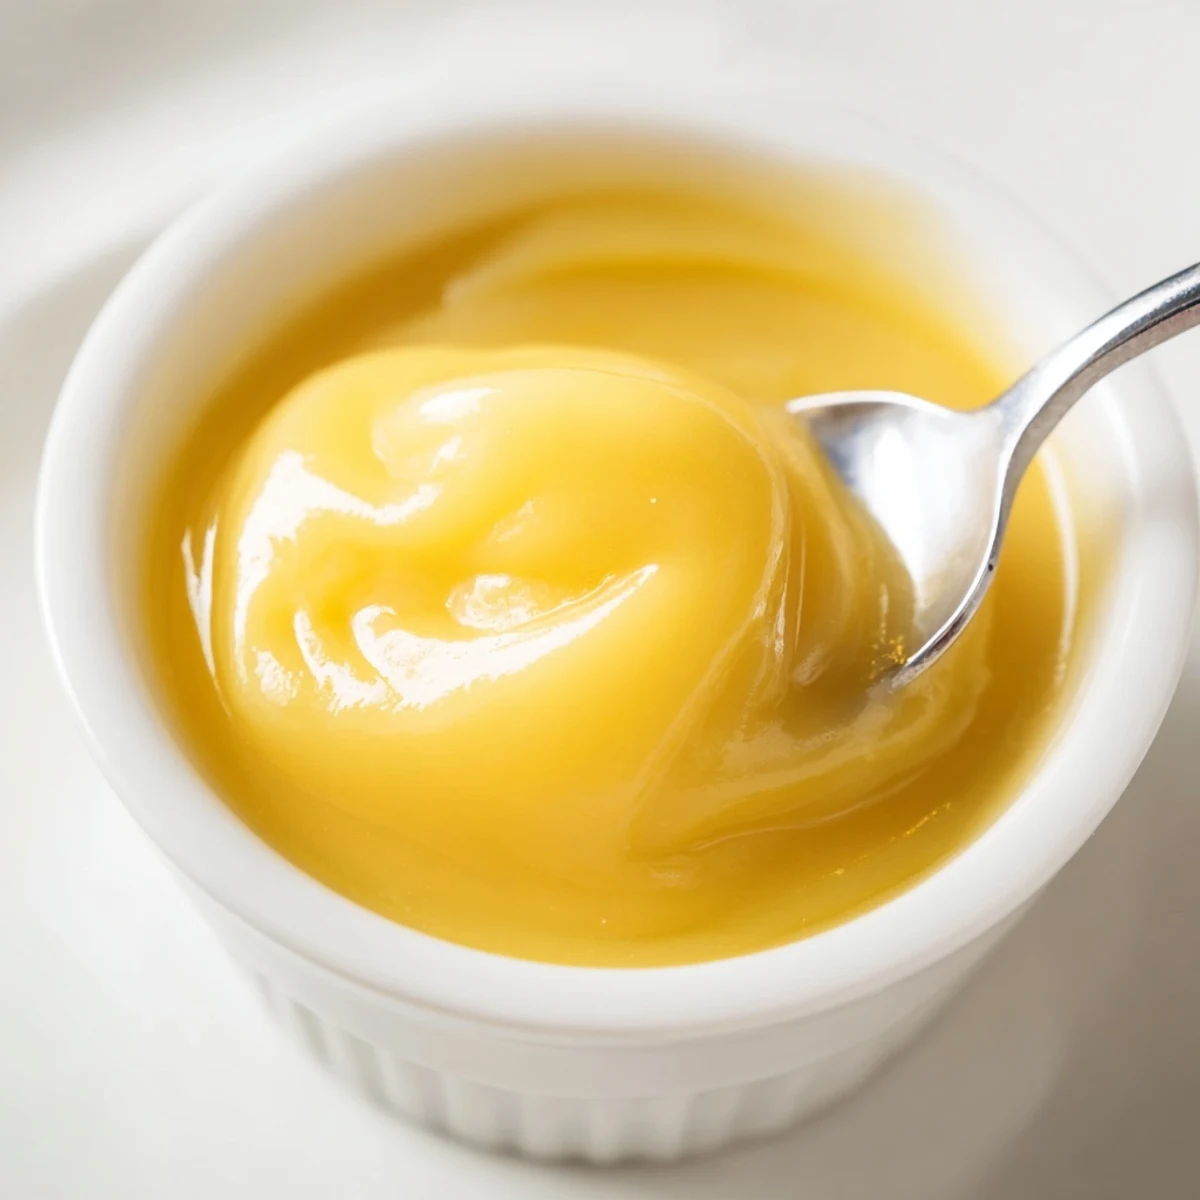
 Pin it
 Whisk eggs and sugar in a heatproof bowl, stir in lemon zest and juice, then cook over simmering water, whisking constantly until the mixture thickens and coats a spoon (about 8-10 minutes). Remove from heat and whisk in cubed butter until fully incorporated. Strain through a fine-mesh sieve, cool, then jar and refrigerate up to two weeks. For extra-smooth curd strain twice; use plant-based butter for a dairy-free version.
There’s a moment just after zesting fresh lemons when the whole kitchen suddenly feels brighter: it’s as if each little citrus spark promises a new beginning for whatever you’re about to make. Lemon curd has become my impromptu brightness boost, whether I’m slathering it on warm scones early on a gray morning or swirling it into yogurt for a treat that chases away any dullness. My first batch went surprisingly right, though I still remember nervously whisking, wondering if I’d crossed some magic line between curd and scrambled eggs. For anyone who’s never made a curd before, you’ll discover that the line isn’t as razor-thin as it seems.
Once, on an unplanned Sunday brunch, friends dropped by and I hastily whipped up this lemon curd to rescue a half-stale loaf of sourdough. Someone said the fragrance reminded them of a bakery in London, and suddenly we were all inventing new ways to serve it—spreading, dipping, even layering it in impromptu parfaits. That accidental gathering is now my gold standard for effortless, sunshiny kitchen victories.
Ingredients
- Large eggs: The backbone of the curd, eggs contribute to that signature silkiness—crack them cold for cleaner separation, but let them come closer to room temp for smoother blending.
- Unsalted butter: Folded in at the end, butter makes the curd impossibly rich; cubing it beforehand ensures it melts quickly without leaving oily streaks.
- Fresh lemons (zest and juice): Use both the zest and juice to get the most authentic, vibrant flavor—scrub lemons well since any wax can dull the punchiness.
- Granulated sugar: Balances the sharpness—a little taste test midway lets you adjust sweetness if your lemons are especially tart.
Instructions
- Whisk the eggs and sugar:
- Combine the eggs and sugar in your heatproof bowl and whisk until the mixture looks pale and the grains have mostly dissolved—listen for that gentle tapping sound as the sugar breaks up.
- Add the citrus:
- Stir in the lemon zest and juice; the scent at this step alone makes it worth pausing for a deep breath or two.
- Set up the double boiler:
- Nestle the bowl over simmering water, making sure the bottom doesn’t touch—if you hear a sizzle or see rapid bubbles, lower the heat and keep things gently steaming.
- Thicken the curd:
- Whisk constantly—after a few minutes, you’ll feel the mixture resist the whisk and start to cling, and when a trail stays behind on the back of your spoon, it’s ready.
- Add the butter:
- Take the bowl off heat and whisk in butter cubes, one by one; watch the sheen develop as everything merges in.
- Sieve and finish:
- Pour the curd through a fine-mesh sieve into a clean bowl; use a spatula to coax through all that tangy goodness, leaving behind any zest or egg bits.
- Cool and store:
- Once slightly cooled, spoon the curd into sterilized jars, seal, and stash in the fridge for up to two weeks (though, honestly, it never lasts that long).
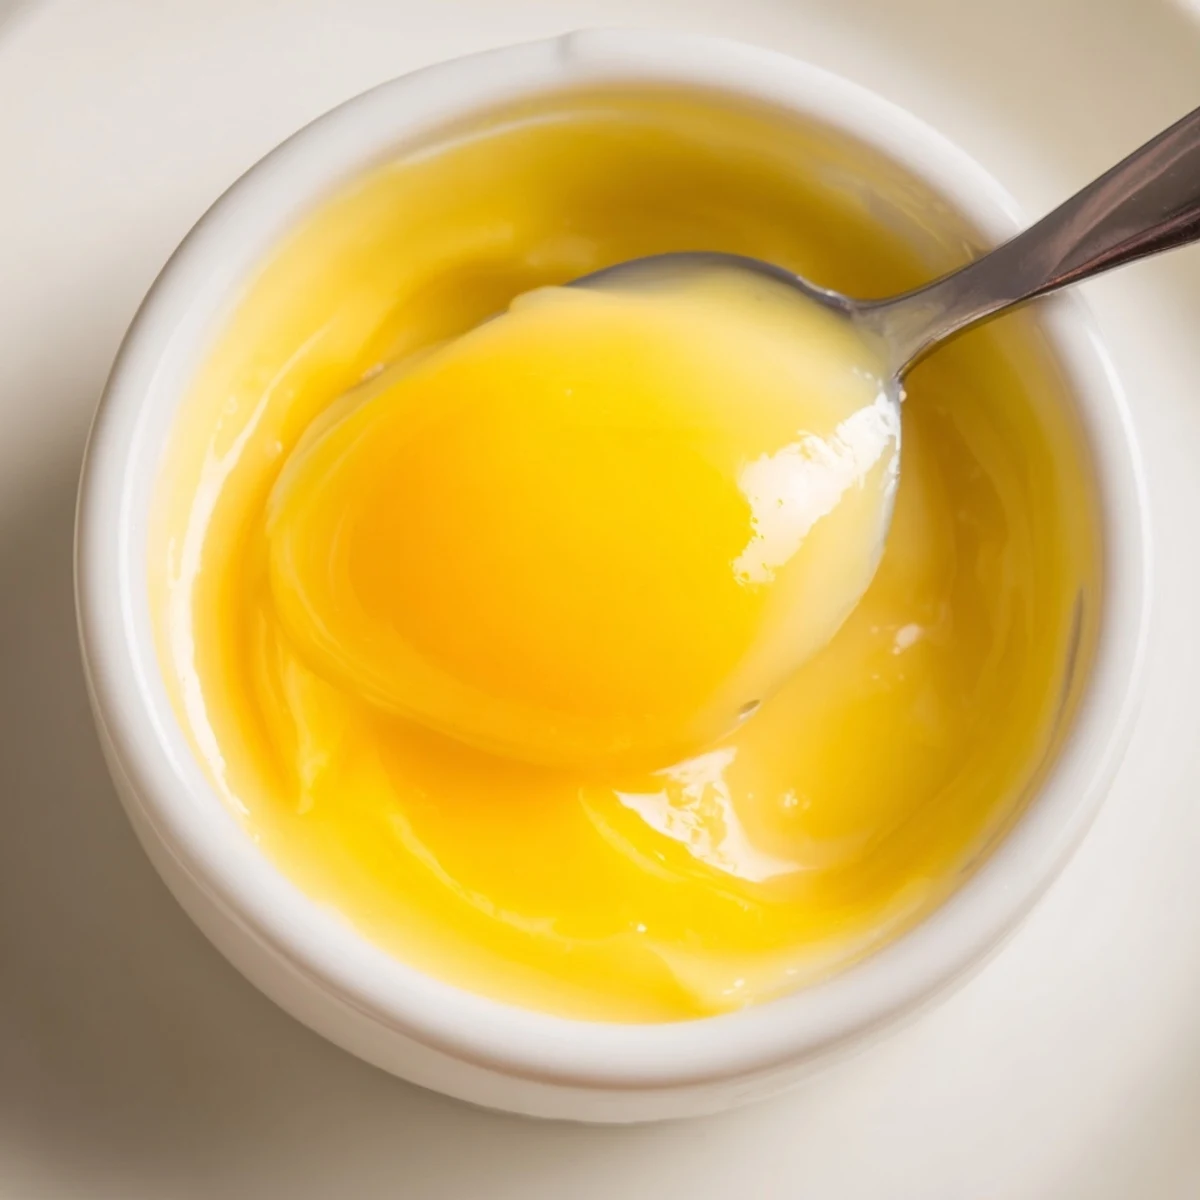 Pin it
 I’ll never forget the afternoon a neighbor knocked on my door just as I was filling jars with fresh curd—I handed over a warm jar as a ‘hello’ gift, and we ended up swapping family recipes over tea, lemon curd on everything in sight. Sometimes a simple jar opens an unexpected door to community.
The Joy of Small Batch Preserves
Unlike big-batch jams that feel like a marathon, lemon curd gives you that sweet satisfaction with almost no fuss. I love that it’s just enough to enjoy without worrying about wasting a drop. No need for canning gear or endless prep—just a pan, a bowl, and a little bit of focused time.
Serving Ideas Worth Trying
This curd is so versatile it’s almost a kitchen cheat code—on scones or toast in the morning, slipped between cake layers, or dolloped on pancakes, each bite adds a pop of zing. Once I swirled it into Greek yogurt with crushed pistachios, and it was gone before I put away the spoon. If you’re feeling ambitious, try it under a crackling layer of brûléed sugar for a faux crème brûlée effect.
Keeping Things Foolproof
I used to worry about getting the temperature exactly right, but a gentle simmer and steady hand are all you really need. The curd thickens before you know it, and even if it looks a little lumpy as you whisk in the butter, sieving saves anything less than silky perfection.
- Label your jars so you remember the date—that first spoonful tastes best within a week.
- Double the batch if you have extra lemons; friends will always want a jar.
- Don’t skip straining, even if it looks smooth—it’s the insurance policy for velvety curd.
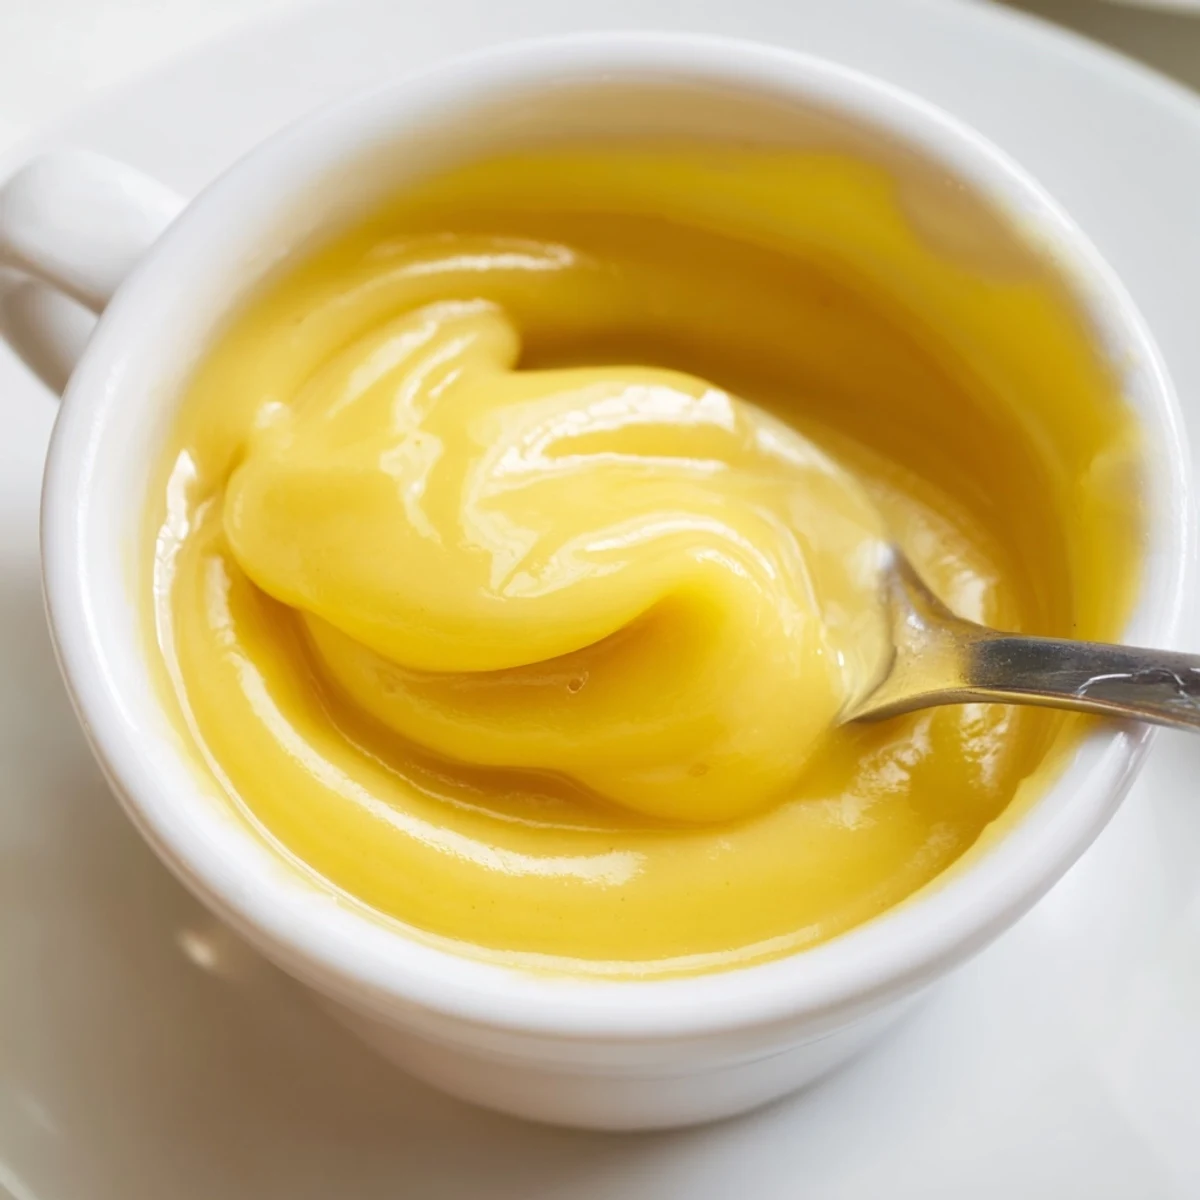 Pin it
 However you serve it, homey lemon curd just brings out the sunshine in a kitchen. Share a jar—or keep it for yourself as a secret treat, no judgment.
Recipe FAQs
- → How can I tell when the curd has thickened enough?
-
The curd is done when it thickly coats the back of a spoon and a finger drawn through the coating leaves a clean line. This usually takes 8-10 minutes over a gentle simmer.
- → Why use a double boiler instead of direct heat?
-
A double boiler provides gentle, even heat that prevents the eggs from scrambling and allows the mixture to thicken smoothly without curdling.
- → Can I make a dairy-free version?
-
Yes. Substitute plant-based butter for unsalted butter and proceed the same way; the texture will be slightly different but still rich and spreadable.
- → What is the best way to achieve a silky texture?
-
Whisk continuously while cooking, then pass the cooked curd through a fine-mesh sieve (strain twice if desired) to remove any bits of cooked egg or zest for an ultra-smooth finish.
- → How long will the curd keep in the refrigerator?
-
When cooled and stored in sterilized jars in the fridge, it keeps well for up to two weeks. Use a clean spoon each time to prevent contamination.
- → What are ideal uses for lemon curd?
-
Use it as a spread for scones or toast, a filling for cakes or tarts, or stirred into yogurt. It also pairs beautifully with Earl Grey or Darjeeling teas.
