 Pin it
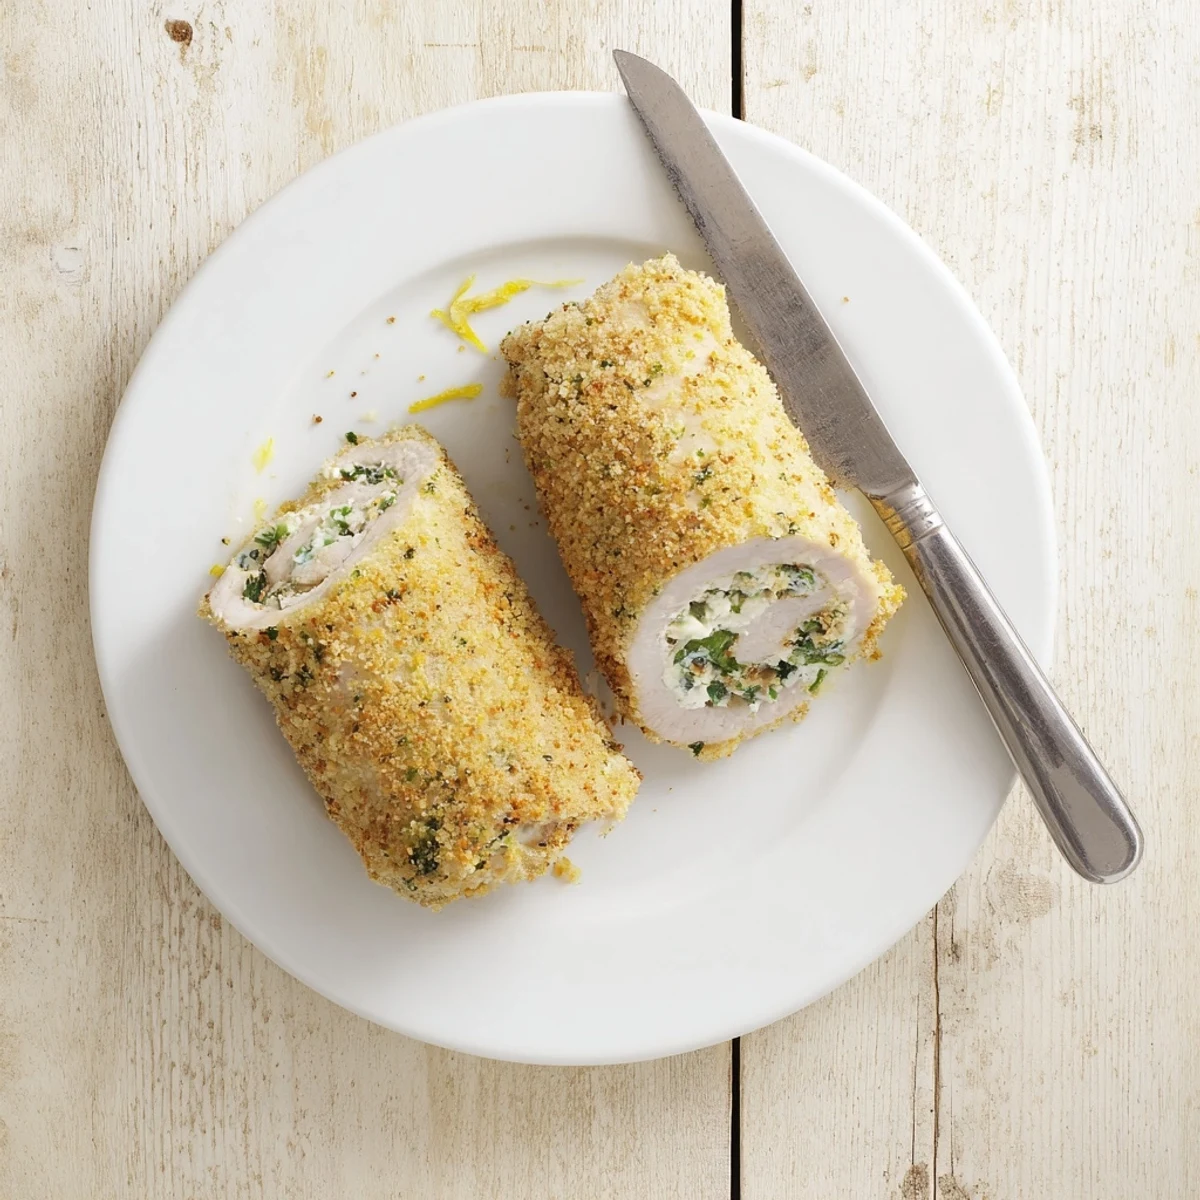
 These chicken rolls feature tender boneless breasts pounded to an even thickness and filled with a creamy mixture of ricotta, parmesan, fresh herbs, garlic, and lemon zest. The rolled chicken is coated with a seasoned breadcrumb blend and oven-baked until the topping turns golden brown and crispy while the meat stays juicy inside.
The preparation involves pounding the chicken for even rolling, mixing the herbed ricotta filling, and securing the rolls before adding the crunchy topping. With just 20 minutes of prep and 30 minutes in the oven, this dish delivers impressive results perfect for weeknight dinners or entertaining guests.
My neighbor Anna brought these over when I was recovering from surgery last spring, and I remember sitting at my kitchen table, still groggy from medication, taking that first bite and feeling instantly cared for. The way the creamy ricotta filling oozed out when I cut into the golden roll made something so simple feel extravagant. She laughed when I begged for the recipe, saying it was just her weeknight comfort food, nothing fancy. But that's exactly what made it perfect.
Last month I made six of these for my book club, and even Karen who claims to hate chicken went back for seconds. There's something about rolling up the chicken that makes the whole house smell promising, like you're attempting something far more complicated than you actually are. My daughter now requests these for her birthday dinner every year.
Ingredients
- 4 boneless skinless chicken breasts: Pound them thin so they roll easily and cook evenly without drying out
- Salt and pepper: Season generously since chicken needs help standing up to the rich filling
- 1 tablespoon olive oil: Just enough to help the breadcrumbs golden and crisp in the oven
- 1 cup ricotta cheese: Whole milk ricotta gives the creamiest results but part skim works too
- 1/4 cup grated Parmesan cheese: Adds a salty umami punch that makes the filling sing
- 2 tablespoons chopped fresh parsley: Bright and fresh, it cuts through the rich cheese
- 1 tablespoon chopped fresh basil: Sweet and aromatic, brings that genuine Italian flavor profile
- 1 teaspoon chopped fresh thyme: Earthy and subtle, use dried if fresh isnt available but use half the amount
- 1 garlic clove minced: One small clove is plenty since it will mellow as it bakes
- 1/2 teaspoon lemon zest: A surprising brightness that makes everything taste lighter
- 1/2 cup breadcrumbs: Gluten free works perfectly here if needed
- 2 tablespoons grated Parmesan cheese: Mixed into the breadcrumbs for extra flavor and crunch
Instructions
- Preheat your oven:
- Get it to 400F and line a baking sheet with parchment paper for easy cleanup later
- Pound the chicken:
- Place each breast between plastic wrap and use a meat mallet to pound to 1/4 inch thickness, working from the center outward
- Season the chicken:
- Sprinkle both sides generously with salt and pepper, making sure to get the edges
- Mix the filling:
- Combine ricotta, Parmesan, parsley, basil, thyme, garlic, lemon zest, salt, and pepper in a bowl until well incorporated
- Fill the chicken:
- Divide the ricotta mixture evenly among the chicken breasts and spread it over one side, leaving a small border
- Roll them up:
- Starting from the shorter end, roll each breast tightly and secure with toothpicks if they feel loose
- Make the topping:
- Mix breadcrumbs with Parmesan and olive oil until it looks like wet sand
- Top and bake:
- Place rolls seam side down on your baking sheet and press the breadcrumb mixture onto the tops
- Bake until golden:
- Bake for 28 to 32 minutes until the chicken reaches 165F internally and the topping is browned and crisp
- Rest before serving:
- Let the chicken rest for 5 minutes so the juices redistribute and the ricotta sets slightly
 Pin it
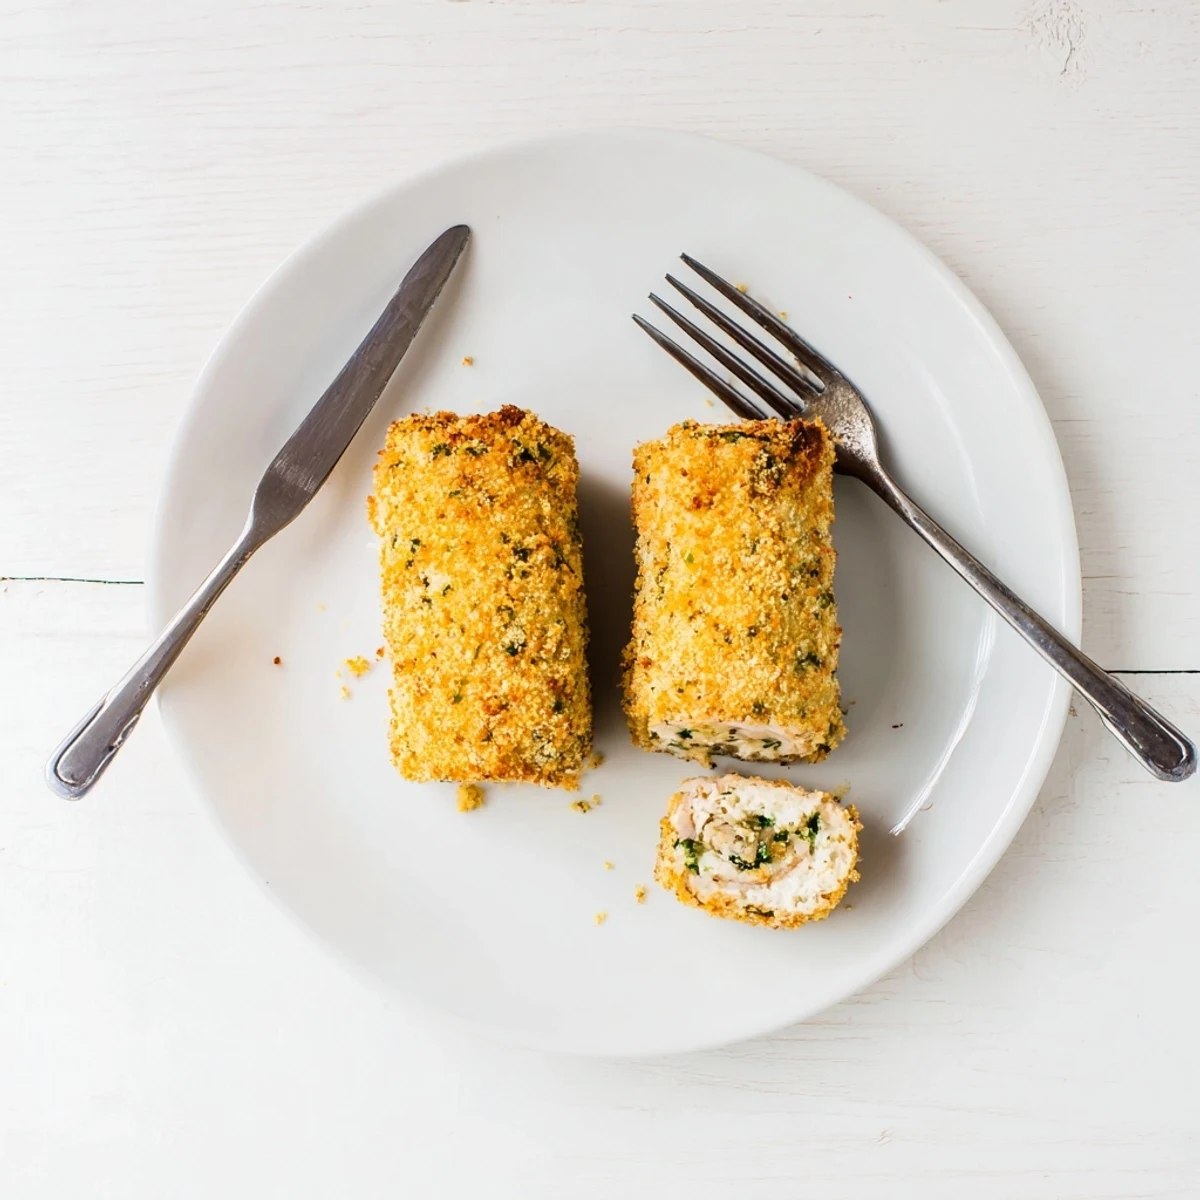
 These chicken rolls have become my go to when I want to make someone feel special without spending my entire Sunday in the kitchen. Something about the spiral of creamy filling inside the tender chicken just makes people happy.
Making It Your Own
Sometimes I add chopped spinach or sun dried tomatoes to the ricotta mixture when I want to switch things up. The filling is so forgiving that almost any savory addition works beautifully.
What To Serve Alongside
A crisp arugula salad with lemon vinaigrette cuts through the richness perfectly. Roasted asparagus or broccolini also make excellent companions.
Leftovers Worth Looking Forward To
These actually reheat beautifully the next day and make an excellent lunch cold or gently warmed. I've been known to eat them straight from the refrigerator while standing at the counter.
- Wrap leftovers individually for the easiest grab and go lunch
- The flavors develop even more overnight so don't worry about making extra
- Slice cold leftovers over a green salad for a protein packed lunch
 Pin it
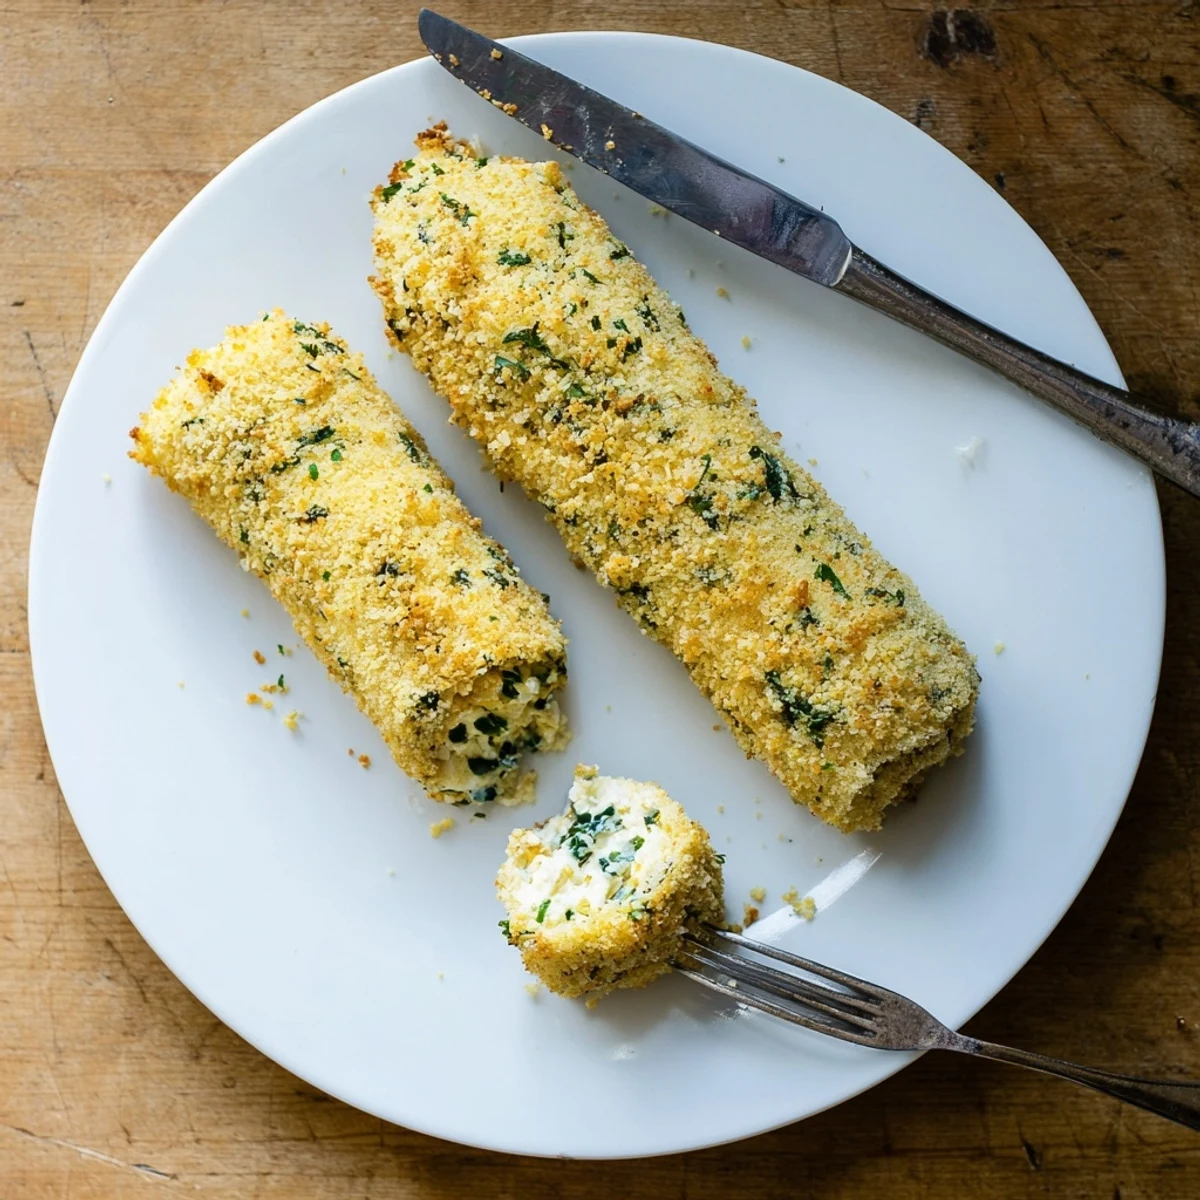
 I hope these chicken rolls bring as much comfort to your table as they have to mine over the years.
Recipe FAQs
- → How do I pound chicken breasts evenly?
-
Place each chicken breast between two sheets of plastic wrap or parchment paper. Using a meat mallet or rolling pin, pound from the center outward until the meat reaches an even 1/4-inch thickness. This ensures consistent cooking and makes rolling easier.
- → Can I prepare these chicken rolls ahead of time?
-
Yes, you can assemble the rolls and refrigerate them for up to 24 hours before baking. Add the breadcrumb topping just before placing in the oven to maintain its crispy texture.
- → What herbs work best in the ricotta filling?
-
Fresh parsley, basil, and thyme provide classic Italian flavors. You can substitute or add other herbs like oregano, rosemary, or chives depending on your taste preferences and what's available.
- → How do I know when the chicken is fully cooked?
-
Use a meat thermometer to check the internal temperature reaches 165°F (74°C). The breadcrumb topping should be golden brown, and the chicken should feel firm to the touch.
- → What sides pair well with this dish?
-
Serve with roasted vegetables, a fresh green salad, or gluten-free pasta. Crisp white wines like Pinot Grigio or Sauvignon Blanc complement the rich flavors beautifully.
- → Can I make this gluten-free?
-
Simply substitute gluten-free breadcrumbs for regular ones in the coating. The remaining ingredients are naturally gluten-free, making this an easy adaptation for dietary needs.
