 Pin it
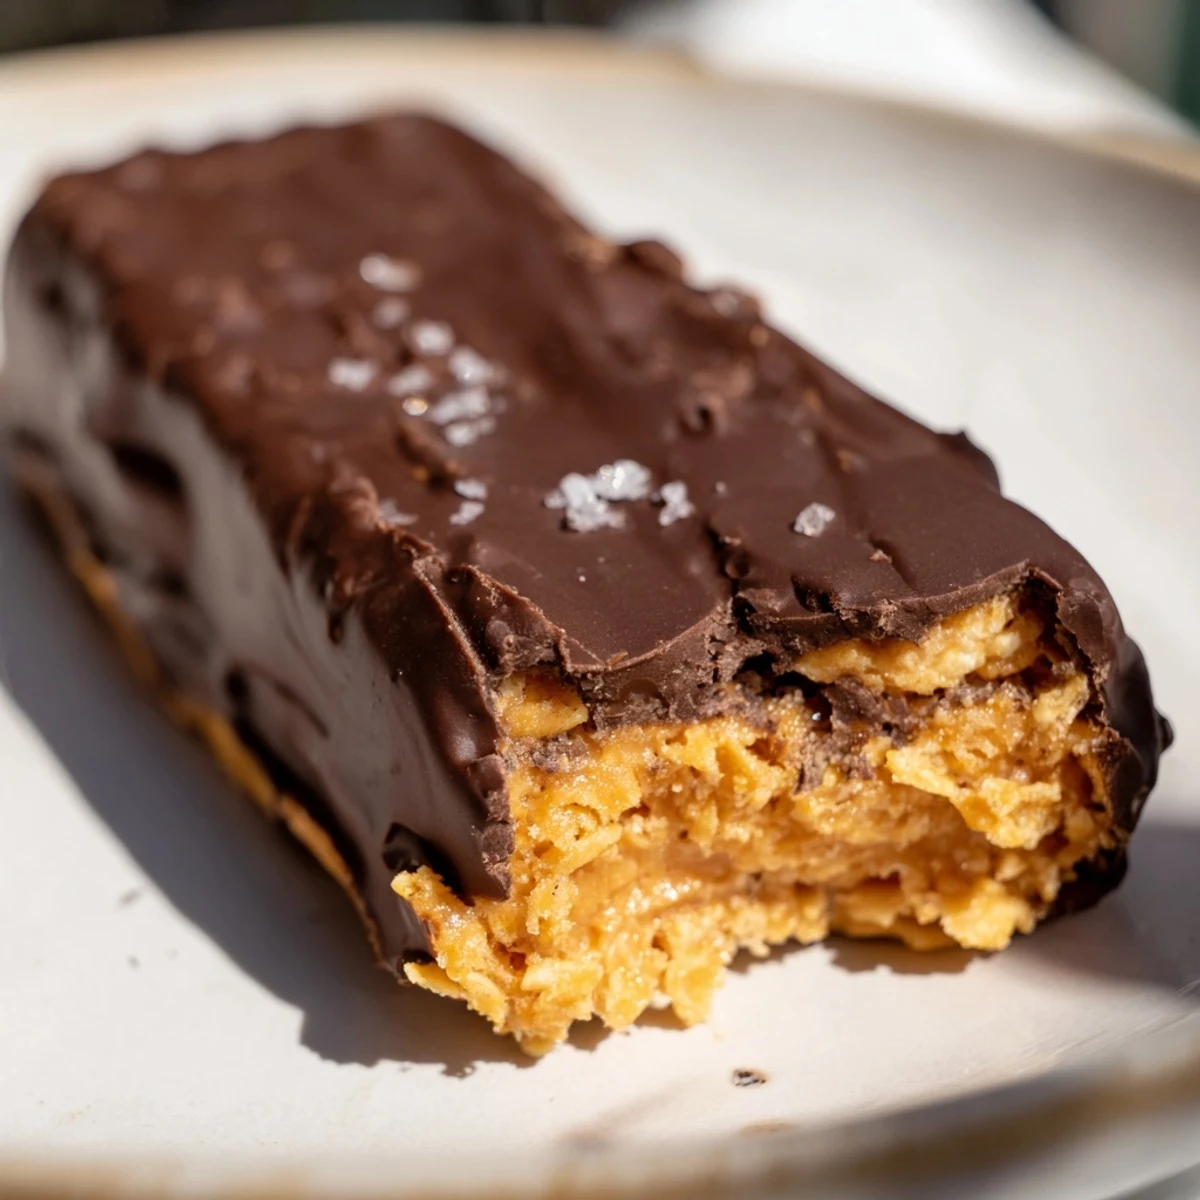
 These wholesome Butterfingers combine a crunchy peanut butter and corn flake center with a silky dark chocolate coating. Made with natural peanut butter, pure maple syrup, and 70% dark chocolate, they deliver all the satisfying crunch and sweetness of the classic candy bar with cleaner ingredients.
Ready in about an hour including chilling time, each bar contains just 180 calories. They're vegetarian, naturally gluten-free, and can easily be made vegan by using maple syrup and dairy-free chocolate.
The candy aisle at the grocery store always gets me, especially around Halloween when those orange and yellow wrappers are stacked floor to ceiling. Something about that flaky peanut butter center surrounded by chocolate is impossible to resist, but the ingredient list on the back always makes me pause. One rainy Saturday I decided to see if I could recreate that iconic crunch using things I actually felt good about eating. Turns out, corn flakes and peanut butter are a magical combination when you treat them right.
I brought a batch of these to a movie night with friends, fully expecting to be the only one who cared that they were a healthier version. By the end of the second film the plate was empty and someone was already asking if I could make them again for the next gathering.
Ingredients
- Natural creamy peanut butter (1 cup): Use the kind with just peanuts and salt on the label because stabilizers change the texture and prevent the mixture from binding properly.
- Pure maple syrup or honey (1/2 cup): Maple syrup keeps this vegan friendly and adds a subtle caramel note that pairs beautifully with the peanut butter.
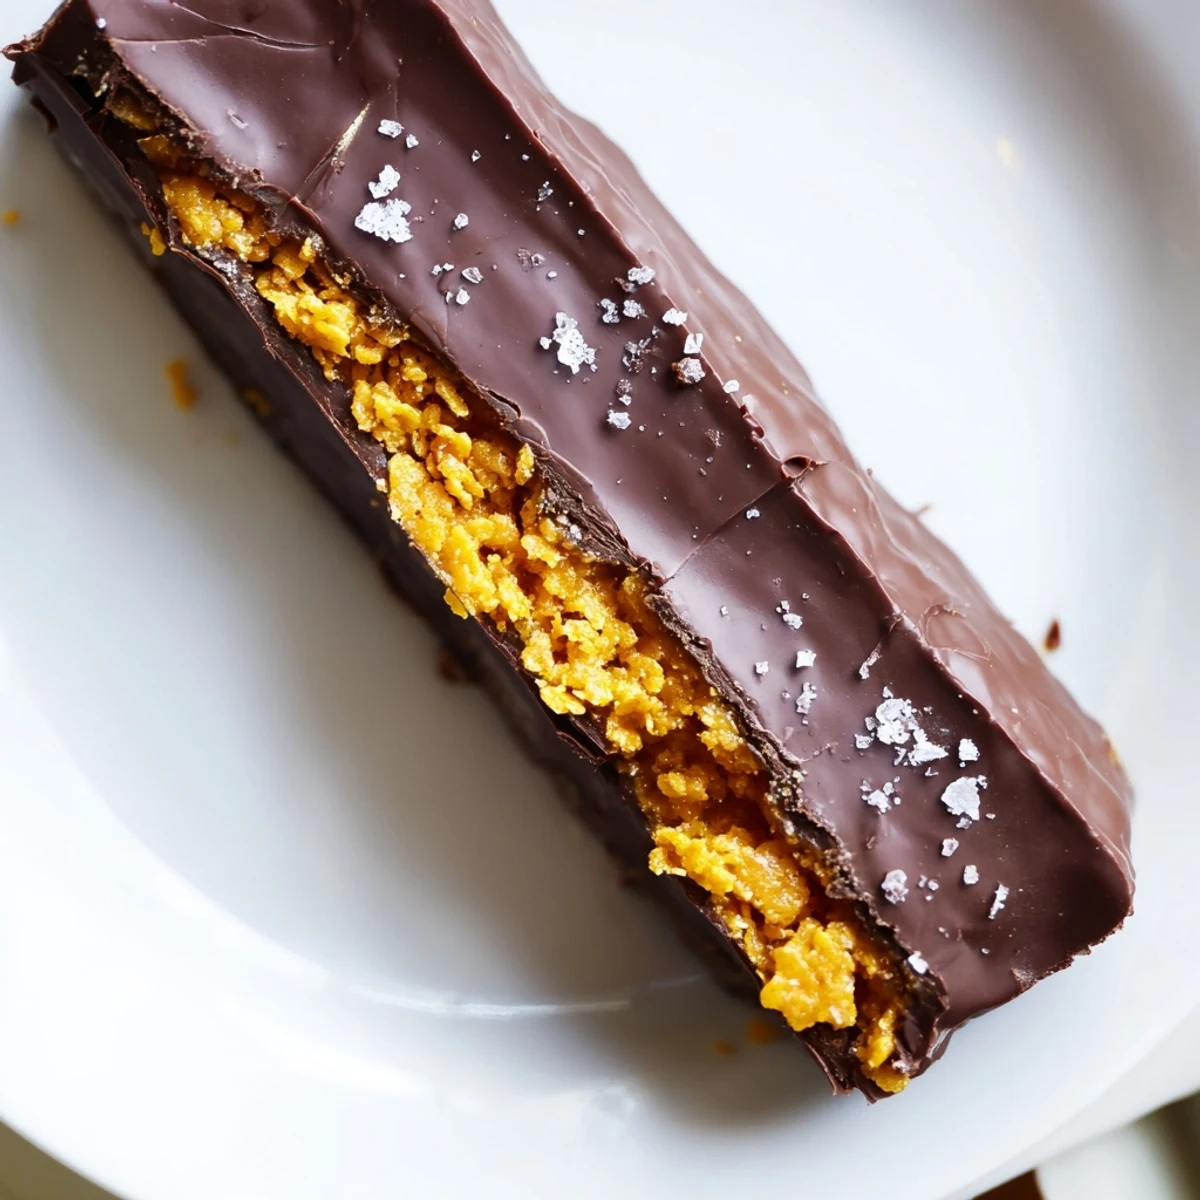
- Corn flakes, lightly crushed (2 cups): Do not crush them into dust, you want small shards that still have some shape because that is what creates the signature flaky crunch.
- Dark chocolate chips, at least 70% cacao (1 1/2 cups): The higher cocoa percentage balances the sweetness of the peanut butter layer and makes the whole thing taste more grown up.
- Coconut oil (1 tablespoon): This thins the melted chocolate just enough so it coats the bars evenly without breaking or pooling.
Instructions
- Prep your pan:
- Line an 8x8 inch baking dish with parchment paper, leaving some overhang on the sides so you can lift the whole block out later without fighting it.
- Melt and marry the base:
- Combine the peanut butter and maple syrup in a saucepan over low heat, stirring constantly until the mixture is completely smooth and glossy, about two to three minutes. You will know it is ready when it looks like warm caramel and smells incredible.
- Fold in the crunch:
- Remove the pan from heat and gently fold in the crushed corn flakes with a spatula, scooping from the bottom so every flake gets coated without breaking them down too much.
- Press and freeze:
- Transfer the mixture to your prepared dish and press it down firmly and evenly using the back of a spoon or your hands. Slide it into the freezer for twenty to thirty minutes until it holds its shape when you press it with a finger.
- Melt the chocolate:
- Set up a double boiler with a heatproof bowl over simmering water and stir the chocolate chips with the coconut oil until the mixture is completely smooth and shiny with no lumps remaining.
- Cut and dip:
- Lift the frozen peanut butter slab out of the dish and cut it into twelve even bars. Use a fork to dip each bar into the chocolate, tapping gently on the side of the bowl to let the excess drip off before placing it on a parchment lined tray.
- Set and chill:
- Arrange the coated bars on the tray and refrigerate for at least twenty minutes until the chocolate shell is firm to the touch and snaps slightly when you tap it.
 Pin it
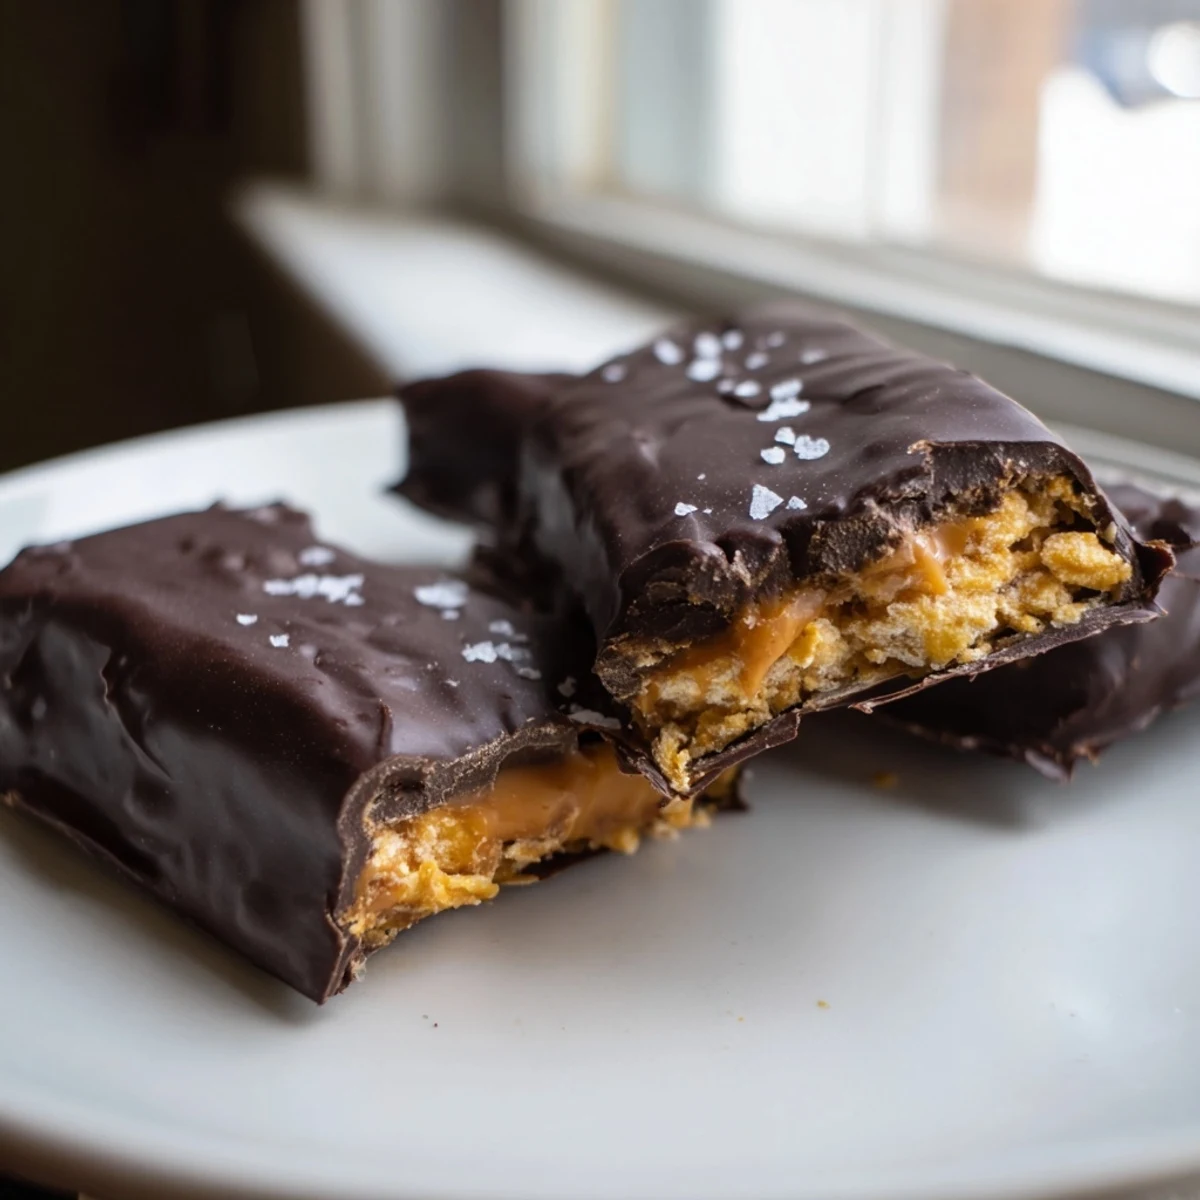
 There is something deeply satisfying about biting into a homemade candy bar that snaps just like the real thing, except you made it in your own kitchen with ingredients you can actually pronounce.
Storing Your Candy Bars
These bars keep best in an airtight container in the refrigerator where the chocolate stays snappy and the peanut butter center holds its texture for up to a week. If you need to stash them longer, layer them between sheets of parchment paper and freeze for up to three months, though honestly they never last that long in my house.
Swaps and Substitutions
Almond butter works beautifully if peanuts are not your thing, and sunflower seed butter is a great school safe alternative that still gives you that rich, nutty flavor. For a fully vegan batch, stick with maple syrup instead of honey and double check that your chocolate chips contain no dairy.
Serving and Gifting Ideas
A sprinkle of flaky sea salt on top right before the chocolate sets takes these from great to absolutely addictive, and a tiny pinch goes a long way. These make fantastic gifts when wrapped individually in wax paper and tucked into a tin or a small box with a handwritten label.
- Let the bars sit at room temperature for about five minutes before eating so the peanut butter center softens slightly for the best texture.
- If your chocolate coating cracks when you cut the bars, try scoring them lightly before the chocolate fully sets and then cutting through once chilled.
- Always use parchment paper rather than wax paper for lining your dish because wax paper can tear and stick to the bottom of your bars.
 Pin it
 Every time I make a batch of these I end up standing in the kitchen eating one straight from the fridge before they even make it to a plate. That flaky, crunchy, chocolate covered bite is proof that homemade candy can be just as exciting as anything wrapped in plastic.
Recipe FAQs
- → Can I make these Butterfingers vegan?
-
Yes, simply use maple syrup instead of honey and choose a dairy-free dark chocolate with at least 70% cacao. Most dark chocolate chips are naturally vegan, but always check the label for milk derivatives.
- → How should I store the finished bars?
-
Store the bars in an airtight container in the refrigerator for up to one week. For longer storage, freeze them for up to three months. Let frozen bars thaw in the refrigerator for about 30 minutes before enjoying.
- → What can I substitute for peanut butter?
-
Almond butter or sunflower seed butter work well as peanut-free alternatives. Sunflower seed butter is a great nut-free option for school lunches or those with tree nut allergies. The texture and flavor will vary slightly.
- → Why do my corn flakes need to be lightly crushed?
-
Lightly crushing the corn flakes creates the signature crunchy texture reminiscent of traditional Butterfingers while allowing them to bind together with the peanut butter mixture. Don't crush them too finely or you'll lose that satisfying crispiness.
- → Can I use milk chocolate instead of dark chocolate?
-
Absolutely. Milk chocolate or semi-sweet chocolate chips can replace the dark chocolate coating. Keep in mind that milk chocolate will increase the sweetness and sugar content, and you may need to reduce the coconut oil slightly as milk chocolate tends to be softer when melted.
- → Why is my chocolate coating not setting properly?
-
Make sure the coated bars chill in the refrigerator for at least 20 minutes. Adding coconut oil to the chocolate helps it set with a nice snap, but if your kitchen is warm, the chocolate may soften at room temperature. Store them chilled until ready to serve.
