 Pin it
 Crafting authentic Greek yogurt begins with heating whole milk to 180°F, then cooling to precisely 110°F before introducing live cultures. The milk cultures undisturbed for 6-8 hours in a warm environment, developing that characteristic tangy flavor and creamy consistency. The crucial step that distinguishes Greek yogurt from regular varieties involves straining the set yogurt through cheesecloth for 1-2 hours, removing excess whey and creating the luxuriously thick texture. The resulting strained yogurt keeps for weeks refrigerated and serves as a versatile base for both sweet and savory applications, from breakfast bowls with honey and fruit to savory dips and marinades.
The first time I made homemade yogurt, I kept lifting the towel to check if it was working, like a kid watching a pot that refused to boil. My grandmother would have laughed at my impatience. Now I understand that good things truly do come to those who wait, especially when it transforms simple milk into something so silky and alive.
Last summer, my neighbor Sarah came over for coffee and practically refused to leave until I told her my yogurt secret. She could not believe how simple it was. Now she texts me photos of her weekly batches, each one getting thicker and more perfect than the last.
Ingredients
- Whole milk: The higher fat content creates that luxurious Greek texture you are after
- Plain yogurt starter: Make sure it says live and active cultures, or nothing will happen
Instructions
- Heat the milk gently:
- Warm your milk to exactly 82°C, stirring now and then so nothing sticks to the bottom
- Let it cool down:
- Wait patiently until the temperature drops to 43°C, or your cultures will not survive
- Wake up the starter:
- Whisk your yogurt into a few tablespoons of the warm milk until completely smooth
- Combine everything:
- Pour the starter mixture back into the cooled milk and stir gently but thoroughly
- Create the perfect environment:
- Transfer to a clean container, wrap in a thick towel, and find the warmest spot in your kitchen
- Let it work its magic:
- Leave undisturbed for 6 to 8 hours while the cultures transform milk into yogurt
- Strain for thickness:
- Line a strainer with cheesecloth, pour in the yogurt, and refrigerate until it reaches your desired consistency
- Store your creation:
- Transfer to a clean container and keep refrigerated until you are ready to enjoy
 Pin it
 My youngest daughter helped me strain our first batch, watching intently as the whey dripped through the cheesecloth. She calls it making yogurt cheese now and takes full credit for the result every single time.
Choosing Your Milk
While whole milk gives you that restaurant quality thickness, I have experimented with goat and sheep milk. Each brings its own subtle tang and character to the final product.
Keeping It Warm
In winter, I tuck my yogurt bowl near the radiator wrapped in two towels. Summer days are easier, just find a sunny corner and let nature do the work.
Serving Ideas
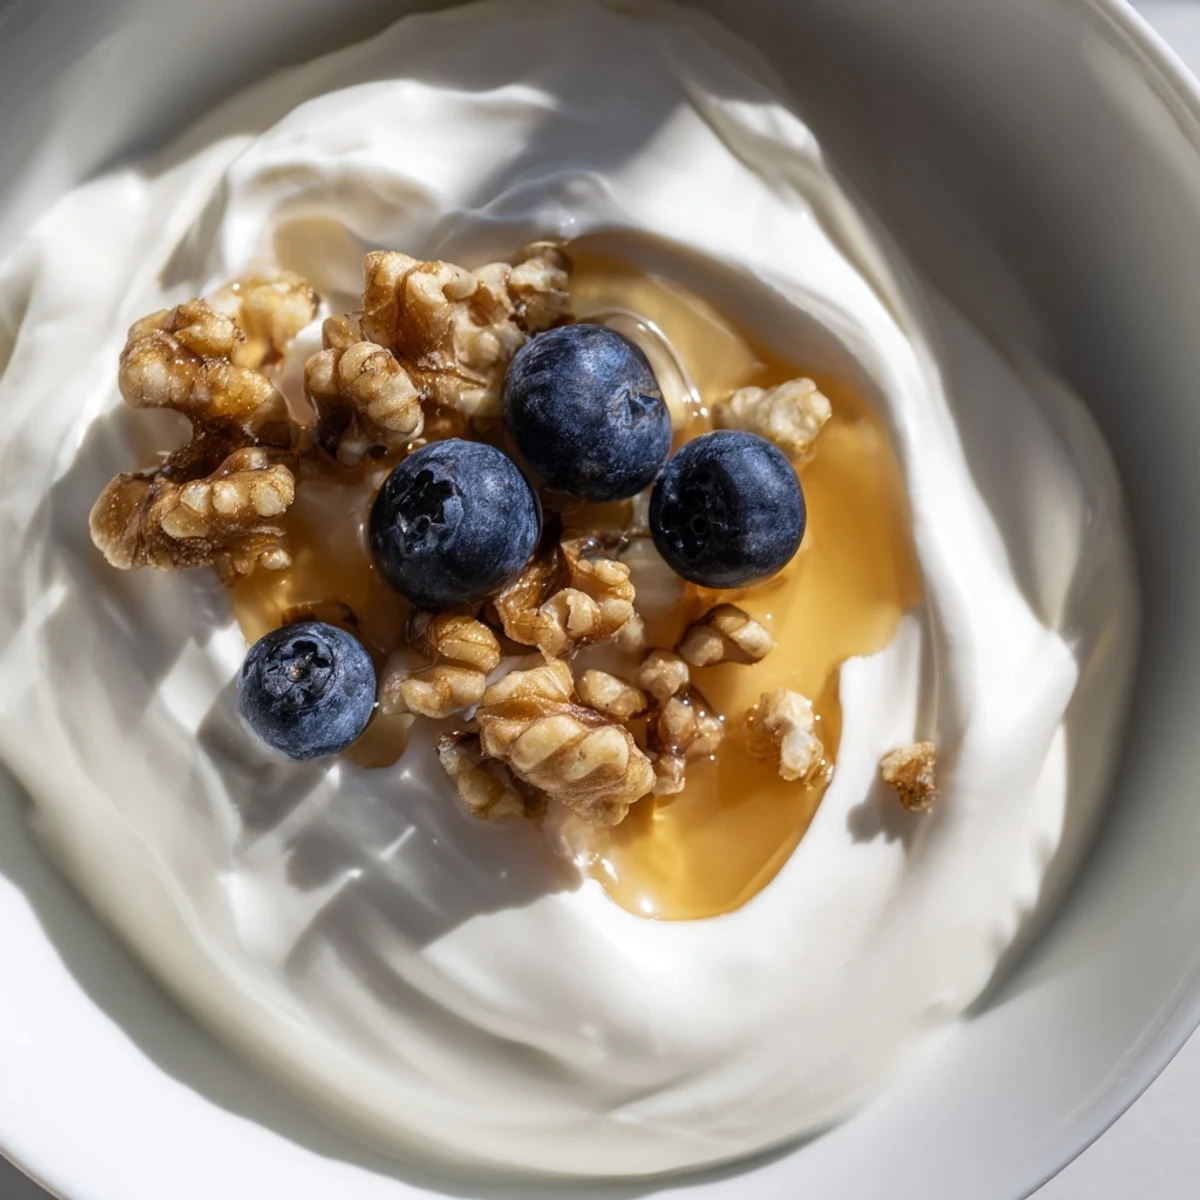
The beauty of homemade yogurt is how easily it adapts to whatever you are craving. Drizzle honey and scatter toasted nuts for breakfast, or fold in herbs and garlic for a savory dip.
- Save the whey for smoothies or baking instead of pouring it down the drain
- A splash of vanilla extract transforms plain yogurt into dessert
- Fresh berries need nothing more than a dollop on top
 Pin it
 There is something deeply satisfying about making something so essential from scratch. Your morning yogurt will never taste the same again.
Recipe FAQs
- → What's the difference between Greek and regular yogurt?
-
Greek yogurt undergoes straining to remove whey, resulting in a thicker consistency and higher protein content compared to regular varieties. The straining process concentrates the yogurt, making it creamier and more substantial in texture.
- → Can I use low-fat milk instead of whole milk?
-
While possible, whole milk produces the creamiest results. Low-fat versions will yield a thinner consistency and less rich flavor. For the best Greek-style experience, use whole milk or experiment with goat and sheep milk for unique taste variations.
- → How long does homemade Greek yogurt stay fresh?
-
Properly stored in an airtight container, homemade Greek yogurt keeps for up to two weeks in the refrigerator. Always use clean utensils when scooping to prevent contamination and extend shelf life naturally.
- → What can I do with the leftover whey?
-
The strained whey contains beneficial proteins and works beautifully in smoothies, baking, or as a liquid substitute in pancake and bread recipes. It can also be used to culture subsequent batches of yogurt or added to soups for extra nutrition.
- → Do I need a yogurt maker to make Greek yogurt?
-
No special equipment is required. While yogurt makers provide consistent temperature, you can achieve excellent results by wrapping the container in towels and placing it in a warm spot like an oven with the pilot light on or near a radiator.
- → Why did my yogurt not set properly?
-
Common causes include milk temperature being too hot or cold when adding the starter, insufficient culturing time, or inactive starter cultures. Always ensure your starter contains live active cultures and maintain proper temperature throughout the process.
