 Pin it
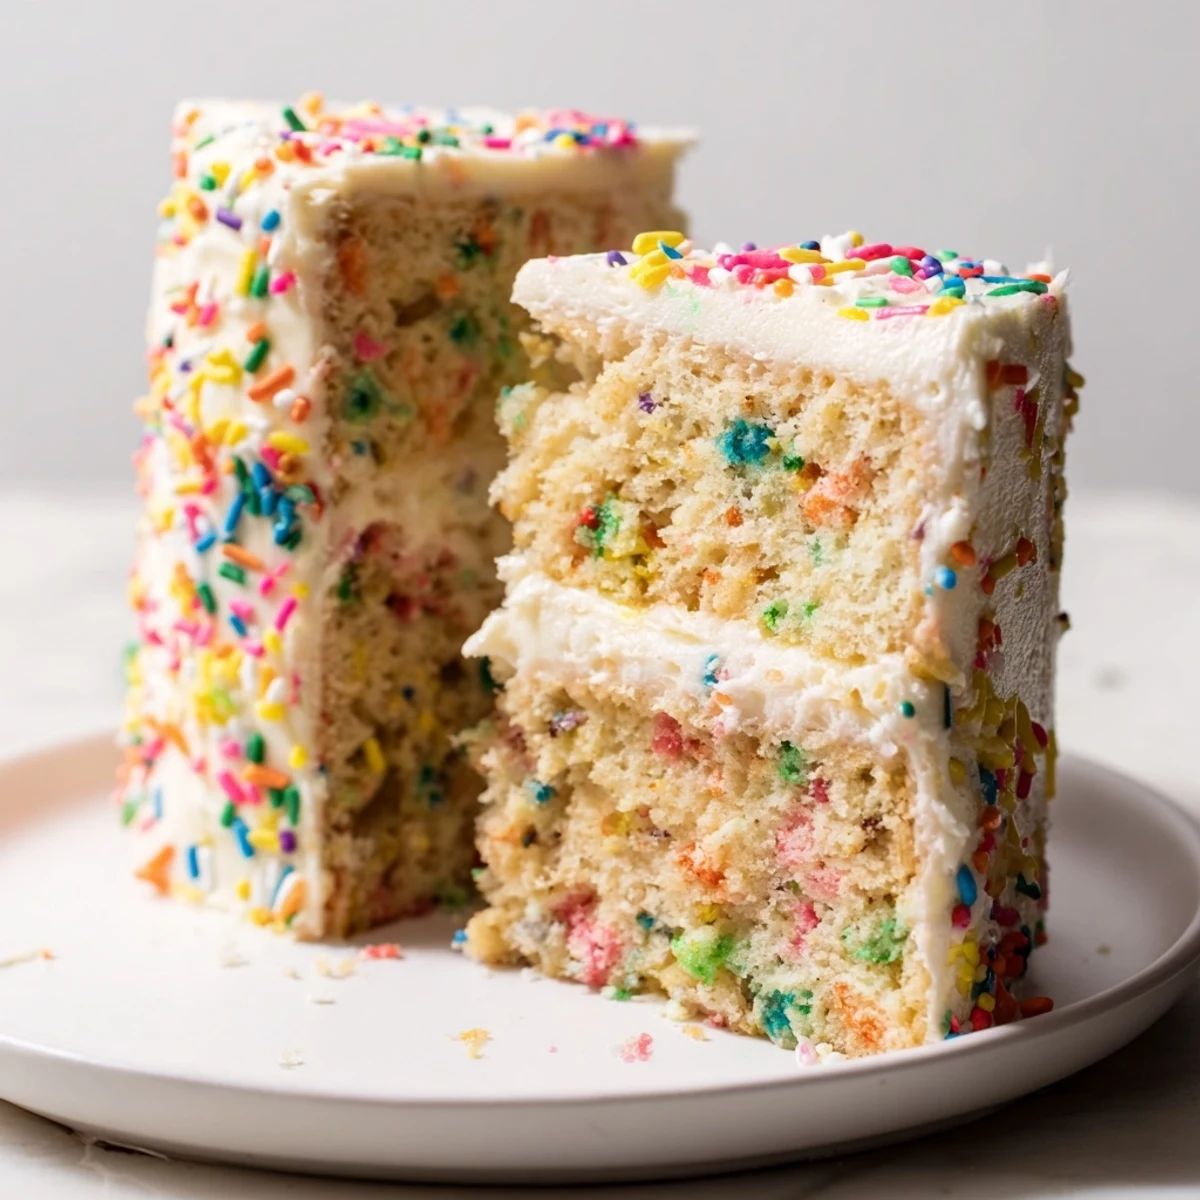
 This vibrant celebration cake delivers all the joy of classic funfetti while remaining completely gluten-free. The tender vanilla crumb stays moist thanks to a blend of butter and vegetable oil, while rainbow sprinkles are folded throughout for festive color in every bite. Topped with creamy vanilla buttercream and extra sprinkles, this cake bakes up light and fluffy—no one will guess it's gluten-free. Perfect for birthdays, holidays, or any moment worth celebrating.
There was this one birthday where I completely forgot about the cake until the morning of, which led to a panic sprint through three grocery stores hunting for gluten-free sprinkles that wouldn't bleed into sad gray streaks. The birthday girl couldn't have gluten, and I was determined she'd have the kind of funfetti situation that makes people feel like kids again, complete with those tiny vibrant confetti dots that somehow make everything feel like a celebration.
My niece actually gasped when she saw the layers coming together, buttercream smeared everywhere and sprinkles coating my kitchen counter like confetti from a parade. She helped me decorate, her hands dusted with powdered sugar, and told me it was better than any bakery cake she'd ever had because we made it together.
Ingredients
- Gluten-free all-purpose flour blend: The xanthan gum in the blend is what keeps this cake tender instead of crumbly or dry
- Baking powder and baking soda: The double lift agents ensure your layers rise beautifully without gluten's structure
- Unsalted butter and vegetable oil: Butter gives flavor while oil keeps the cake moist for days
- Room temperature eggs and milk: This small detail makes a huge difference in how smoothly everything combines
- Pure vanilla extract: Don't skimp here because vanilla is the backbone of that classic birthday cake flavor
- Gluten-free rainbow sprinkles: Avoid nonpareils because they'll bleed color into your batter and turn it gray
- Softened butter for frosting: Room temp butter blends into silky smooth frosting without those tiny lumps
- Sifted powdered sugar: This prevents lumpy frosting and makes it feel like eating a cloud
Instructions
- Get your oven and pans ready:
- Preheat to 350°F and grease your 8-inch round pans, then cut parchment circles to line the bottoms so nothing sticks
- Whisk the dry team together:
- Combine your gluten-free flour, baking powder, baking soda, and salt in a medium bowl
- Beat sugar, butter, and oil:
- Mix these for 2-3 minutes until the mixture looks pale and fluffy, which creates the tender crumb structure
- Add eggs and vanilla:
- Drop in eggs one at a time, letting each incorporate completely before adding the next, then mix in that vanilla
- Alternate wet and dry ingredients:
- Add flour mixture and milk in batches, starting and ending with flour, and stop mixing as soon as you see the last streaks disappear
- Fold in the sprinkles:
- Use a spatula to gently fold in your rainbow sprinkles so they're evenly distributed without overworking the batter
- Bake until perfectly done:
- Divide batter between your prepared pans, smooth the tops, and bake for 28-32 minutes until a toothpick comes out clean
- Cool completely before frosting:
- Let the cakes rest in their pans for 10 minutes, then turn them onto a wire rack to cool completely
- Make the buttercream frosting:
- Beat butter until creamy, gradually add sifted powdered sugar, then mix in vanilla, salt, and just enough milk for spreading consistency
- Assemble your celebration cake:
- Place one layer on your serving plate, frost the top, add the second layer, then frost the top and sides
- Make it festive:
- Press extra sprinkles into the sides and top wherever feels right, then slice and watch people's faces light up
 Pin it
 Last year I made this for my dad's 60th birthday, and he kept sneaking forkfuls of frosting while I tried to decorate. Now he requests it for every celebration, claiming the rainbow sprinkles make it taste better than any fancy bakery cake.
Making It Dairy-Free
I've tested this with plant-based butter and milk, and the texture stays surprisingly close to the original. Just make sure your dairy-free butter is at the same soft room temperature as you'd use for regular butter, or your frosting might end up with tiny unappetizing lumps that won't smooth out no matter how long you beat it.
Storage Secrets
This cake actually tastes better on day two because the moisture has time to redistribute throughout the crumb. Keep it covered at room temperature for up to two days, or refrigerate if your kitchen runs warm, but bring slices to room temperature before serving for the best texture and flavor.
Sprinkle Wisdom
Not all rainbow sprinkles are created equal when you're baking gluten-free. The traditional rod-shaped jimmies hold their shape and color in the oven, while those tiny ball nonpareils will dissolve into gray dots and make your cake look bruised.
- Always double-check that your sprinkles are certified gluten-free
- Add sprinkles right at the end so they don't sink to the bottom
- Press extra sprinkles into the frosting immediately while it's still soft
 Pin it
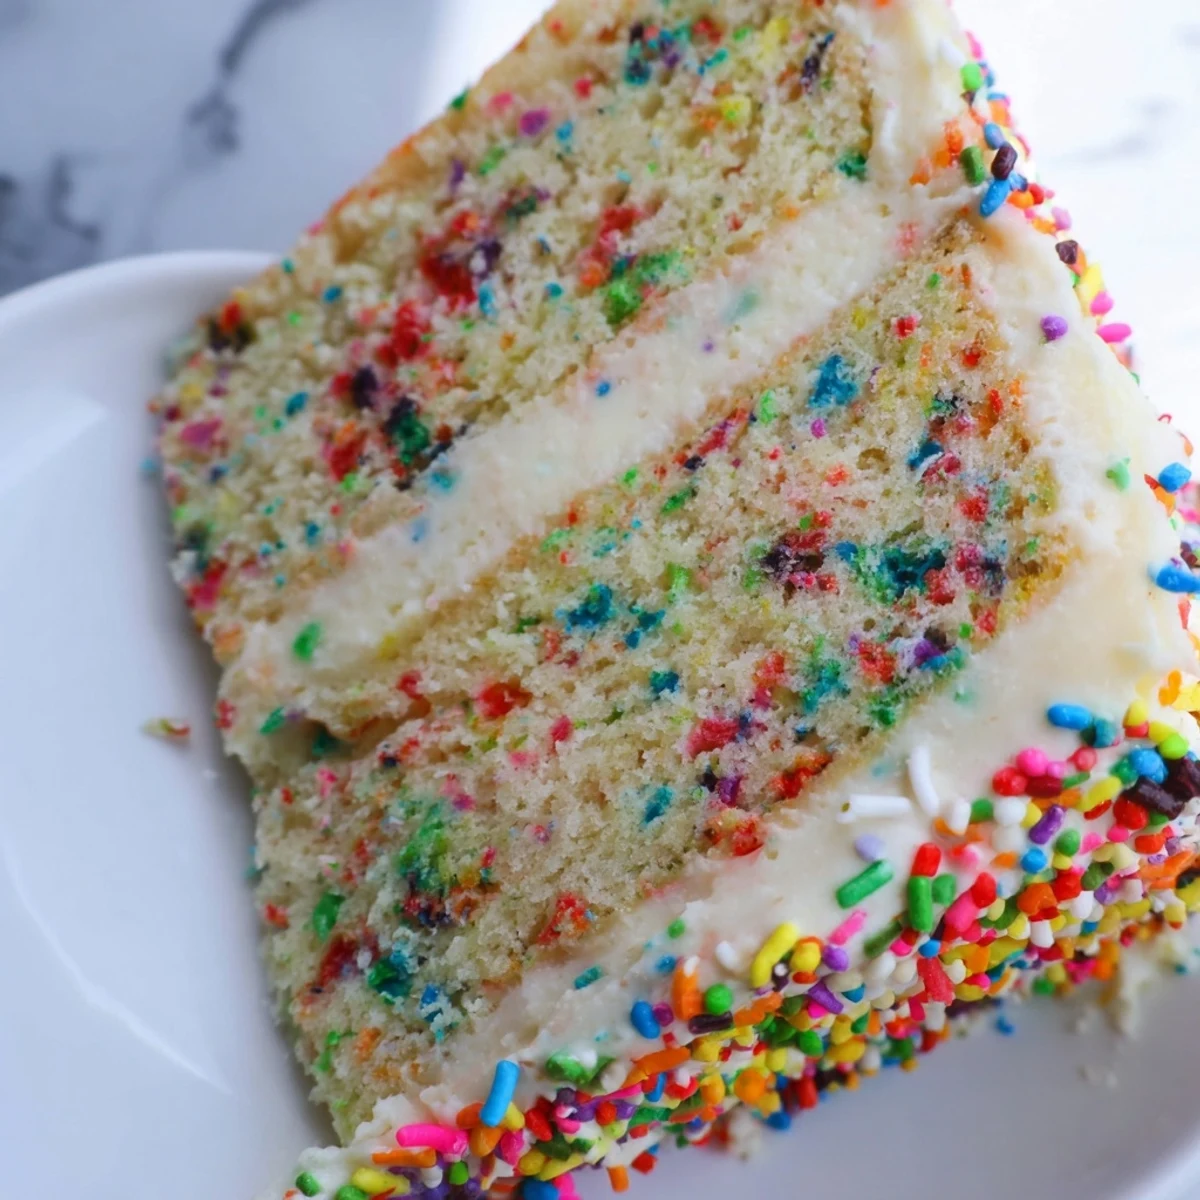
 There's something about cutting into a homemade birthday cake that just feels like pure joy, especially when you know everyone can actually eat it. Hope this brings celebration to your table too.
Recipe FAQs
- → Can I make this dairy-free?
-
Yes, substitute plant-based butter for both the cake and frosting, and use dairy-free milk. Ensure your sprinkles and flour blend are also dairy-free.
- → What's the best gluten-free flour blend?
-
Use a blend containing xanthan gum for best structure. Cup-for-cup blends like King Arthur or Bob's Red Mill work well in this vanilla cake.
- → Why avoid nonpareil sprinkles?
-
Nonpareils (tiny balls) tend to bleed color and create gray streaks in the batter. Use rod-shaped jimmies or confetti sprinkles instead for vibrant results.
- → How should I store this cake?
-
Keep covered at room temperature for up to 2 days. For longer storage, refrigerate for up to 5 days. Bring to room temperature before serving for best texture.
- → Can I make cupcakes instead?
-
Absolutely. Fill cupcake liners two-thirds full and bake for 18-22 minutes at 350°F. This yields about 24 standard cupcakes.
- → Why use both butter and oil?
-
Butter provides rich flavor while oil ensures moisture and tenderness. This combination prevents the dry, crumbly texture often associated with gluten-free baked goods.
