 Pin it
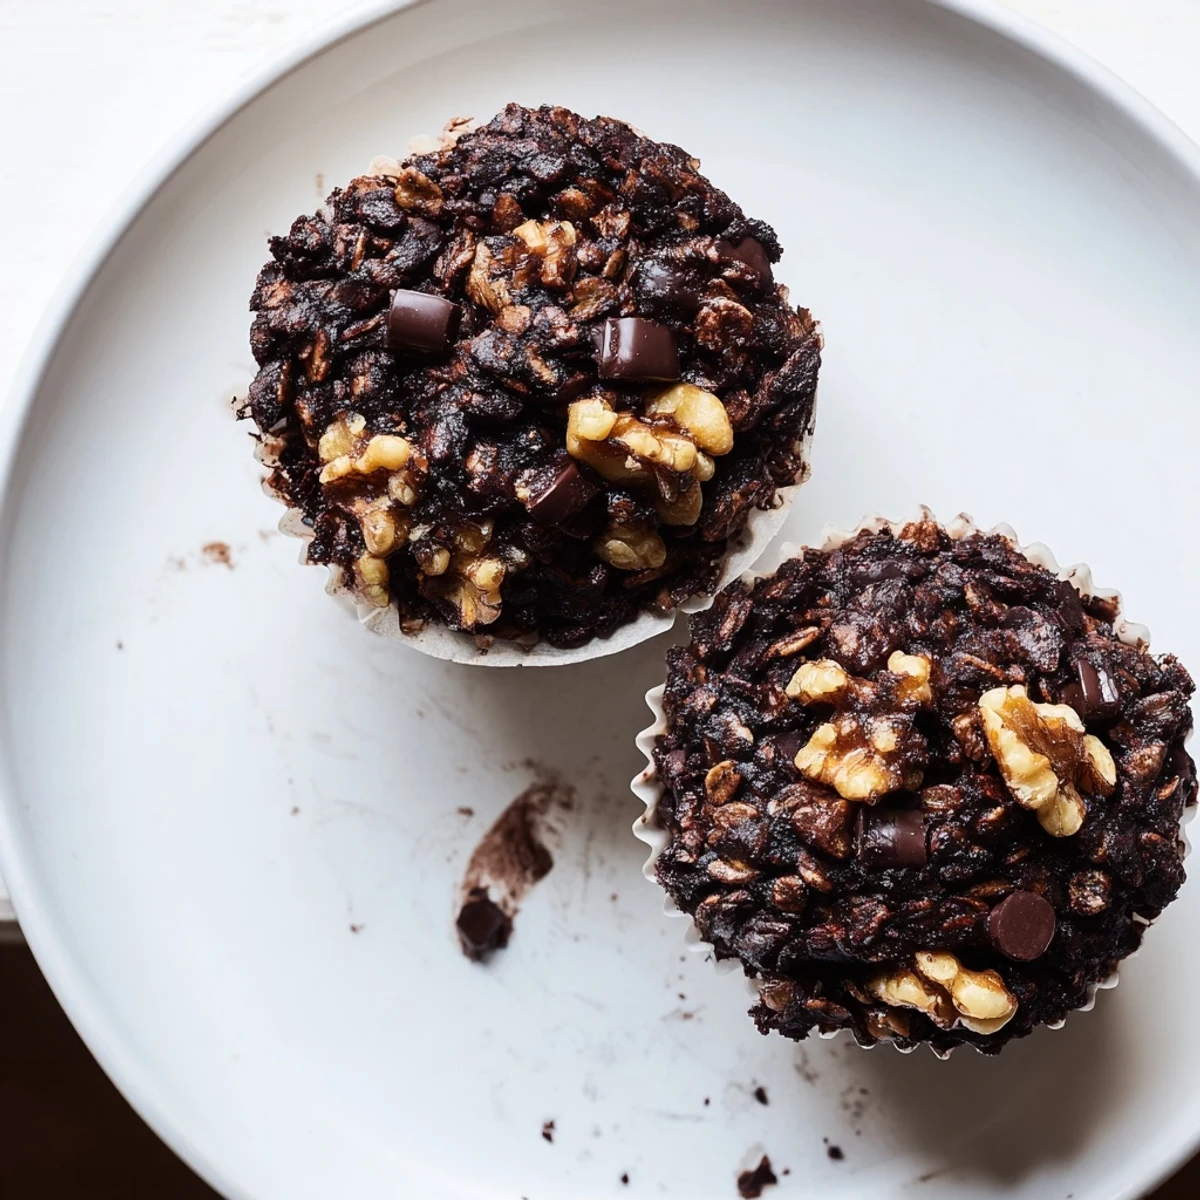
 These indulgent oatmeal cups feature the perfect balance of rich dark chocolate and wholesome oats, creating a moist, fudgy texture that satisfies any chocolate craving. The addition of sea salt enhances the deep cocoa flavor while chopped nuts provide satisfying crunch. Ready in just 35 minutes, these portable treats are ideal for meal prep, afternoon snacks, or dessert.
The rain was coming down in sheets last Sunday when my daughter wandered into the kitchen, looking for something to bake. We were out of flour for cookies, but I remembered seeing a recipe somewhere about oatmeal cups with dark chocolate. Two hours later, the whole house smelled like warm cocoa and happy memories in the making.
Last summer I brought a batch to a neighborhood potluck, and honestly, I felt a little self-conscious about serving something called oatmeal cups for dessert. But my friend Sarah took one bite, eyes went wide, and immediately asked for the recipe. Now every time we have a gathering, someone messages me beforehand asking if I am bringing those chocolate oat things.
Ingredients
- 2 cups old-fashioned rolled oats: These give structure and that satisfying chewy texture. Quick oats work too, but the texture becomes softer and less interesting.
- 1/2 cup almond flour or all-purpose flour: Almond flour adds subtle nuttiness and keeps them gluten-free. Regular flour makes them slightly lighter but either works beautifully.
- 1/4 cup unsweetened cocoa powder: Dutch-processed cocoa gives the deepest chocolate flavor. Natural cocoa works but might taste slightly more acidic.
- 1/4 teaspoon sea salt: This tiny amount wakes up all the chocolate flavors. Do not skip it even if you are using salted butter elsewhere.
- 1/2 teaspoon baking powder: Just enough lift to keep them from being dense bricks. Make sure it is fresh for best rise.
- 1/2 cup coconut oil melted or unsalted butter: Coconut oil makes them dairy-free and adds subtle sweetness. Butter gives them that classic cookie flavor.
- 1/3 cup pure maple syrup or honey: Maple adds depth beyond just sweetness. Honey works but the flavor comes through more prominently.
- 1/4 cup brown sugar packed: This creates those irresistible crispy edges and fudgy centers. White sugar works but you lose some of that caramel undertone.
- 2 large eggs: These bind everything together and provide structure. Room temperature eggs incorporate more easily into the batter.
- 1 teaspoon vanilla extract: Pure vanilla makes the chocolate sing. Do not waste your money on imitation extract here.
- 1 cup dark chocolate chips or chopped dark chocolate: Go for at least 70% cocoa for that sophisticated bittersweet edge. Chopping a bar gives you those lovely puddles of melted chocolate throughout.
- 1/2 cup chopped walnuts or pecans: Totally optional but adds lovely crunch. Toast them first for even more nutty flavor.
Instructions
- Get your oven ready:
- Preheat to 350°F and line a 12-cup muffin tin with liners. I have found that spraying the liners lightly helps everything release perfectly later.
- Whisk the dry ingredients together:
- In a large bowl, combine the oats, flour, cocoa powder, salt, and baking powder. Breaking up any clumps of cocoa now prevents chocolate streaks in the finished cups.
- Blend the wet ingredients:
- In another bowl, whisk together the melted coconut oil, maple syrup, brown sugar, eggs, and vanilla until completely smooth. This takes about a minute of steady whisking.
- Combine everything:
- Pour the wet mixture into the dry ingredients and fold gently with a spatula. Stop as soon as the flour disappears. Overmixing makes them tough.
- Add the good stuff:
- Fold in the dark chocolate and nuts until just distributed. The batter will look thick and slightly sticky, which is exactly right.
- Fill and bake:
- Divide the batter among the muffin cups, filling each about three-quarters full. Bake for 18 to 20 minutes until set but still slightly soft in the center.
- Cool completely:
- Let them rest in the pan for 10 minutes, then move to a wire rack. They need this time to finish cooking and firm up. Warm ones are delicious but fall apart easily.
 Pin it
 My mom started keeping a stash in her freezer for when grandkids visit. Last week I caught my dad eating one frozen, straight from the bag, claiming that is how he prefers them now. Whatever works, I suppose.
Making Them Your Own
The base recipe is wonderfully forgiving. I have swapped maple syrup for honey, used whatever nuts were in the pantry, and even added dried tart cherries instead of chocolate once when I was feeling adventurous. Each version brings something different to the table.
Vegan Variations
Flax eggs work perfectly here. Just two tablespoons of ground flaxseed meal whisked with five tablespoons of water and left to gel for ten minutes. The texture becomes slightly heartier but nobody has ever noticed the difference in my house.
Storage Secrets
These keep remarkably well at room temperature for three days, but the freezer is where they truly shine. I double-wrap them in parchment and foil, then thaw one overnight in the fridge for an instant breakfast.
- Add a pinch of cinnamon to the dry ingredients for warmth
- Press extra chocolate chips into the tops before baking
- Sprinkle flaky sea salt over the batter just before they go into the oven
 Pin it
 Hope these become a staple in your kitchen like they have in mine. There is something special about grabbing something from the freezer that feels like a treat but starts with oats.
Recipe FAQs
- → Can I make these oatmeal cups vegan?
-
Yes, substitute the eggs with flax eggs (2 tablespoons flaxseed meal mixed with 5 tablespoons water) and use dairy-free dark chocolate chips.
- → How should I store these oatmeal cups?
-
Keep in an airtight container at room temperature for up to 3 days, or freeze individually wrapped for up to 2 months.
- → Can I use quick oats instead of old-fashioned rolled oats?
-
Old-fashioned rolled oats work best for texture, but quick oats can be used in a pinch—the final product may be slightly less chewy.
- → What can I substitute for almond flour?
-
All-purpose flour works equally well if you don't need the gluten-free aspect, or try oat flour for a completely oat-based version.
- → How do I know when they're done baking?
-
The centers should be set and a toothpick inserted should come out mostly clean—some melted chocolate streaks are perfectly fine and desirable.
- → Can I reduce the sugar content?
-
You can decrease the maple syrup to 1/4 cup and omit the brown sugar, though the texture will be slightly less fudgy.
