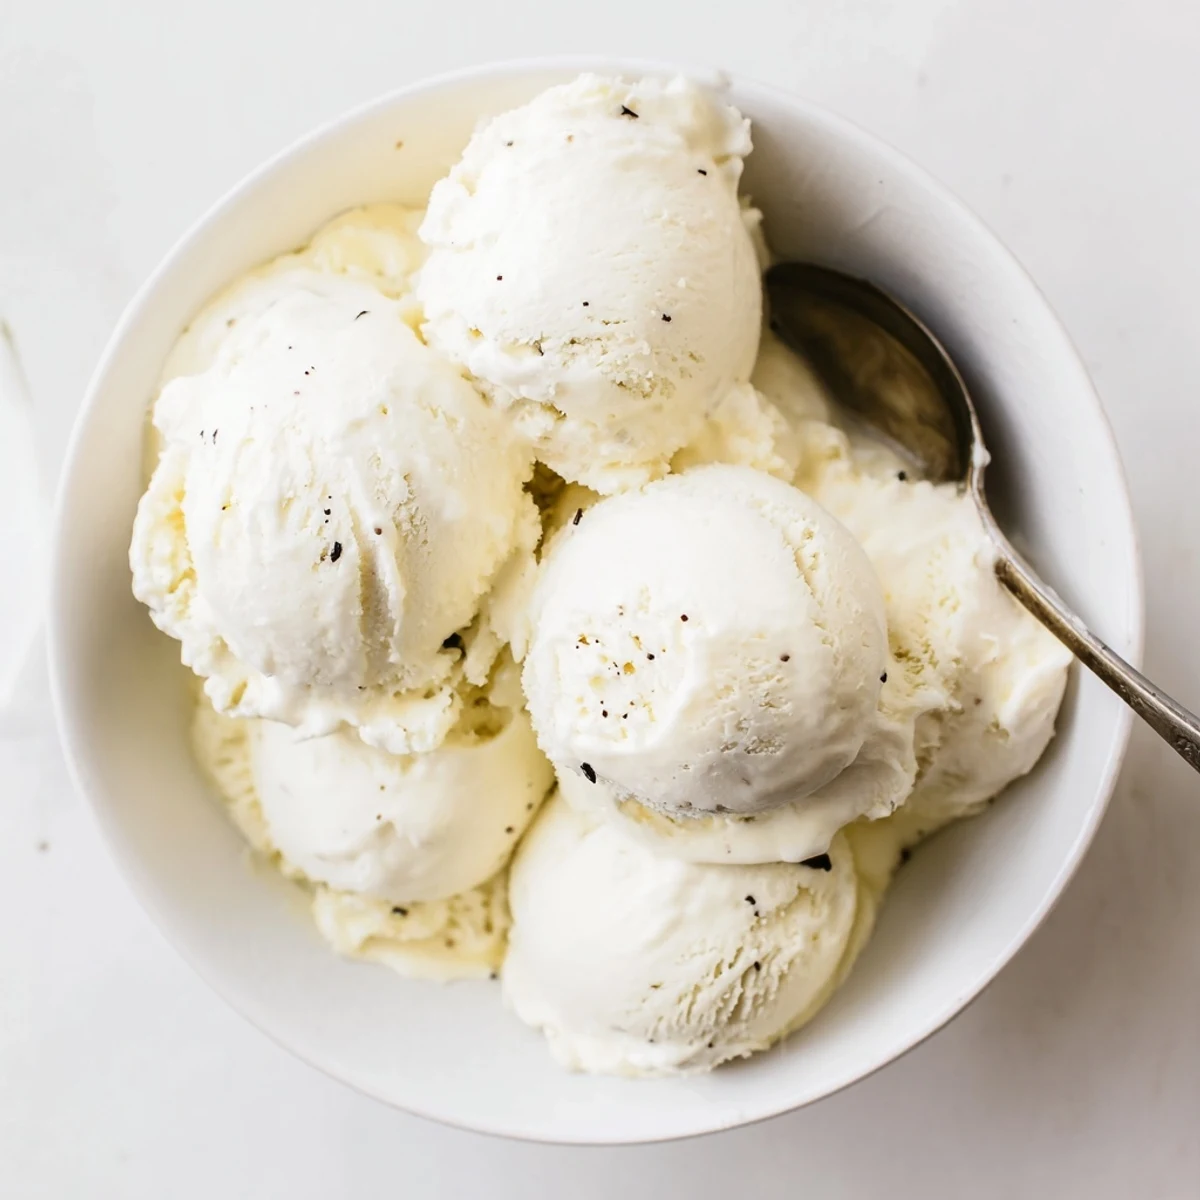
 Pin it
 Learn to create a velvety vanilla frozen dessert with a custard base. This method combines heavy cream, whole milk, and egg yolks with real vanilla bean for exceptional richness. The process involves infusing the dairy mixture, creating a smooth custard, then churning and freezing until perfectly firm. Great for summer gatherings or as an elegant finish to any meal.
The smell of warm vanilla drifting through an open kitchen window is enough to make anyone stop what they are doing and wander toward the stove. My neighbor actually knocked on my door once asking what I was making because the scent had crept through the hallway of our apartment building. Homemade ice cream is one of those things that sounds fussy until you actually try it, and then you realize the store bought version can never compete.
One July evening my daughter and I set up a topping bar on the patio with crushed cookies, fresh strawberries, and hot fudge, and we ended up sitting outside until midnight making sundaes and laughing about nothing in particular.
Ingredients
- Heavy cream (500 ml): The fat content here is what gives ice cream its luxurious mouthfeel, so do not even think about substituting with something lighter.
- Whole milk (250 ml): Balances the cream so the result is rich without feeling like eating frozen butter.
- Granulated sugar (150 g): Sugar does more than sweeten, it lowers the freezing point and keeps the texture scoopable straight from the freezer.
- Vanilla bean (1 pod) or pure vanilla extract (2 tsp): A real vanilla bean gives you those tiny black flecks and a depth of flavor that extract alone cannot fully match.
- Large egg yolks (4): These are the backbone of the custard, providing structure and that unmistakable creamy consistency.
Instructions
- Prepare the vanilla cream:
- Split the vanilla bean down the middle and scrape out the seeds with the back of a knife. Drop the seeds and the empty pod into a saucepan with the milk and cream, then heat gently until you see steam rising and small bubbles forming at the edges, but never let it reach a full boil. Take it off the heat and let it sit for 15 minutes so the vanilla really sinks in.
- Build the custard base:
- Whisk the egg yolks and sugar together in a bowl until the mixture turns pale yellow and looks slightly thicker. You are not trying to whip air into it, just blend until smooth and creamy.
- Temper the eggs:
- Remove the vanilla pod from the warm cream, then pour the cream slowly into the egg mixture while whisking constantly. This is the moment where patience matters because dumping it all at once will give you scrambled eggs.
- Cook until thickened:
- Pour everything back into the saucepan and cook over low heat, stirring with a wooden spoon without stopping. You will know it is ready when the custard coats the back of the spoon and you can draw a line through it with your finger that stays clean, which happens around 80 degrees Celsius.
- Chill thoroughly:
- Strain the custard through a fine sieve into a clean bowl to catch any bits of cooked egg, then let it cool to room temperature before refrigerating for at least 2 hours. The colder the base, the smoother the final result.
- Churn the ice cream:
- Pour the chilled custard into your ice cream maker and churn according to the directions that came with your machine. It will look like soft serve when it is done, which is exactly what you want.
- Freeze until firm:
- Transfer the soft ice cream into a lidded container and freeze for at least 3 hours so it sets properly. Let it sit out for a few minutes before scooping so it softens just enough to serve beautifully.
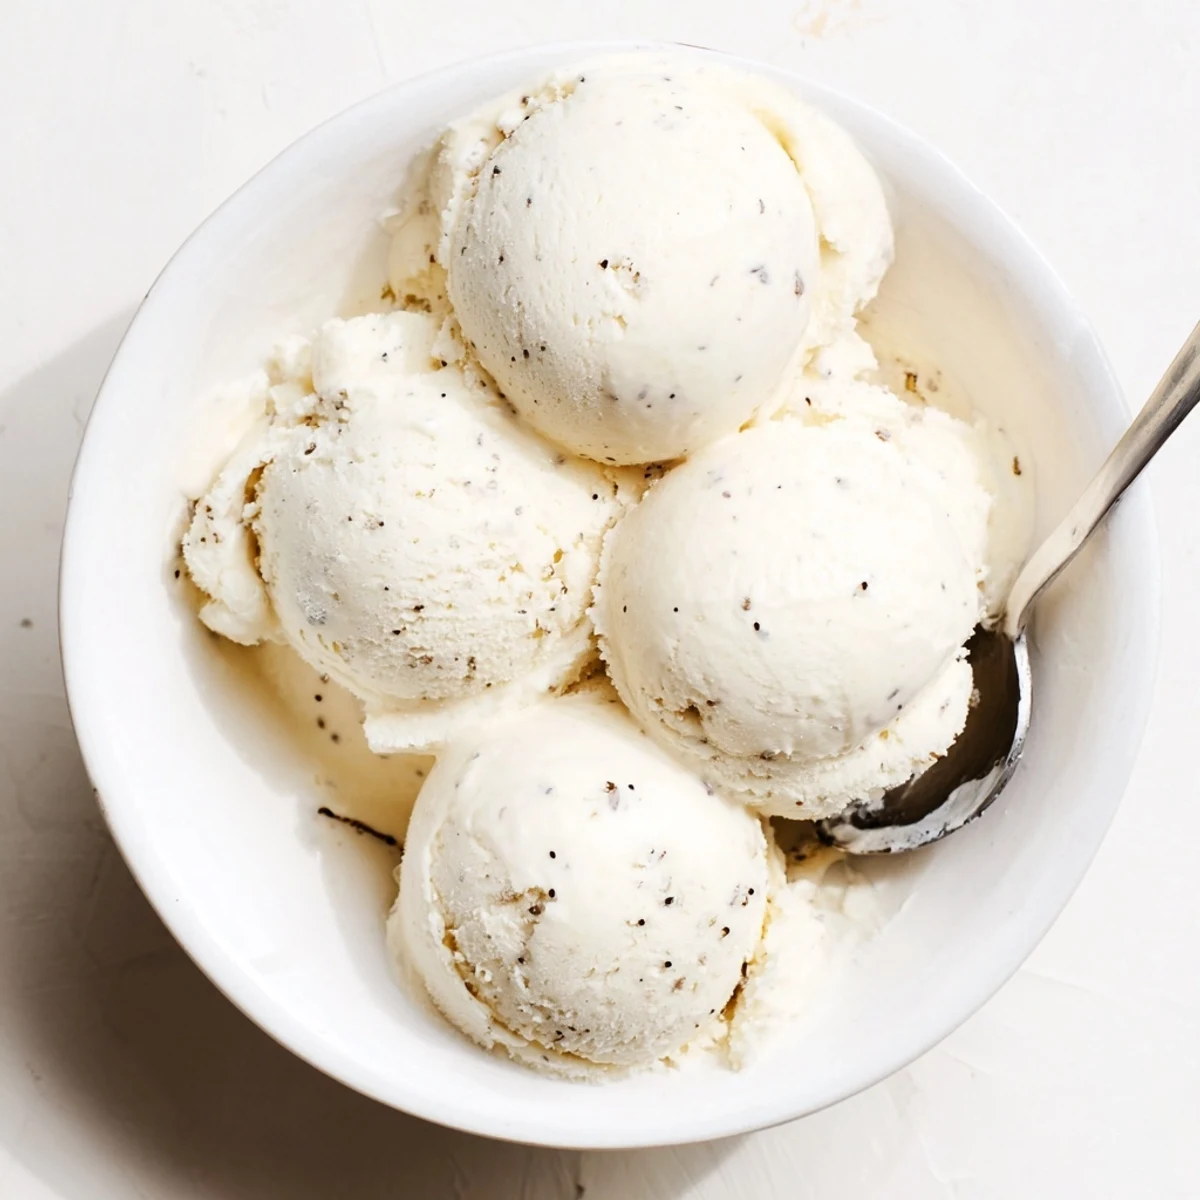 Pin it
 There is something quietly powerful about serving people ice cream you made from scratch, watching their eyes close on that first bite.
Getting Creative with Flavors
Once you have mastered the vanilla base, the entire world of ice cream opens up. Stir 80 grams of melted dark chocolate into the warm custard for a deeply rich chocolate version, or fold in a handful of toasted pistachios during the last minute of churning. My personal favorite is adding a generous pinch of flaky sea salt right on top of each serving.
Tools That Make a Difference
You do not need fancy equipment beyond an ice cream maker, but a good heavy bottomed saucepan will save you from scorched custard. A fine mesh sieve is non negotiable because it catches the tiny bits of cooked egg you will never notice until they ruin a perfect spoonful.
Storing and Serving Right
Homemade ice cream is best eaten within a week because it lacks the preservatives that keep commercial brands soft for months. Press a piece of plastic wrap directly against the surface before lidding to prevent ice crystals from forming.
- Always let the container sit at room temperature for about 5 minutes before scooping.
- A warm ice cream scoop glides through frozen ice cream much more easily than a cold one.
- Garnish simply with fresh berries or a drizzle of sauce and let the ice cream itself be the star.
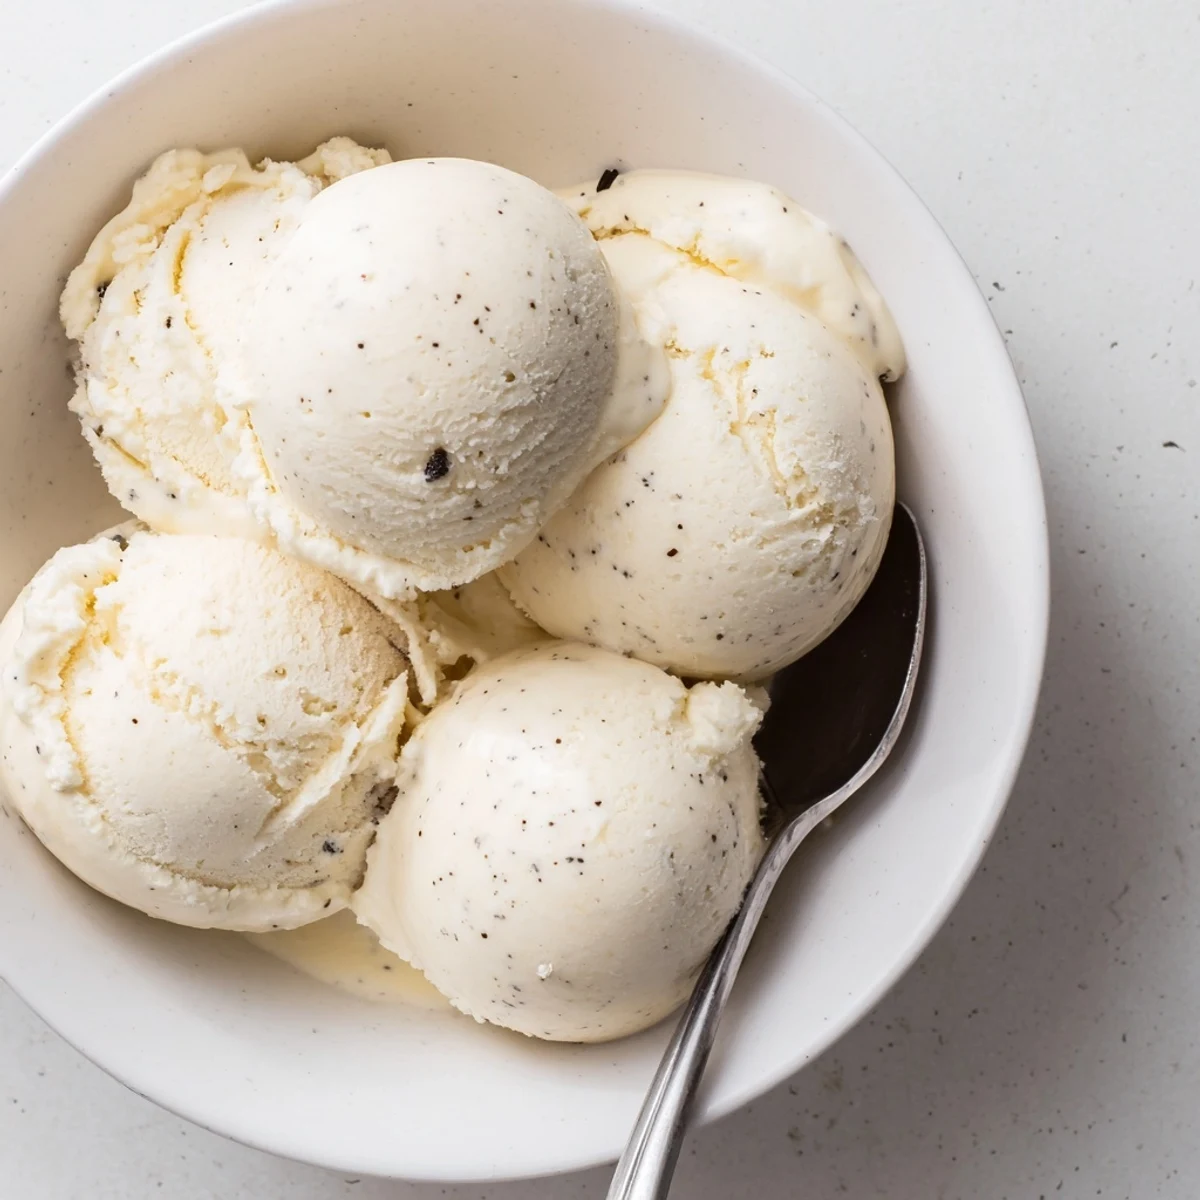 Pin it
 A batch of homemade ice cream turns an ordinary evening into something worth remembering. Grab a spoon and make some memories.
Recipe FAQs
- → How long does the custard base need to chill?
-
The custard must refrigerate for at least 2 hours or until thoroughly chilled before churning. This ensures proper texture and helps the mixture freeze evenly in your maker.
- → Can I make this without an ice cream maker?
-
Yes, though the texture will differ. Pour the chilled custard into a shallow container, freeze for 45 minutes, stir vigorously with a fork, and repeat every 30-45 minutes until firm.
- → Why shouldn't the custard mixture boil?
-
Boiling causes the eggs to curdle, creating a grainy texture. Keep the heat low and stir constantly until the mixture coats the back of a spoon, around 80°C (175°F).
- → How long can I store this frozen dessert?
-
Properly stored in an airtight container, it keeps well for up to 2 weeks. For best texture and flavor, consume within the first week. Place parchment paper directly on the surface to prevent ice crystals.
- → What mix-ins work well with this vanilla base?
-
Fresh berries, chocolate chips, crushed cookies, toasted nuts, or swirls of fruit sauce all complement the creamy vanilla flavor. Add mix-ins during the last few minutes of churning for even distribution.
